How to Create a Computer Screen Effect in Photoshop

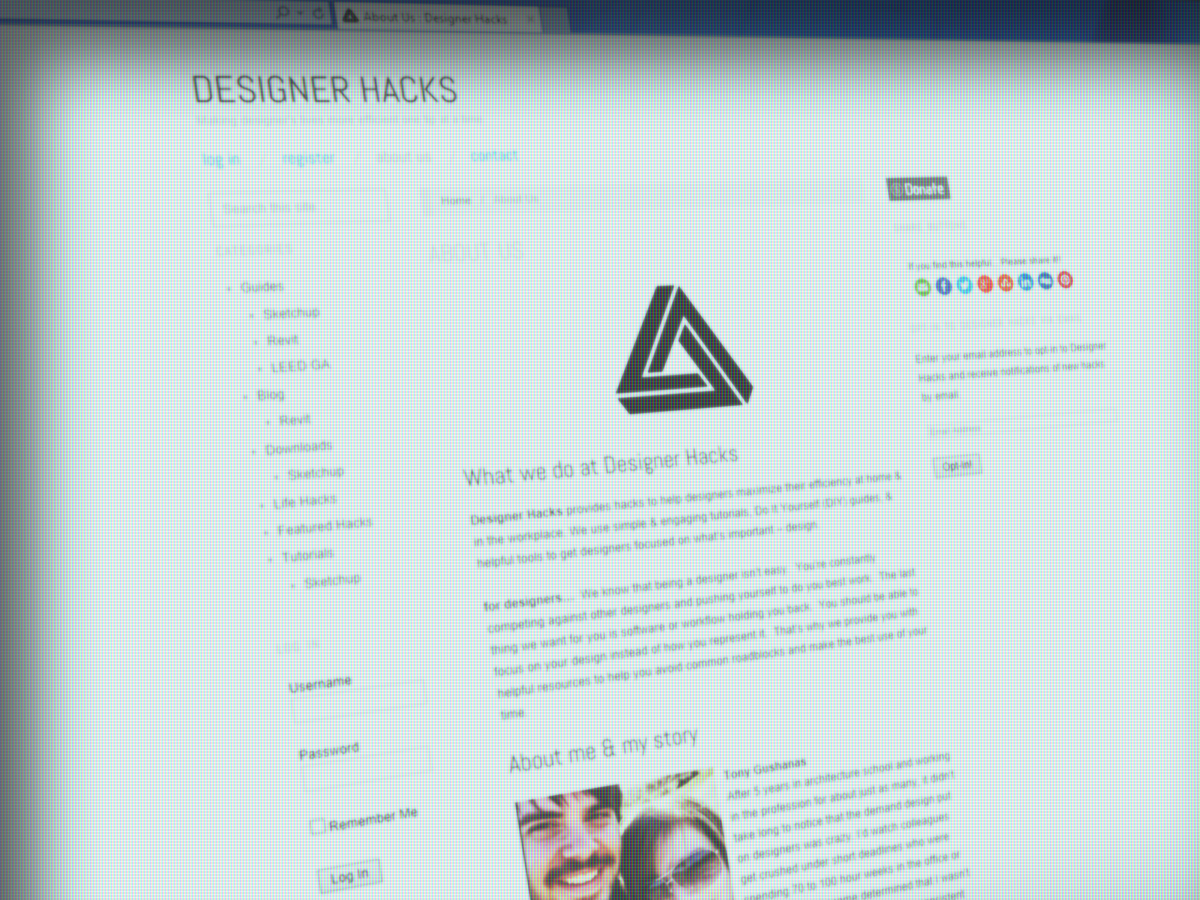
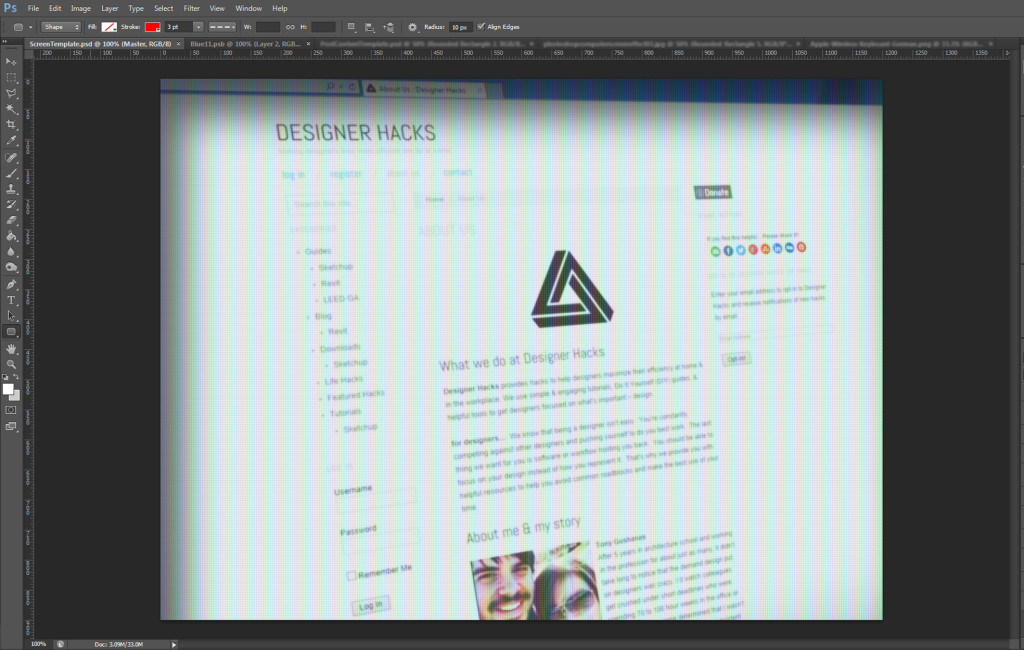
You may have noticed recently that some of our posts have included images with a computer screen effect (or monitor effect) applied to them. Since most everything we do here at designer hacks is digital, we thought it made a lot of sense to turn some of our screen captures into monitor displays. Taking photos with a camera of a monitor takes up too much time and often the actual feel of a monitor gets lost in translation.
Learn How to Create the Computer Screen Effect
In looking for a photoshop tutorial online that was beautiful and quick, we stumbled across Simulating a Computer Screen in Adobe Photoshop over at Layers Magazine. The tutorial itself is free and absolutely fantastic. We highly recommend that if you want to learn how to create this effect that you head over there and go through the motions.
Get the meat
If you want to skip the learning process and get right to making awesome images with this effect, we’re fine with that. We’re providing you with the psd template file we’ve been using to create all of our images with this computer screen effect. Below are a quick few steps on how to use the template.
Get a screen capture
First you’re going to need to capture the current view of your screen.
On PC…
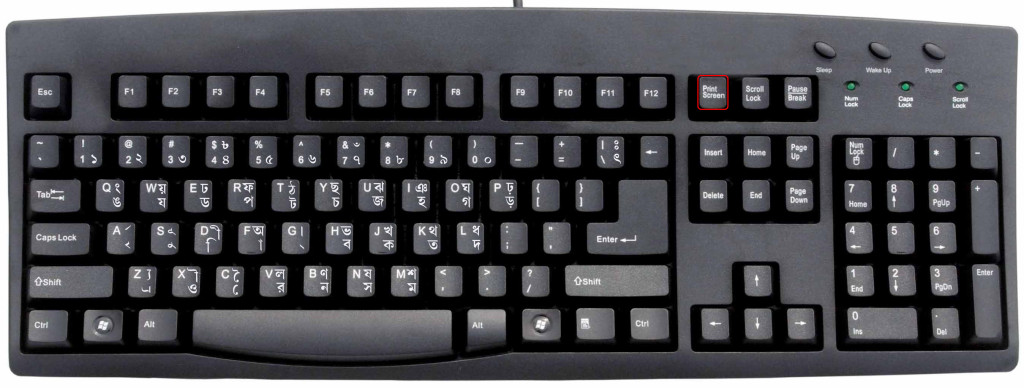
On your keyboard you will find a ‘print screen’ button. Usually it’s towards the top right of your keyboard. When you press it, it won’t seem like anything happened, but you actually just copied your current screen to your clipboard.
Alternatively you can use the snipping tool to capture a specific area.
On Mac…
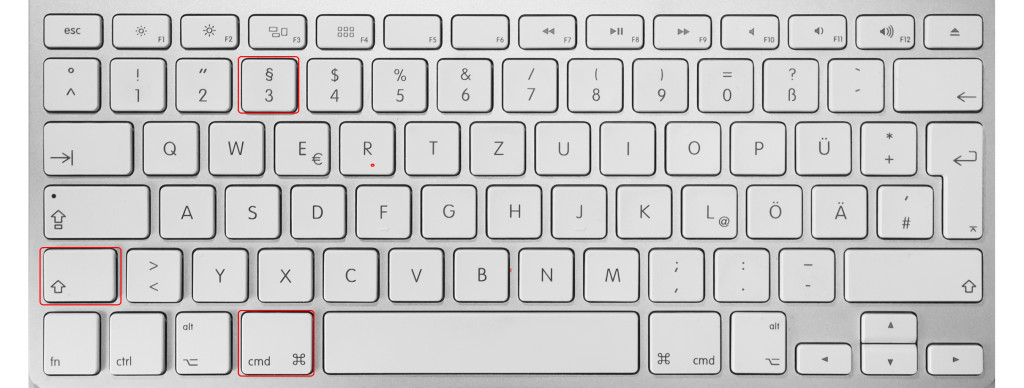
On your keyboard press Command+Shift+3 to capture your entire screen
or
Press Command+Shift+4 to define a specific area you wish to capture.
Either of these will prompt you for a name of the image file your computer will create. Remember where you save it!
Place Your Screen Capture
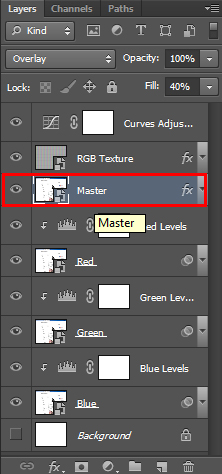
Open up the psd template file in photoshop and double click on the ‘Master’ Layer.
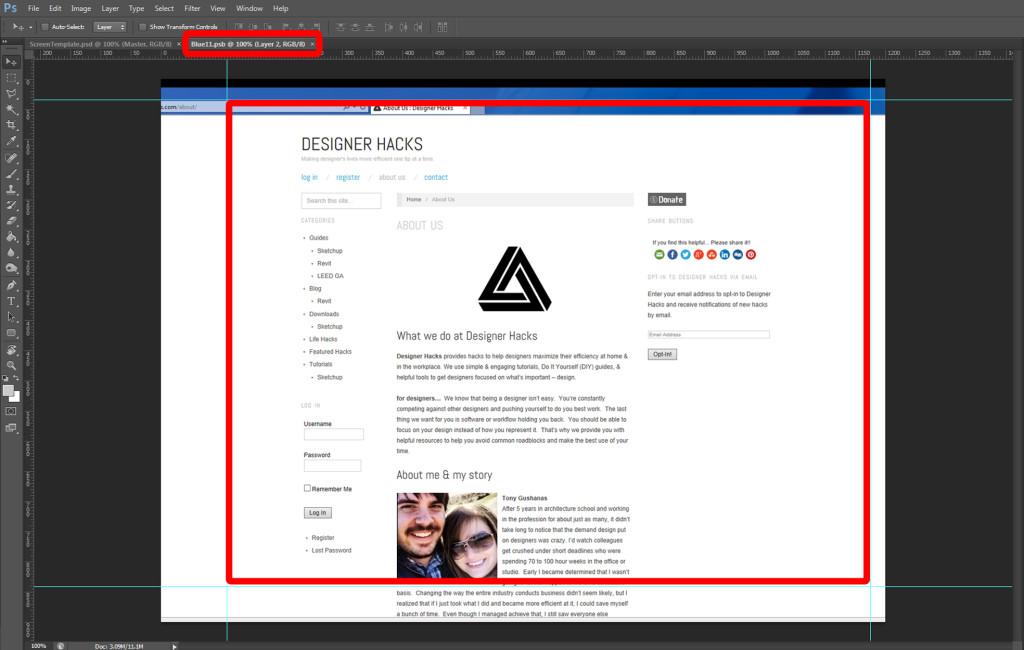
Double clicking on the master layer will open up another tab called Blue11.psb. Paste your screen capture onto this tab. On PC use ctrl+v. On your Mac you’re going to need to import your saved image.
Move your image around so that what you want to see is between the blue guides. If no guides are showing, use the tab and go to View>Show>Guides to enable them. After everything is set, save the Blue11.psb tab and go back to the original ScreenTemplate.psd. You’ll see that your screen capture now that your computer screen effect is complete! Save your image and go get started on your next task!
Now that you’re creating images with this computer screen effect share them!
Leave your links below!

No comments yet.