
How to Quickly Convert an AutoCAD DWG to 3D in Sketchup

In this tutorial, we’ll show you how you can quickly turn a DWG to 3D in Sketchup. Before we get started, it’s important to note that the method we are going to use is a Sketchup Pro feature only! If you’re looking for a way to import a DWG with the free version, you can check out our other video tutorial here.
In this tutorial, we’ll show you a few simple steps to create a 3D plan that you can use for modeling, rendering, or just for fun!
Converting a DWG to 3D
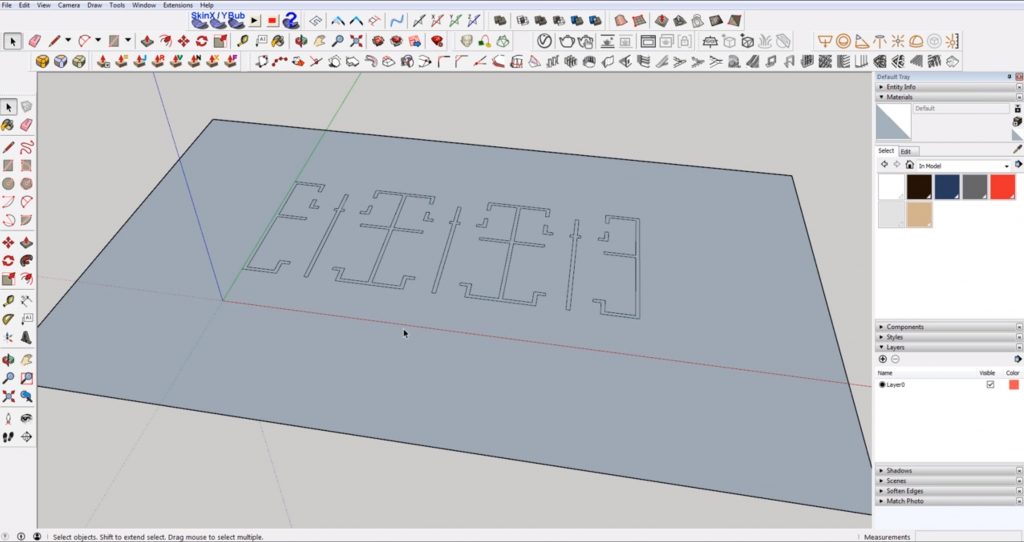
File > Import. The first step is to simply import your DWG file. Go to “file” > “import” and select the file you want to use. Click “import.”
Explode. Once your image is imported, right-click and select “explode.” This will make the geometry easier to work with in Sketchup.
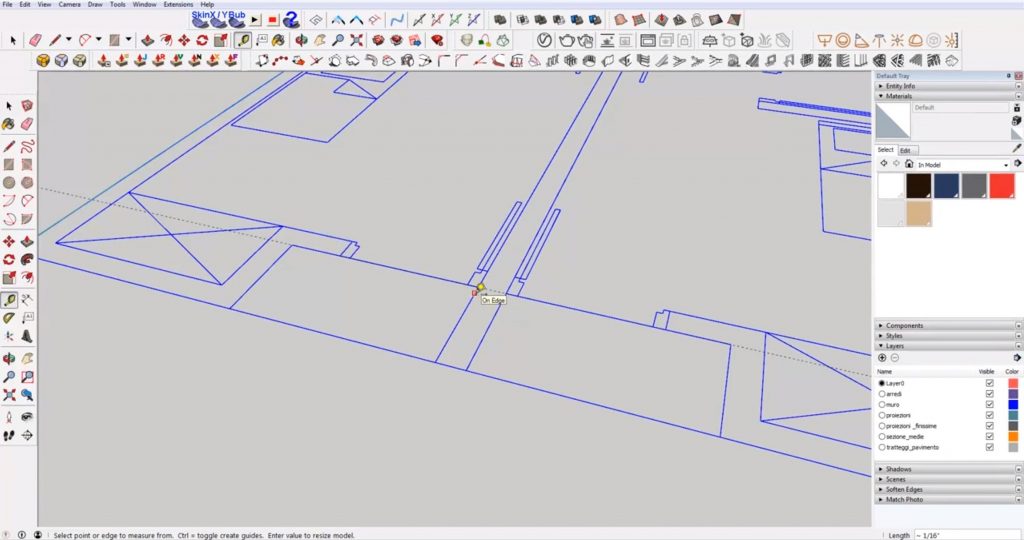
Scale Floor Plan. You may notice that your floor plan imports very small or larger! To scale it correctly, use the tape measure tool and measure an object you know the dimensions of. Doorways are a good example because they typically have standard widths (for instance the main door is likely around 36″). Click at the starting and ending point of the object you are going to measure and then type in the correct dimensions. Press “enter.” A message will pop up asking if you want to resize the model. Click “yes.”
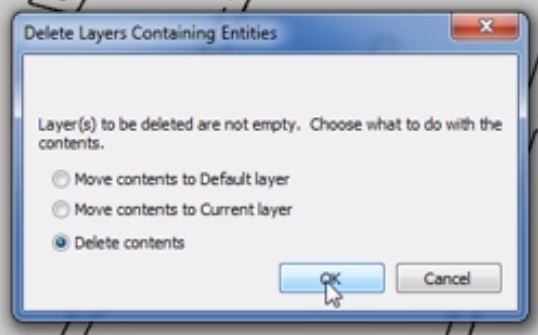
Delete Unnecessary Layers. When converting a DWG to 3D, you only need to worry about the walls. Sketchup will recognize the original layers from your AutoCAD file, and having all of them can be distracting. You can hide the layers, but it’s best to just go ahead and delete them. Under the “layers” tab in the default tray, select the layer you want to delete. Then click on the “-” button to delete it. A message box will pop up asking what you want to do with the contents. Select “delete contents” and hit “ok.”
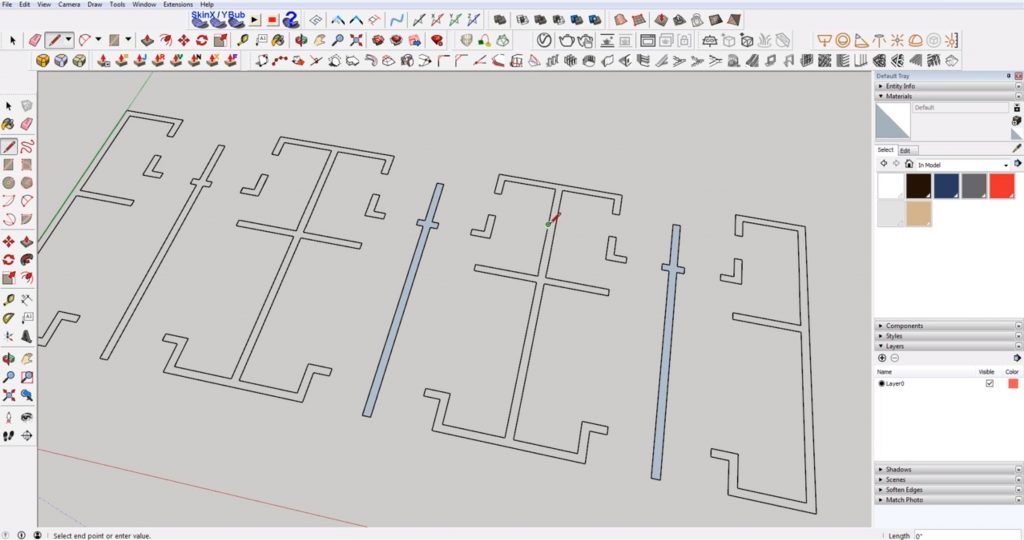
Clean it Up. You may have to close off some lines in the DWG, but this is normal. Use the “line” tool to close off any gaps in the drawing and you will begin to create some faces. The next step is to make the rest of the wall’s faces, but we have a bit of a cheat to make this a little easier.
Make Faces
Make Group. Select the DWG and right click to select “make group.”
Move. Hit “M” to use the move command and hold the “up” arrow key to move the floor plan up along the blue axis.
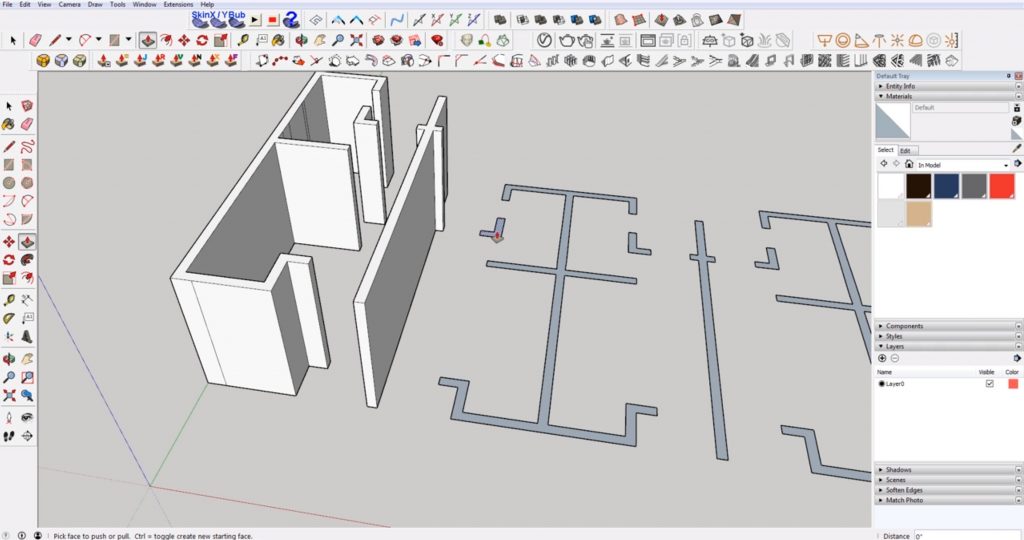
Draw a Rectangle. Hit “R” to open the rectangle tool. Draw a rectangle underneath the floor plan and scale it so it covers the entire plan.
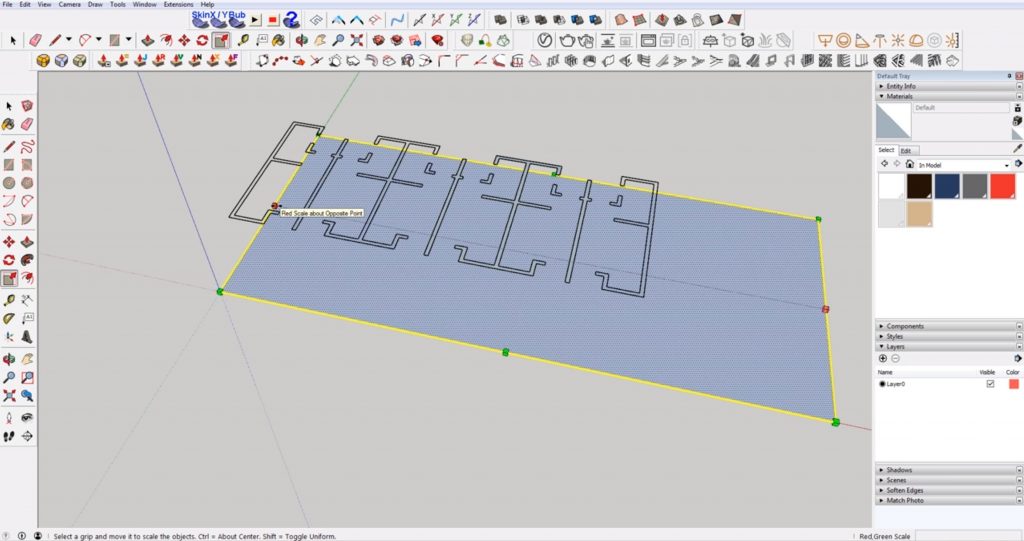
Select Group > Drape. Select the floor plan group you just created and then click on the “drape” tool in the top menu bar. This will ‘drape’ the lines of your plan onto the flat surface of the rectangle. This makes it easier to get all of the walls from the plan. Hit “E” and use the eraser tool to get rid of the rectangle. Now you have a floor plan!
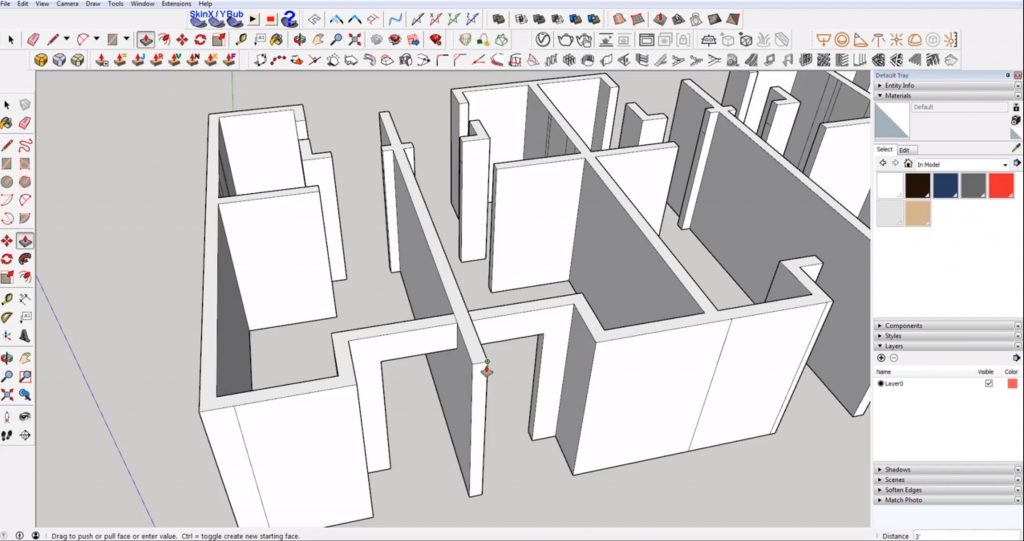
Hit “P.” Use the “push/pull” tool to extrude the walls from the DWG to 3D. Click on a wall to extrude it and type in the ceiling height. Hit “enter.” Now, you can just double click on the rest of the walls to extrude them to the same height.
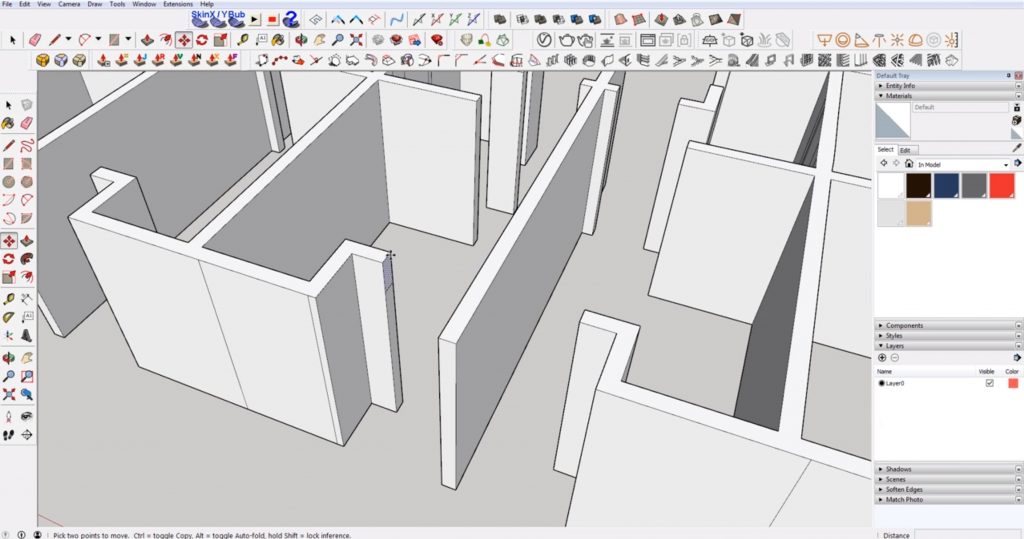
Add the Headers. In one of the door openings, use the line tool to draw a line at 6’-8”. Copy the box you just created and move it to each of the door openings. Then use the “push/pull” tool to drag the header across the door frame. Once you finish drawing everything, go back and use the eraser tool to delete any unnecessary lines, or hold “ctrl” while using the eraser tool to hide the line.
If you want to learn how to turn a sketch floor plan into 3D, check out this tutorial. Don’t forget to visit our Sketchup tutorials page to learn even more tips!
Happy Hacking!
No comments yet.