
Create an Isometric Rendering in Lumion

Axonometric, parallel line drawing, or isometric rendering- whatever you like to call them, these drawings can have a pretty cool effect. However, sometimes they can be tricky to pull off! In this tutorial, we’ll show you an easy way to make these drawings in Lumion. All you have to do is use the camera to capture a shot and adjust the view until you get the perfect image!
Capturing the Isometric Rendering
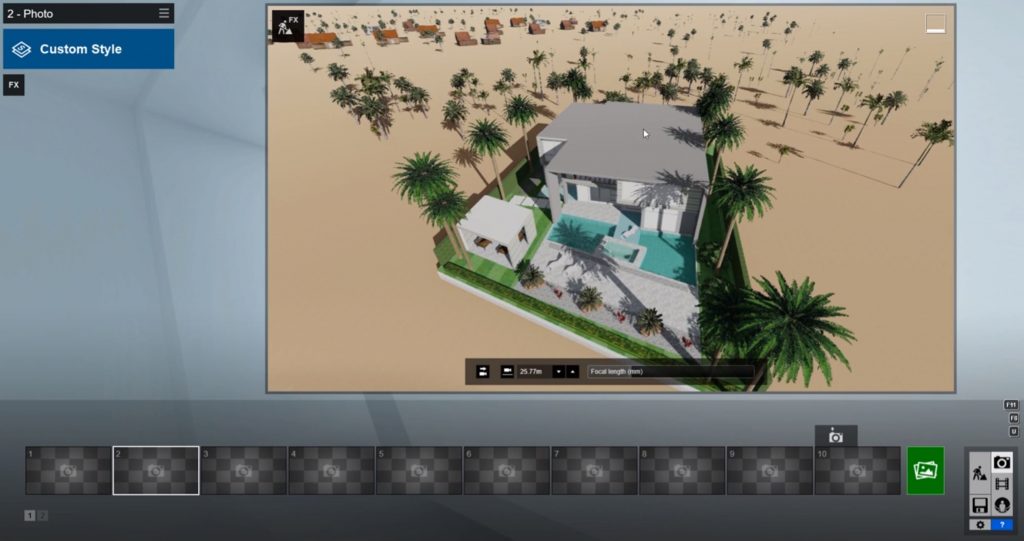
Capture Photo. The first step to creating the illusion of a parallel line drawing is to capture your photo. Click on the camera icon in the bottom right corner. A new screen will pop up with your captured image and a few thumbnails along the bottom. If you are happy with the view you currently have, click on the “store camera” button in the bottom left corner of the screen above the first thumbnail. This will capture and save your first image.
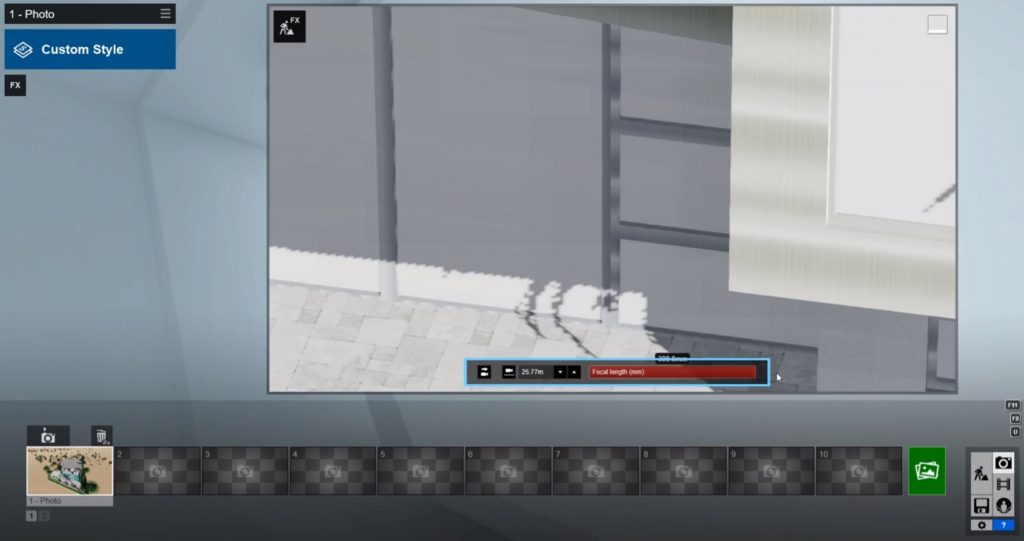
Adjust the Focal Length. The next step to creating your isometric rendering is to adjust the focal length. Use the slider at the bottom of the photo and drag it all the way up to the right end. This will make the camera zoom in quite a bit to the model!
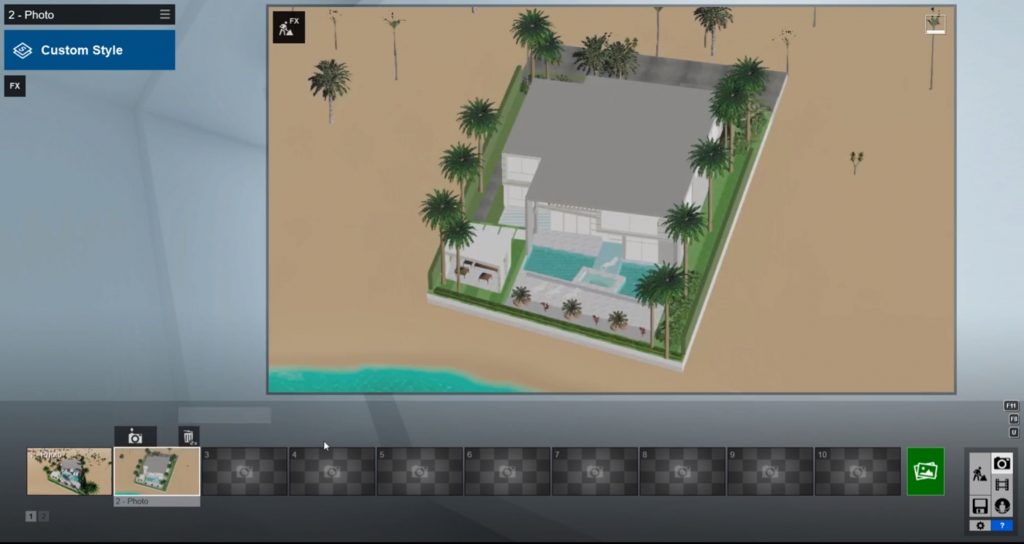
Zoom Out. From this view, you’ll want to zoom out until you can see the entire model. Right-click and hold the “S” key to zoom out. If you want to speed it up a bit, hold the “shift” key at the same time. You may feel like the camera is moving at a snail’s pace, but eventually, it will reveal the rest of the model and you can see that the lines look much more parallel than those in the perspective view.
You may notice the shadows start to look slightly off as you zoom out. This most likely has to do with the scale of your model. If you notice any weird shadows, you may want to adjust the shadows FX. If that doesn’t work you may have to adjust the scale of your model at the end and try again.
Capture Isometric Rendering. Once you have a new view that you are happy with, click on the “store camera” button above the second thumbnail to capture your new image. From here, you can use the “custom style” button to edit any scale or lighting settings.
Build. If you click on the “build” button in the bottom right corner, you can see just how far away your camera is from the model! It’s a good idea to keep a photo of the original perspective view in case you want to go back and edit any materials or objects. This close-up view will be much easier to edit from if you want to make any changes!
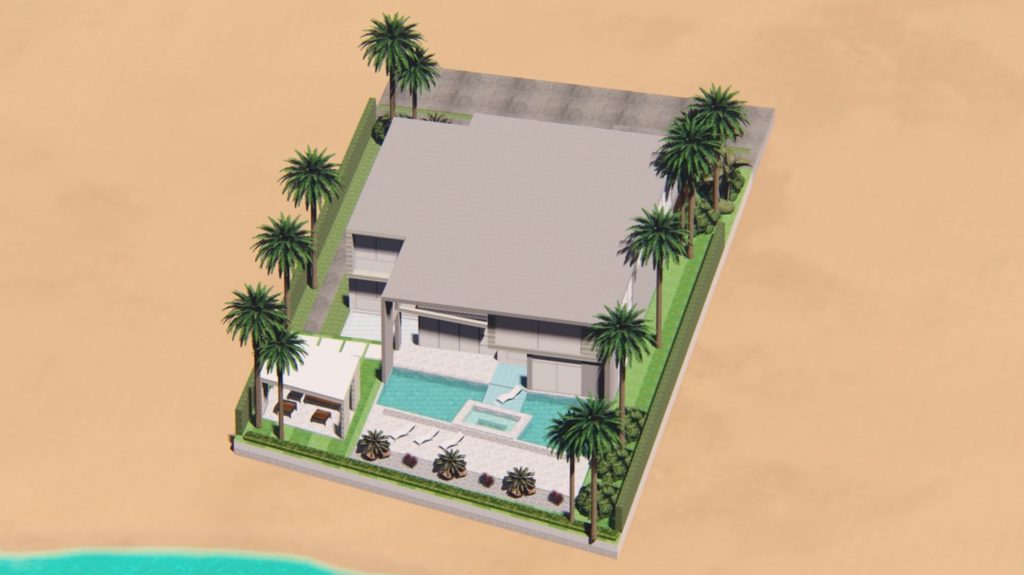
Once you have your final view, you can add landscaping or edit the time of day and lighting settings. Lumion has plenty of features to add that will make your isometric rendering come to life! If you found this article helpful, check out our other tutorials on Lumion rendering tips! If you’re looking for Sketchup tips, you can check out our full list of tutorials here.
What types of renderings do you use Lumion for? Let us know in the comments!
Happy Hacking!
cool post!