
Saki House | Sketchup Speed Model | Lumion 9 Render

If you haven’t already, be sure to check out our other Sketchup speed model tutorials for a Moon House and a cozy attic bedroom! In this tutorial, we’re going to show you how we took one of Urukki Saki’s creative pieces of video game concept art and turned it into a 3D Sketchup model! We’ll start with the basics of blocking out the building, add details, and finally apply some color and texture. If you want a more detailed rundown of how we do each step, check out our full-length modeling video here.
Let’s get started!
Import and Align
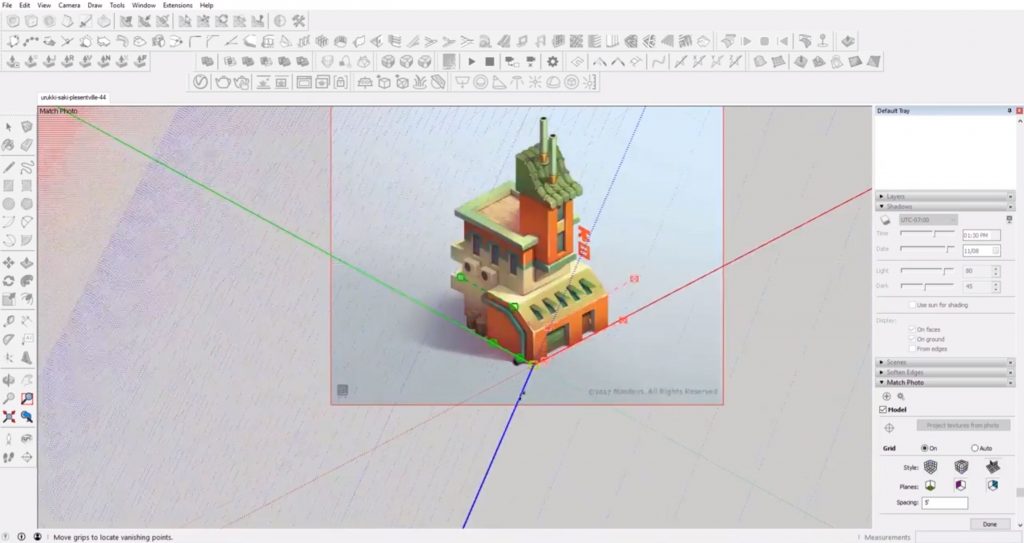
First things first, you’ll want to import your selected image into the model. Then, align the perspective lines in Sketchup with those in the image. This step is important! Not every drawing or image will be geometrically perfect. But by aligning the perspective lines as best as you can, you can ensure that you will get the most accurate model as possible!
Block out the Basics
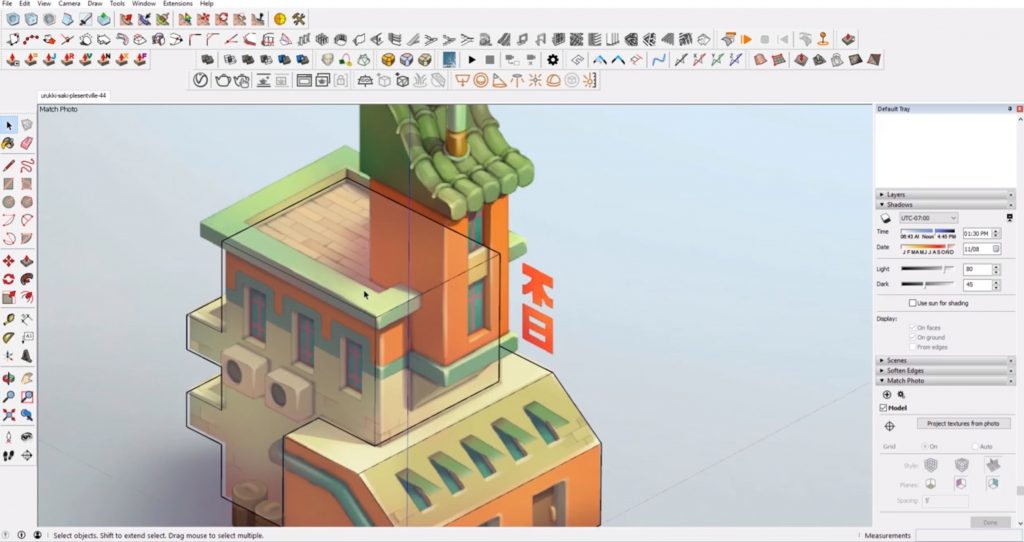
We began modeling this Sketchup speed model by creating blocks to form the basic shape of the building. We created separate blocks for each level and added the cutouts on the back side. At this point, you don’t want to get too carried away adding small details. Just focus on the basic shapes for now, you’ll have plenty of time to add the details later!
It’s All in the Details
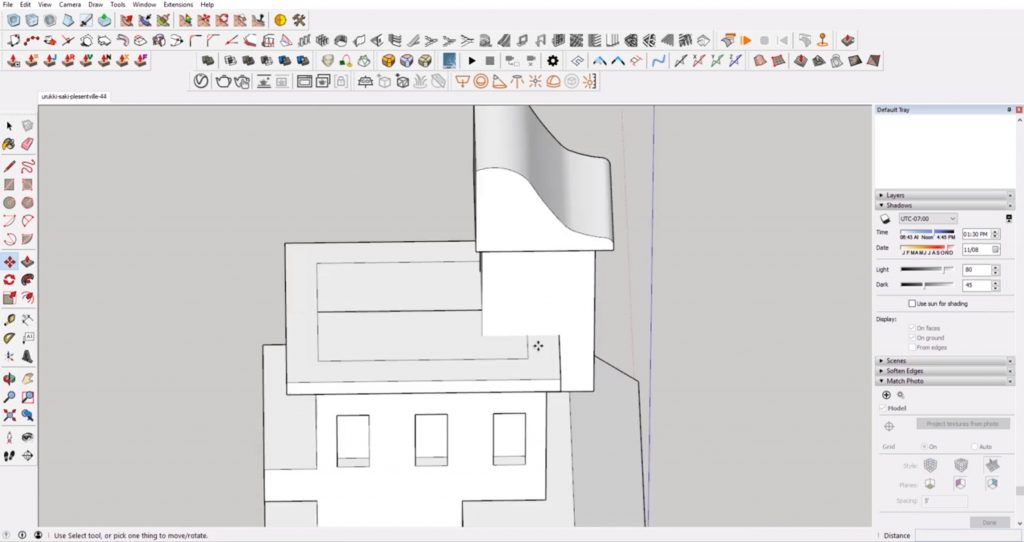
Once we had the basic shapes blocked out, we slowly started adding small details like the curved roof, window cutouts and trim. Just like when you blocked out the building, you want to start with the largest and most basic components first and then work your way to the smaller details.
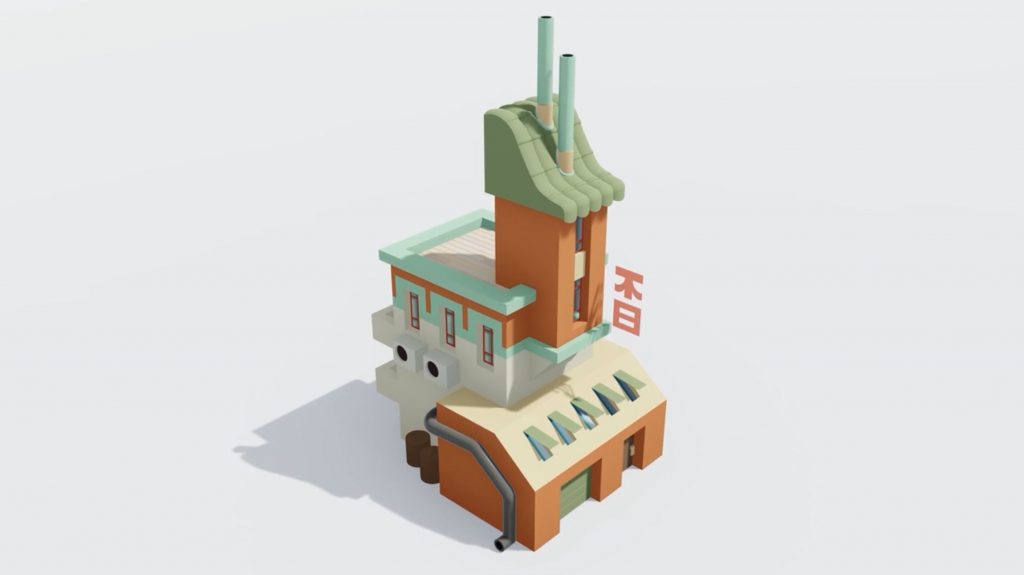
Add Some Color
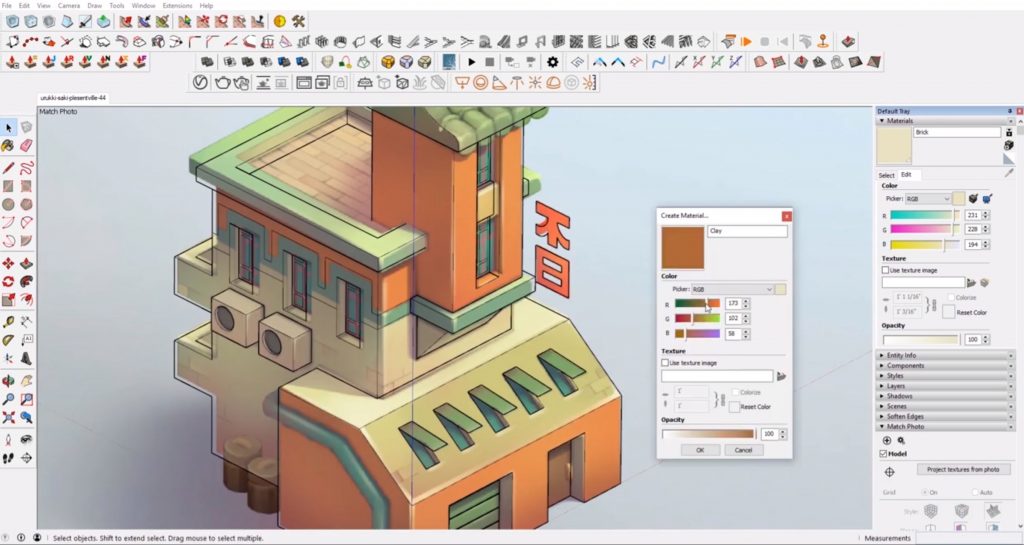
This particular drawing is very bright and colorful, so we wanted to make sure we included that in our model as well. We used the materials tab to add color to each component and make it look like the original drawing. You may have to switch between the model and the original image a few times to make sure the colors match. If you’re going to be exporting to a 3d renderer like Lumion (like we did) don’t spend too much time with this step. You’ll just be using the colors you define in SketchUp as references.
Sketchup Speed Model Finishing Touches
At this point, you may notice there are some more details you can add. We went back and added even more details like door handles, roof tiles, and wood planks. These small touches will make the model really come to life when you are done!

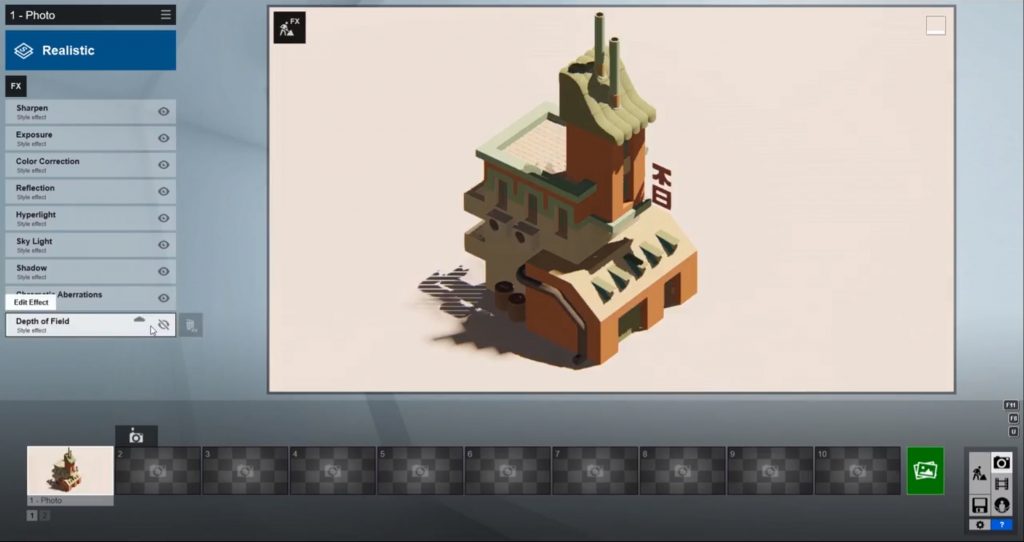
Rendering in Lumion
After we finished up the model in Sketchup, we imported it into Lumion to give it an even more realistic look. Using Lumion allowed us to play with fun settings like the sun placement and landscape. We even added some illuminated materials to make the sign light up!
Your Turn!
Have you ever tried recreating a Sketchup speed model? Let us know in the comments how it turned out! If you want more inspiration, take a look at our full speed modeling tutorial here. Be sure to check out our other Sketchup tutorials before you go for even more great tips and tricks!
Happy Hacking!
No comments yet.