
How to Draw Perspective and Isometric Drawings

Whether you are an architect or a designer, it’s important to understand the techniques to create 2D drawings. In this tutorial we’re going to get back to the basics and go over how to draw perspective, isometric, and 3D drawings. We used Sketchup for this example, but the principles can be applied to hand drawing too!
Draw a Parallel Projection
A parallel projection is different than a perspective drawing because there is no vanishing point. The lines in each axis (x, y, z) will be parallel to the other lines of the same axis. In an isometric drawing, there is a specific set of angles between each axis.
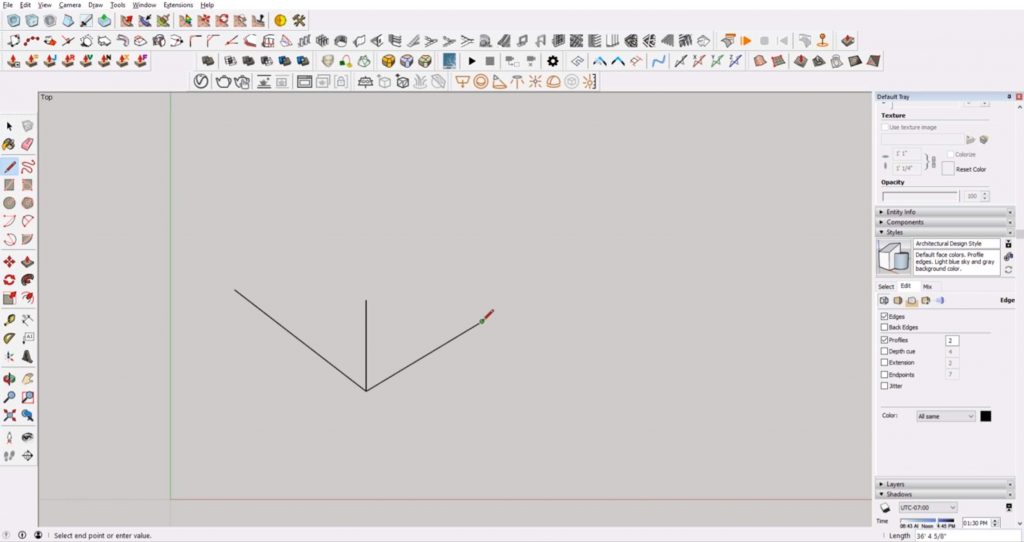
To begin drawing a parallel projection, draw a vertical line for the “z” axis. Then, draw a line connecting to the base for the “x” axis and another for the “y” axis.
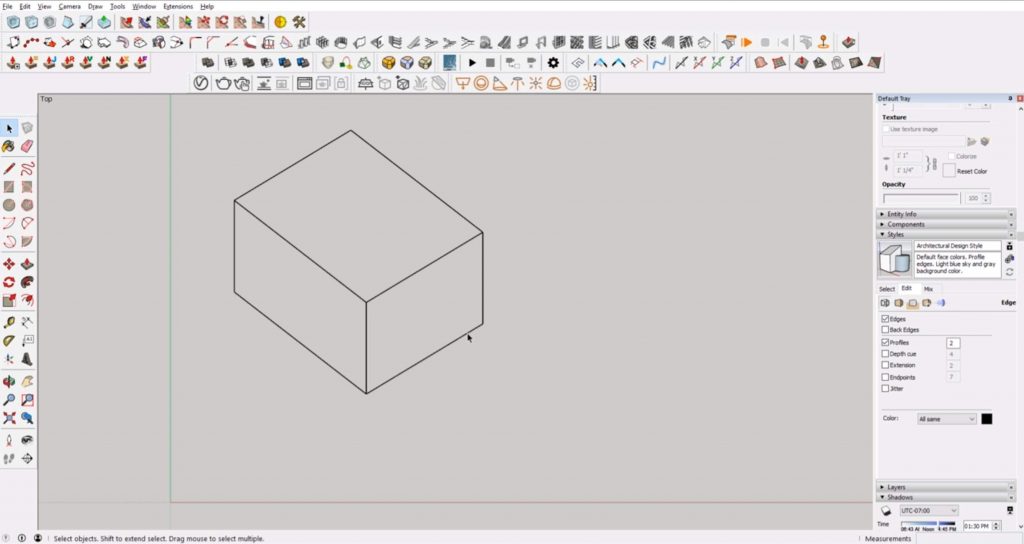
If you are using Sketchup, copy and paste the lines in each axis to connect to each other until you form a box. If you are a hand drawing, draw the lines to intersect one another, making sure you follow the exact angle of the lines. You may want to use a drafting triangle and/or a t-square to make sure the lines are exactly the same angle.
Draw Perspective (one point)
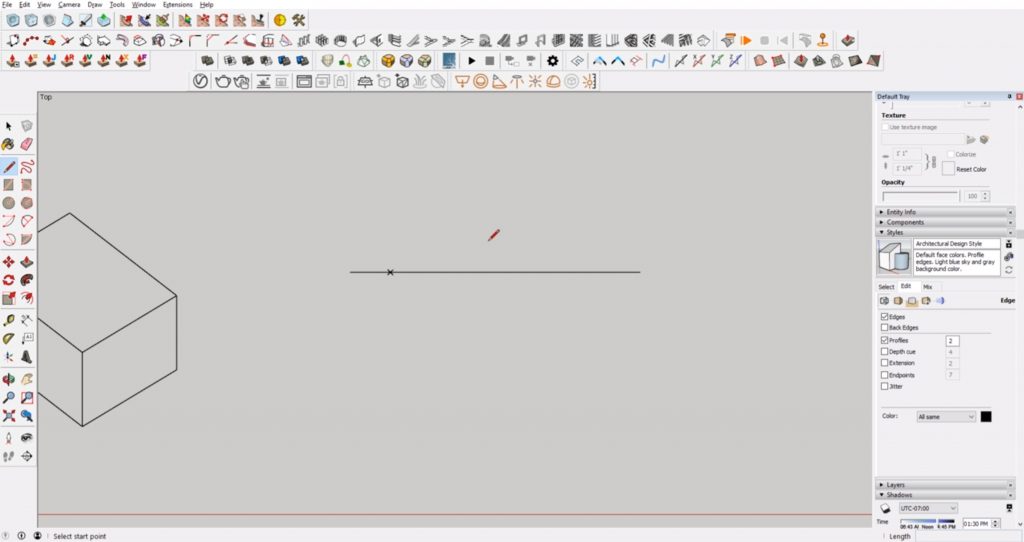
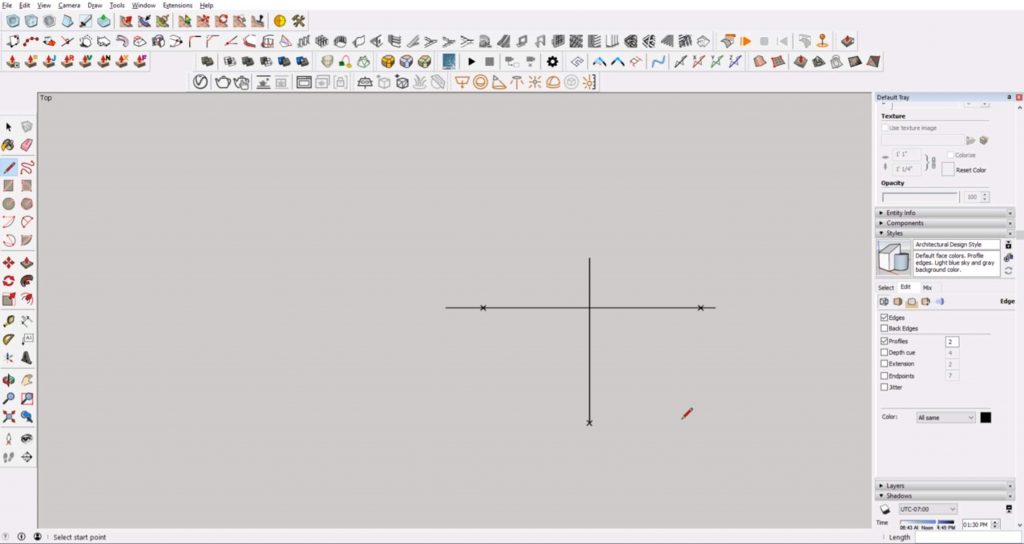
For a one-point perspective, you will have a horizon line and a vanishing point. To start, draw a long horizontal line to represent the horizon line. Then, pick a point to use as your vanishing point and draw an “X” at that point. Keep in mind that the horizon line is the same height as your viewer’s eye. The perception of objects will change with their relation to the height of the horizon line.
Let’s try it!
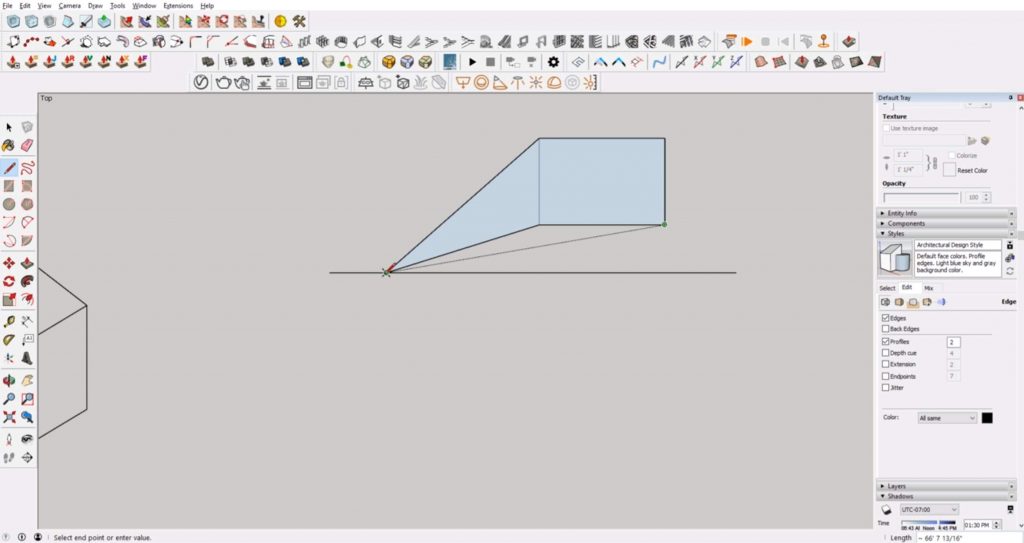
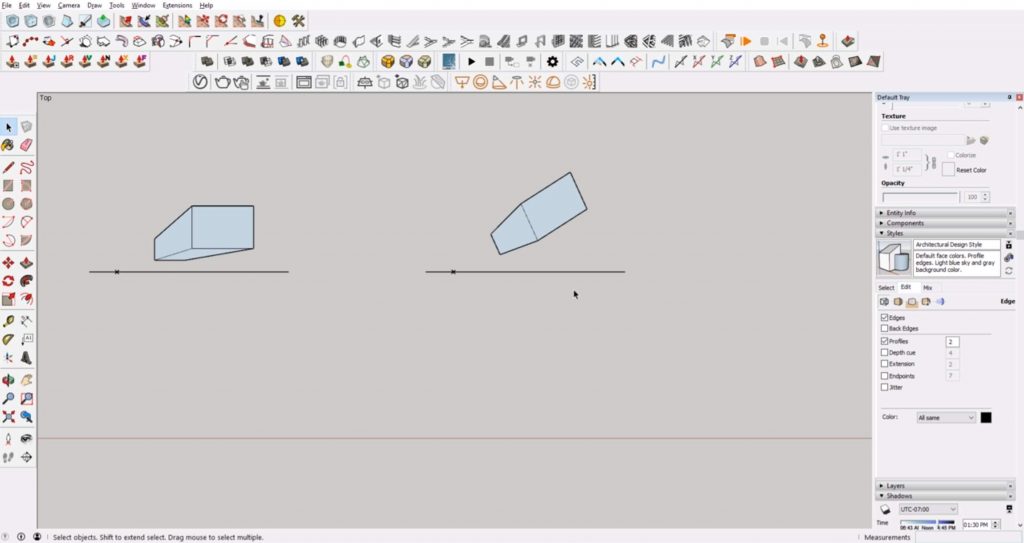
Start your perspective by drawing a vertical line above the horizon line. Draw a line parallel to the vertical line and connect the top and bottom with horizontal lines to create a box. Then, draw lines from the top and bottom of each vertical line to your vanishing point.
Draw a vertical and horizontal line to close of the box. Erase the lines that extend past the box to the vanishing point.
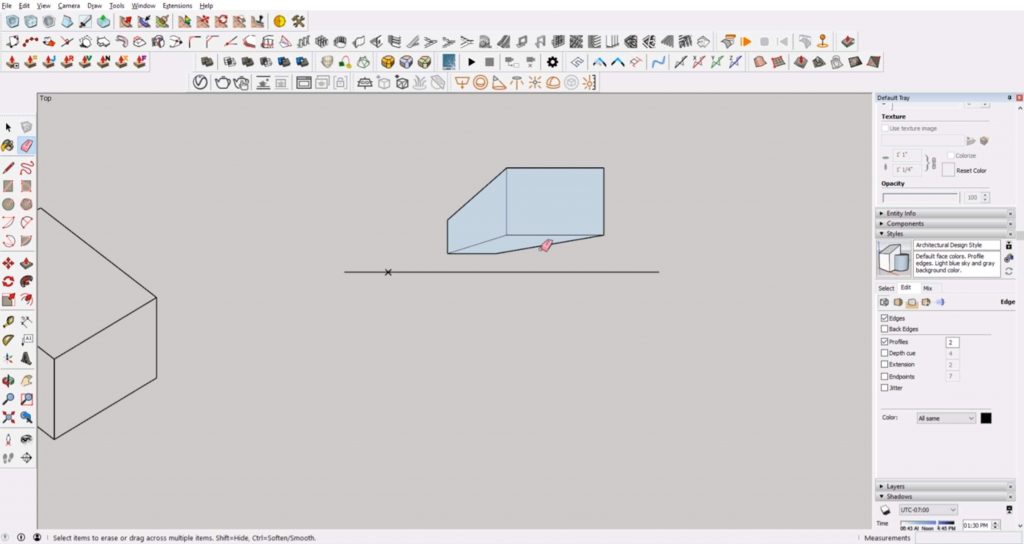
You can also use the same method to draw a box with an angled projection. The steps are the same, but the vertical lines are now at an angle instead. The box will appear more skewed than with the first method.
Draw Perspective (two point)
Drawing a two-point perspective is similar to one-point, but with this method you will have two vanishing points instead of one.
Begin by drawing your horizon line. This time, use an “X” to mark two vanishing points, one on the left side and one on the right side.
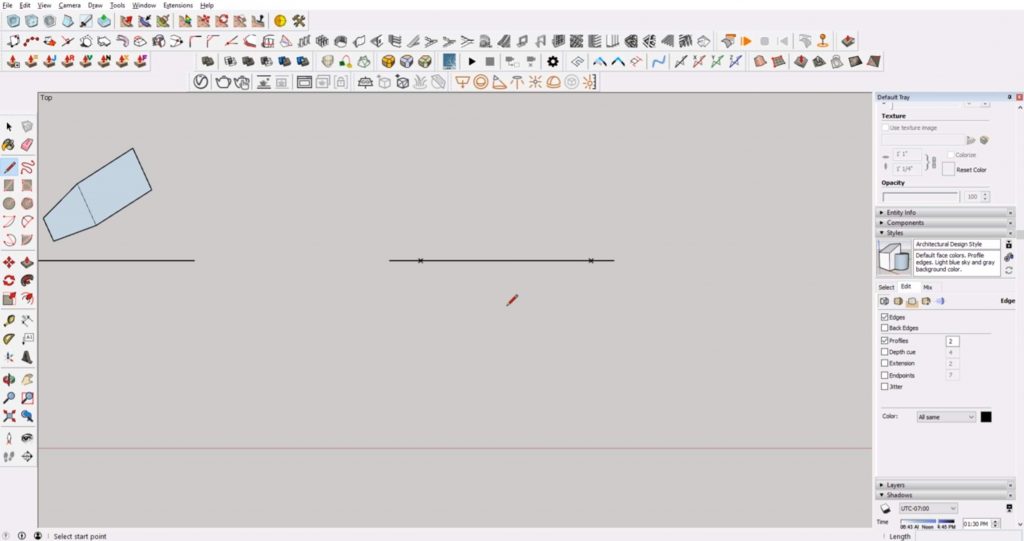
Draw a vertical line somewhere in between the two vanishing points to start drawing your perspective. Keep all of the vertical lines parallel, and make sure the rest of the lines connect to the vanishing point on the right. You can begin adding details like doorways, columns, or storefronts. Just make sure you connect each line to a vanishing point and erase any intersecting lines you create along the way to make it less confusing.
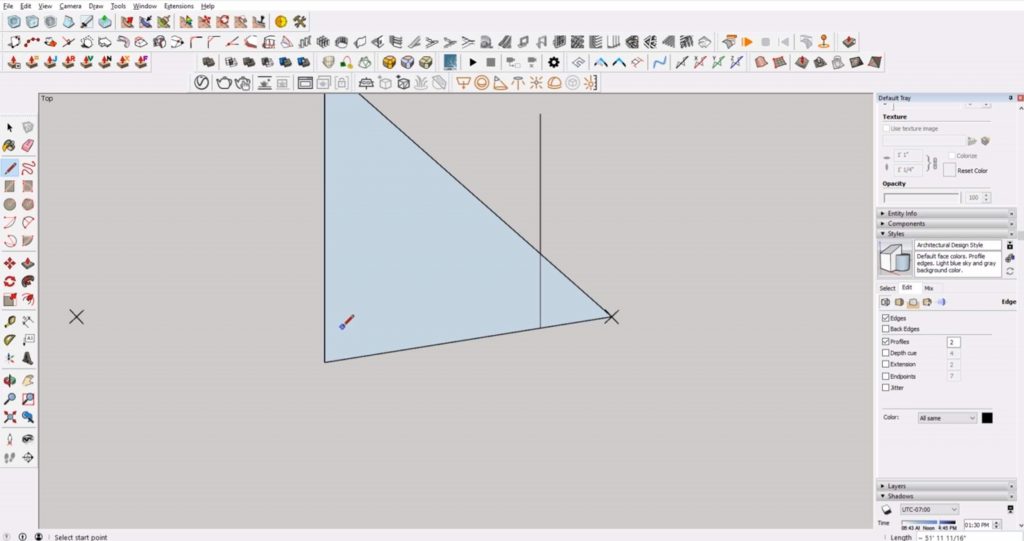
When adding details like columns or window frames, keep in mind that the distance between them will decrease as they get closer to the vanishing point.
Use the same steps to create the second wall of the building or box. This time, you will draw the lines to the left vanishing point.
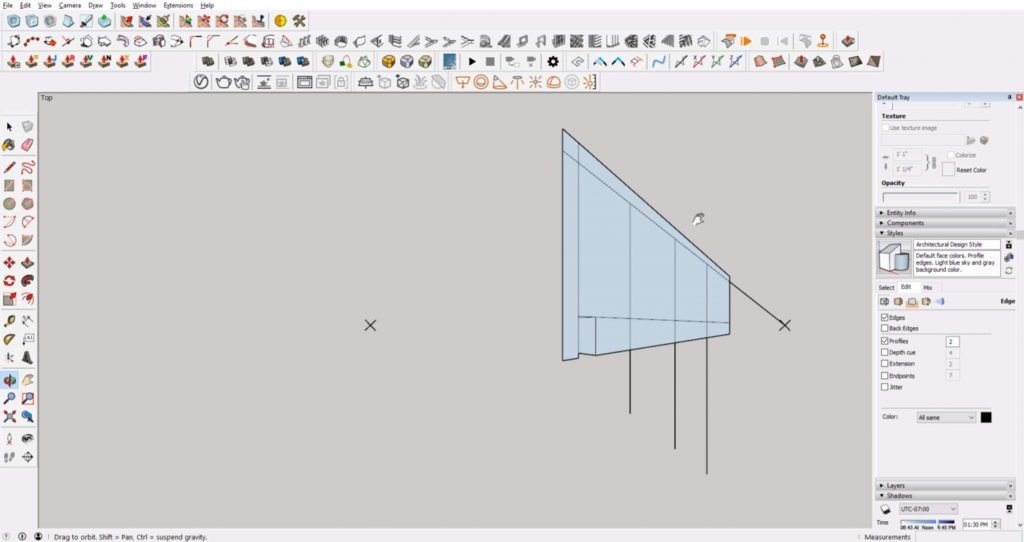
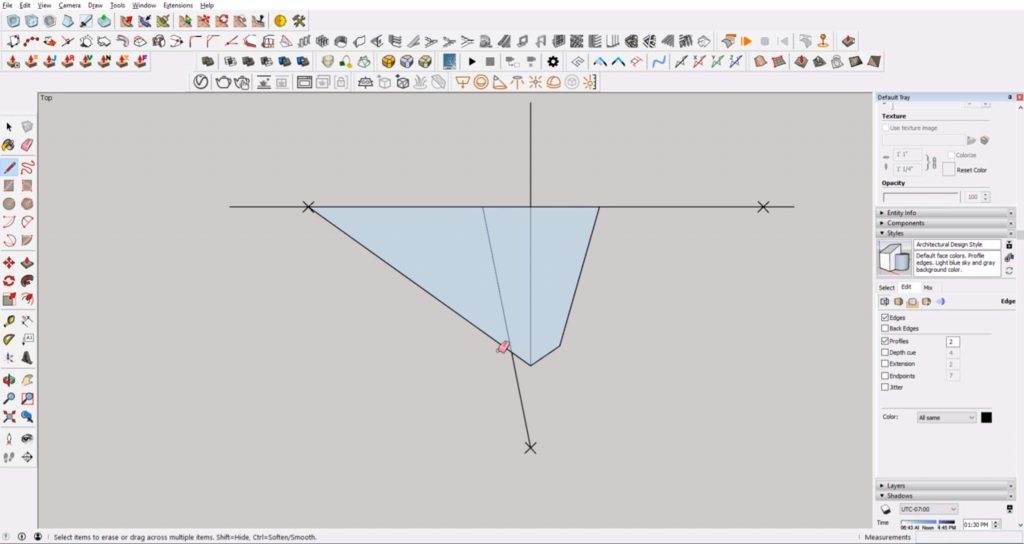
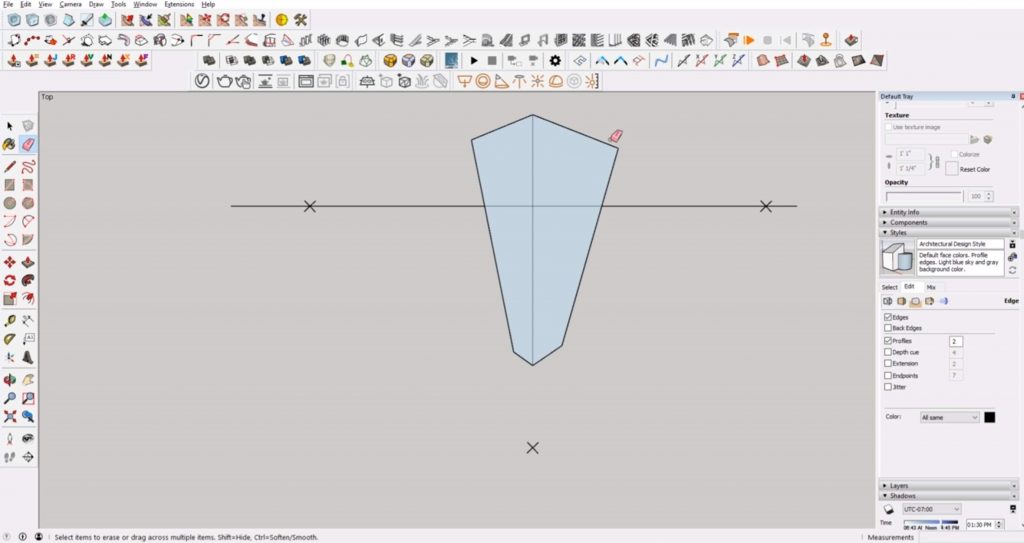
Draw Perspective (three point)
The last method is a three-point perspective. This type of drawing can be used to draw something like a cityscape from a bird’s-eye view. It is similar to the two-point perspective, except there is also a third vanishing point above or below the horizon line. This will be the “Z” axis. Draw a vertical line from the third vanishing point through the horizon line. Everything else will stem from that point.
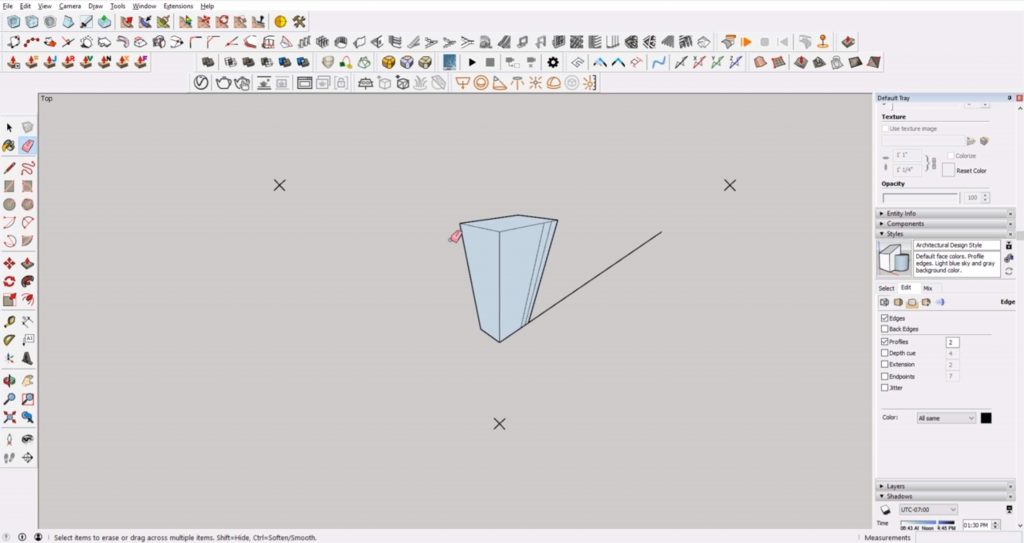
Draw a line to the right vanishing point to create the base of a building. Then, draw another line from the horizon line to the third vanishing point. This will create the first “wall” of your building. Erase any intersecting lines. Repeat the same process on the other side to create a second “wall.”

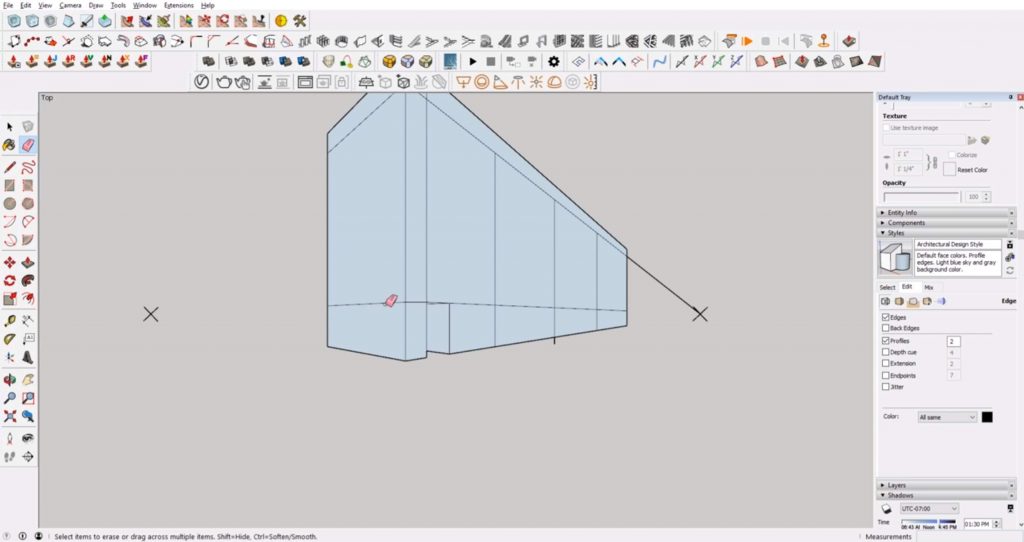
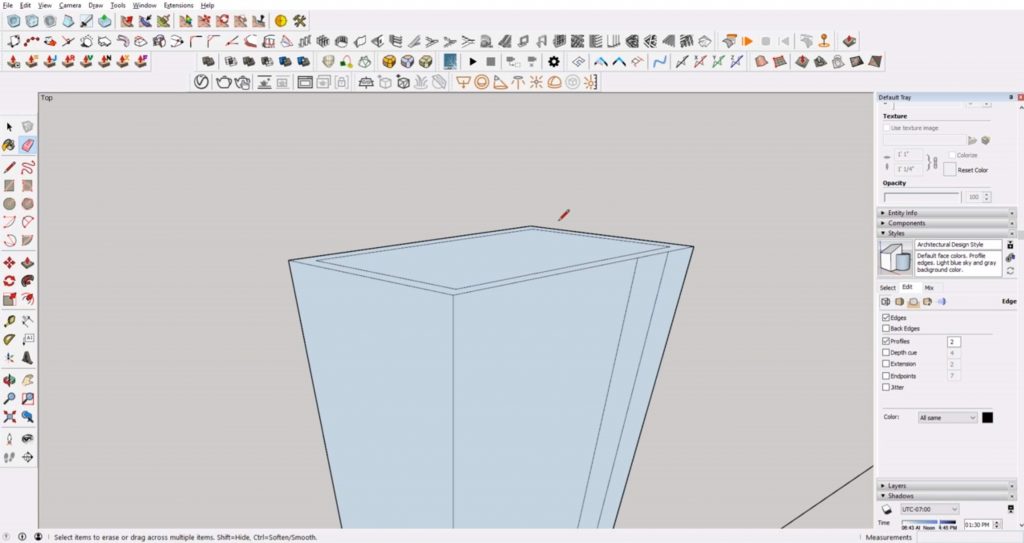
You can extend the lines above the horizon line to give the illusion of a really tall building. From here, you can begin to add details lines, making sure they connect back to the correct vanishing point.
If you want to create the appearance that you are above the building, draw the roofline below the horizon line. You can add details like a parapet by drawing lines offset from the roofline.
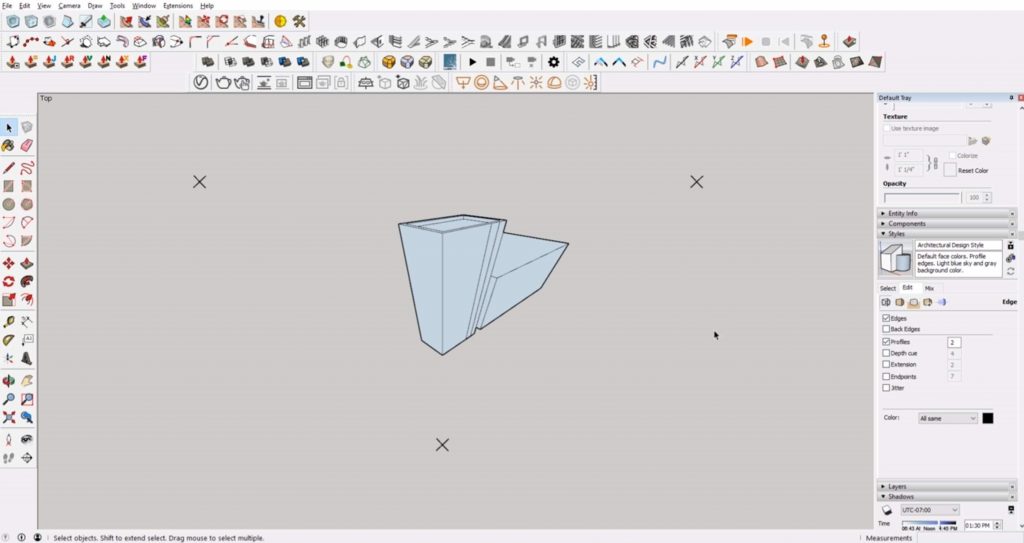
As you draw, keep in mind that things that are closer to you will appear wider. As things get closer to the vanishing points, they appear closer together. Once you get the hang of it, you can begin to add more shapes and buildings to create a more detailed scene.
When you begin to draw perspective, it can get messy and frustrating! Just be patient and keep practicing. Relax and have fun with it, and if you need any additional tips, check out our other tutorials.
Good luck and Happy Hacking!
No comments yet.