
Interior Sketchup Attic Bedroom Speed Model | Trimble Sketchup and Lumion Render

This speed video will show you how we took a 2D reference image and turned it into a 3D interior Sketchup model! It’s a fun process, and with practice, you’ll be able to take any image and turn it into a realistic rendering!
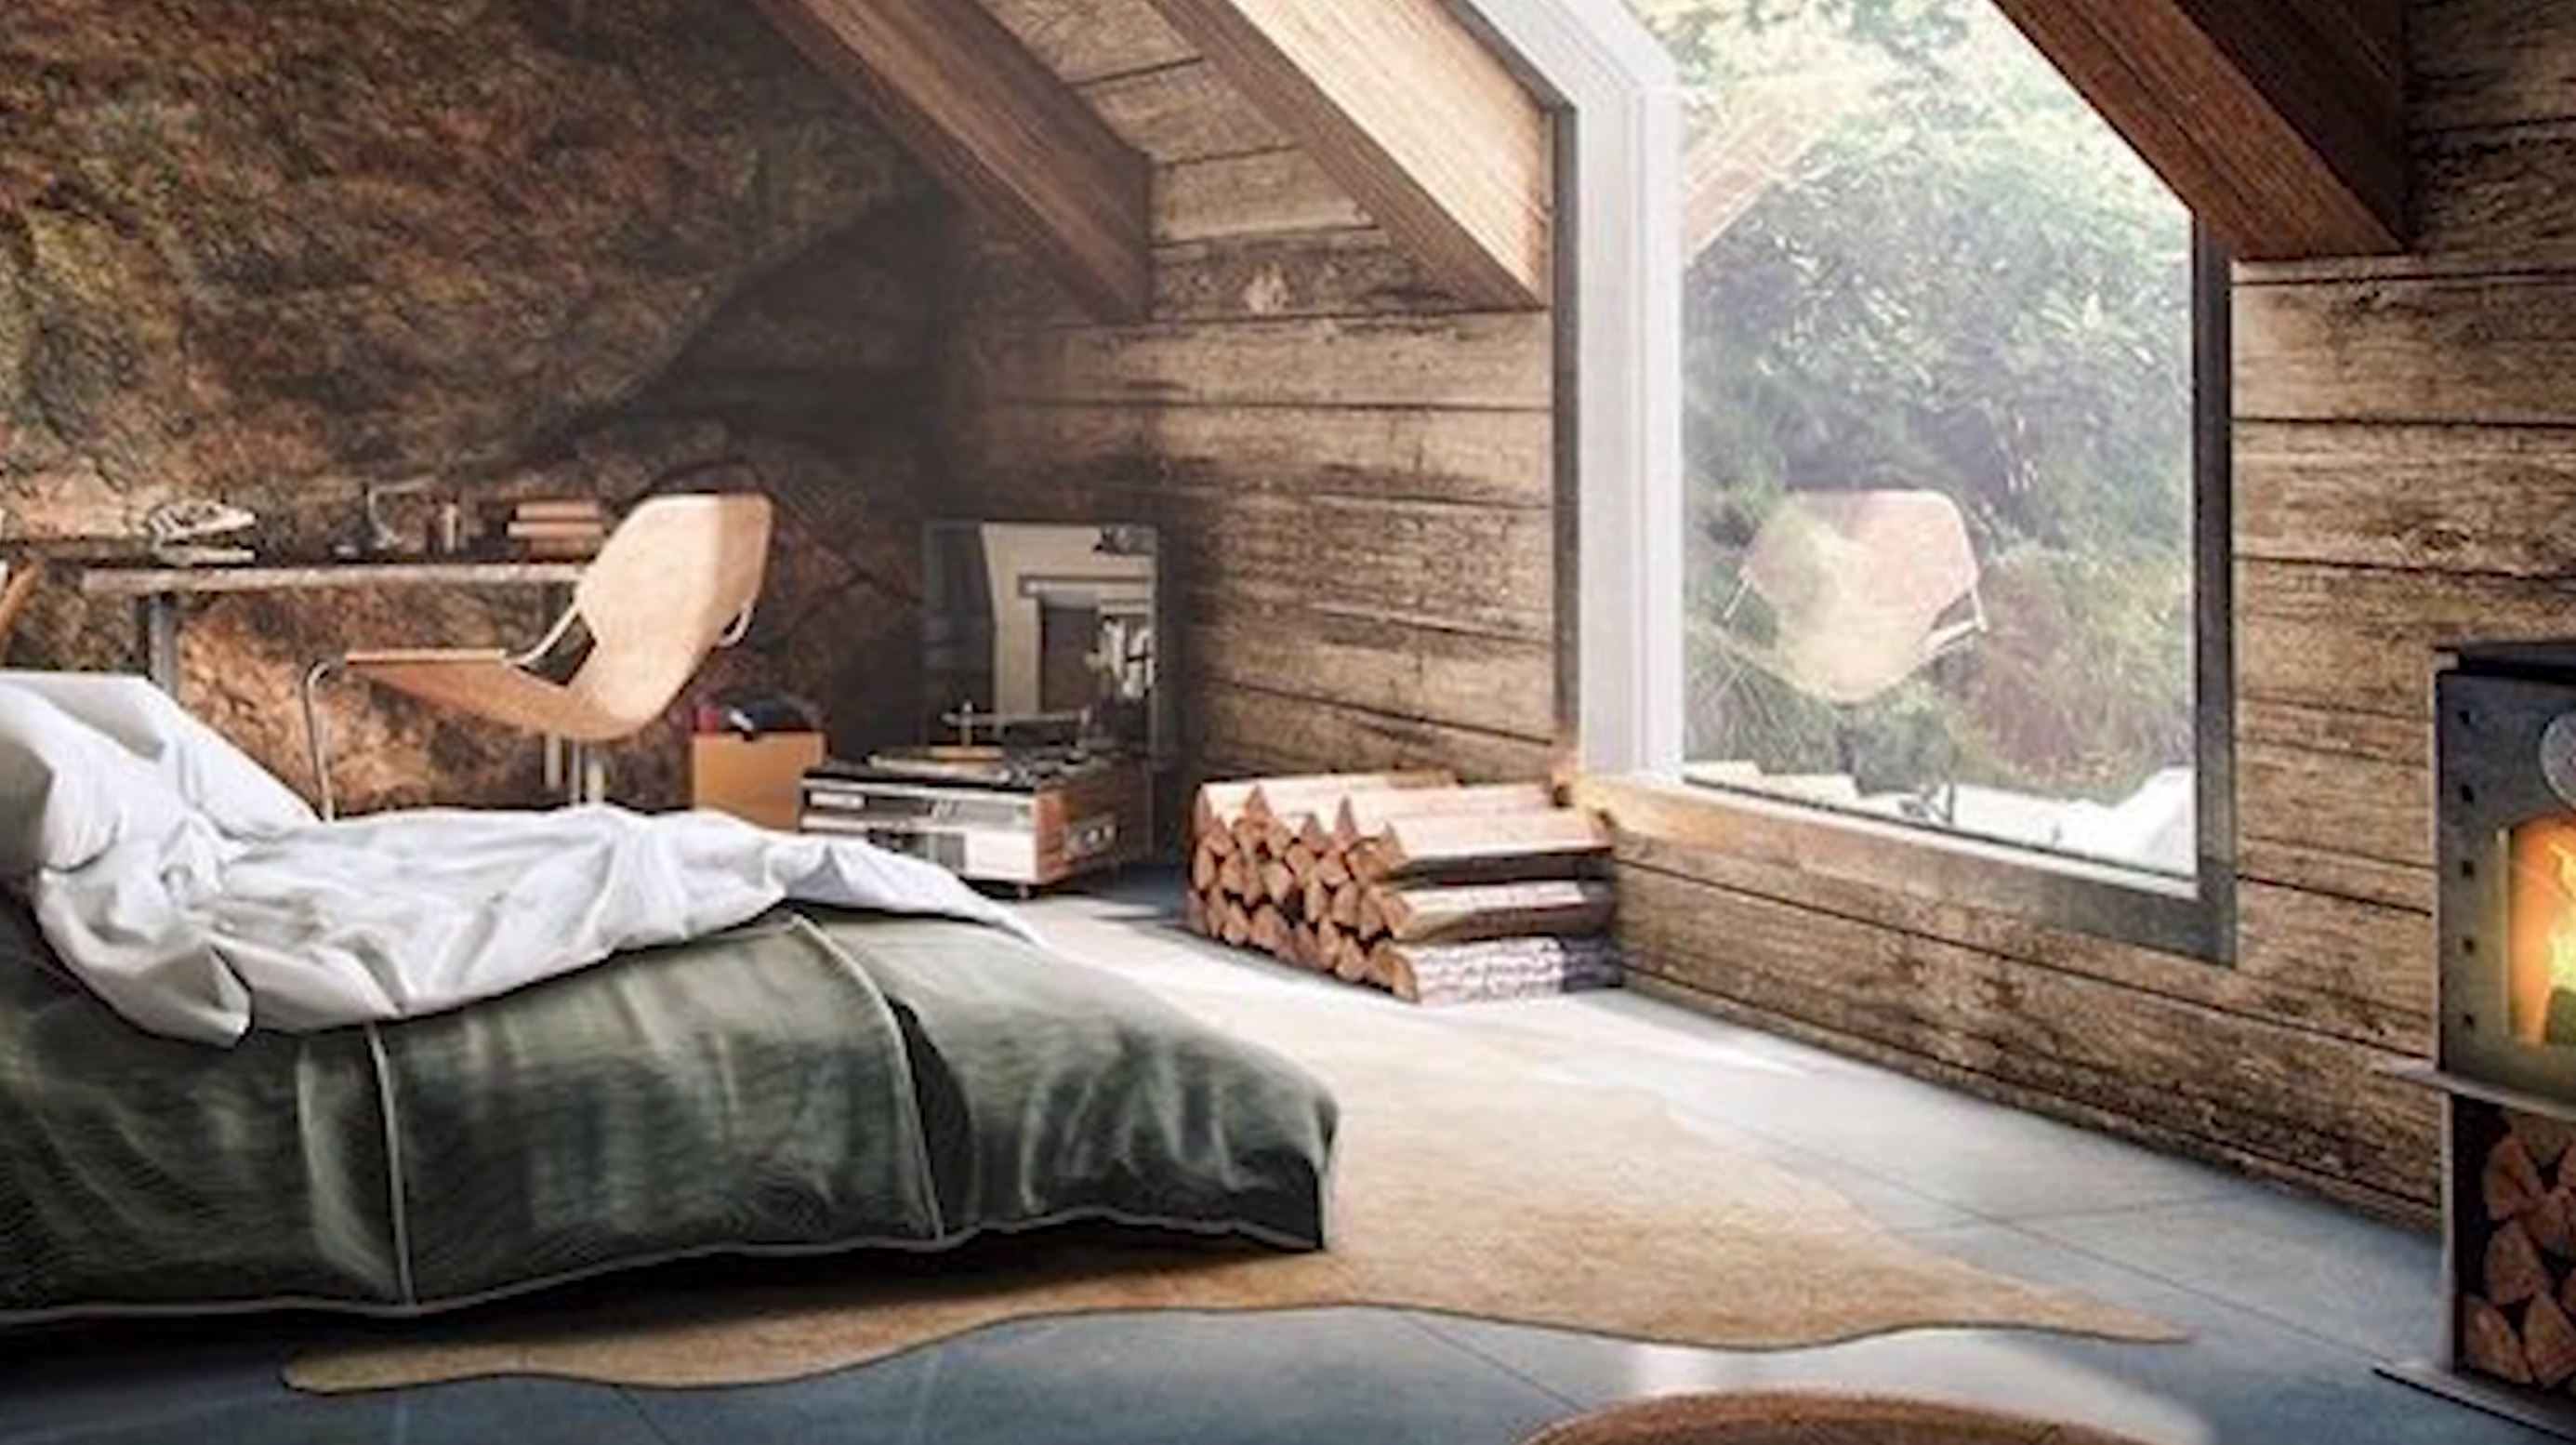
We began by selecting an image that would be easy to convert into a 3D model. You can find free images on Pinterest, Unsplash, Pexels, our my personal favorite Art Station. Just be sure to credit your source! Look for an image with a strong 2-point perspective to add dimension and clear lines to help you more easily construct the room.
Our image is a cozy bedroom scene with lots of warm, natural light. The walls and other architectural features are very defined which will make locating intersecting planes and creating the interior Sketchup model much easier.
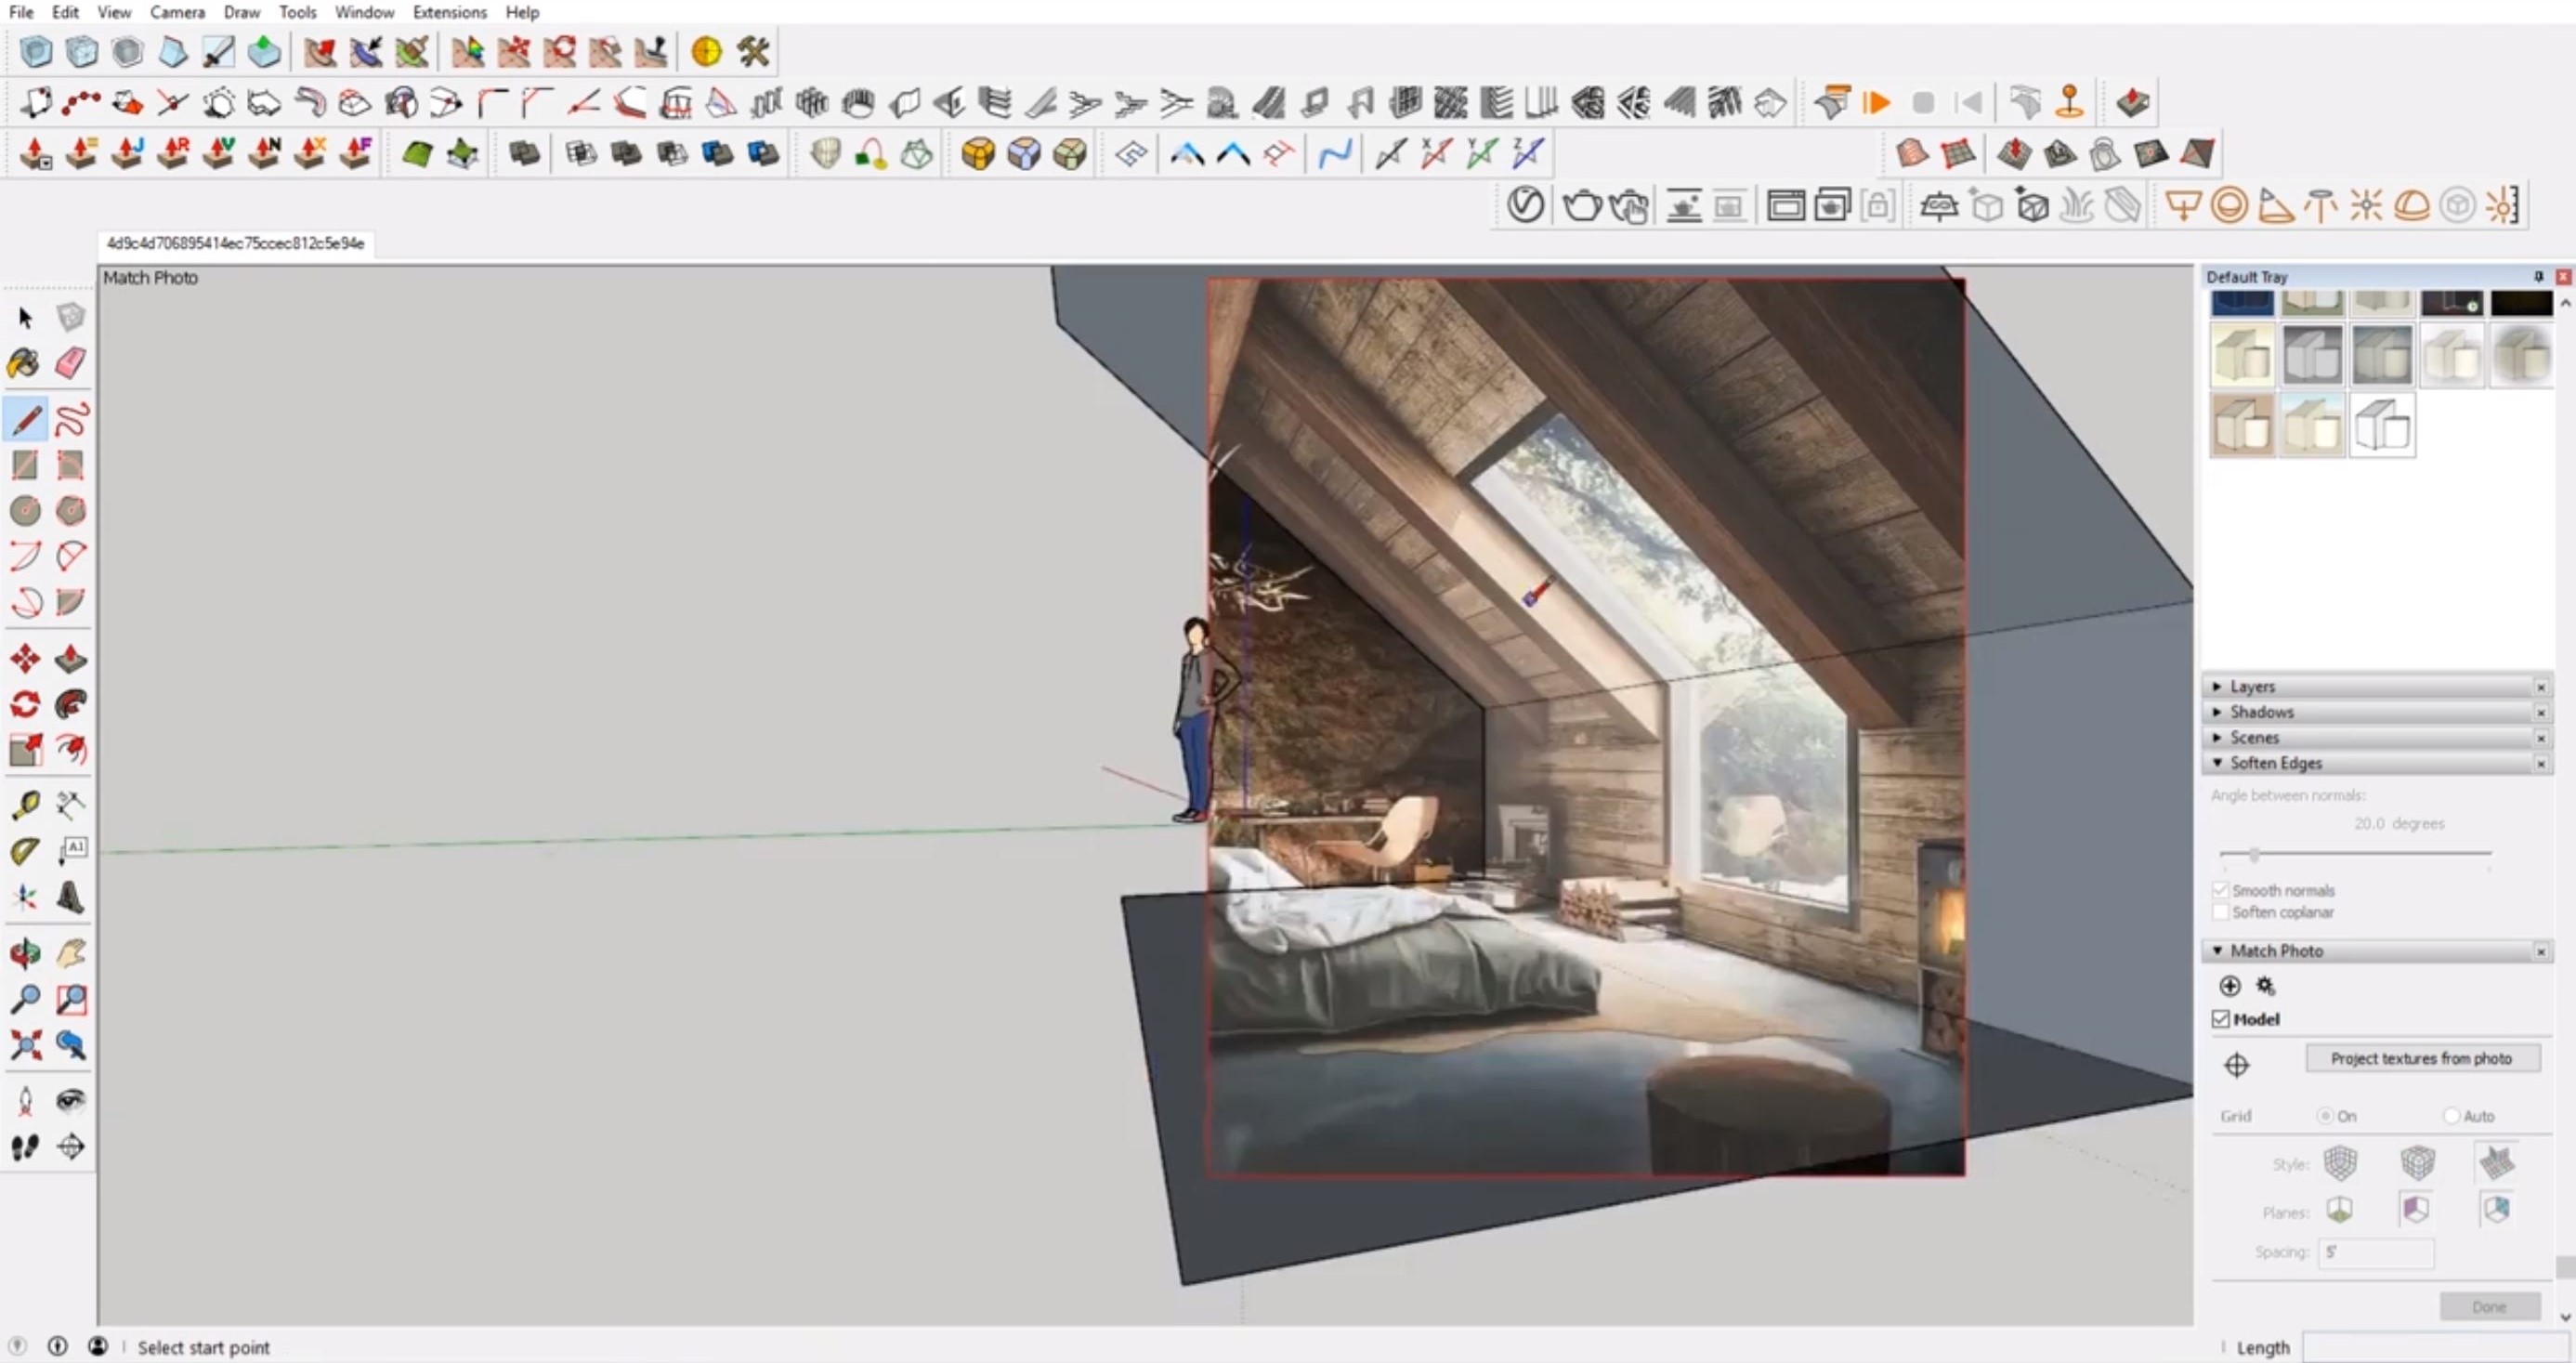
After selecting an image, we uploaded it into Sketchup as a matchphoto and use our scale figure to find a scale that’s appropriate. Photomatch will help you locate the horizon line and get a feel for how big the space will be in three dimensions. We then established the major planes by creating the walls, floor, and sloped ceiling. We don’t know what the entire room looks like, but we can assume the other half is going to be a mirror image- of course you can get as creative as you want or need! Since we’re only planning on rendering this one view, we just want to make sure we create enough of the environment to generate a render with the correct lighting conditions. Don’t overdo it here! Only model what you’ll see in your render or what is going to affect the lighting. Your time is precious, so don’t waste it on things you won’t see.
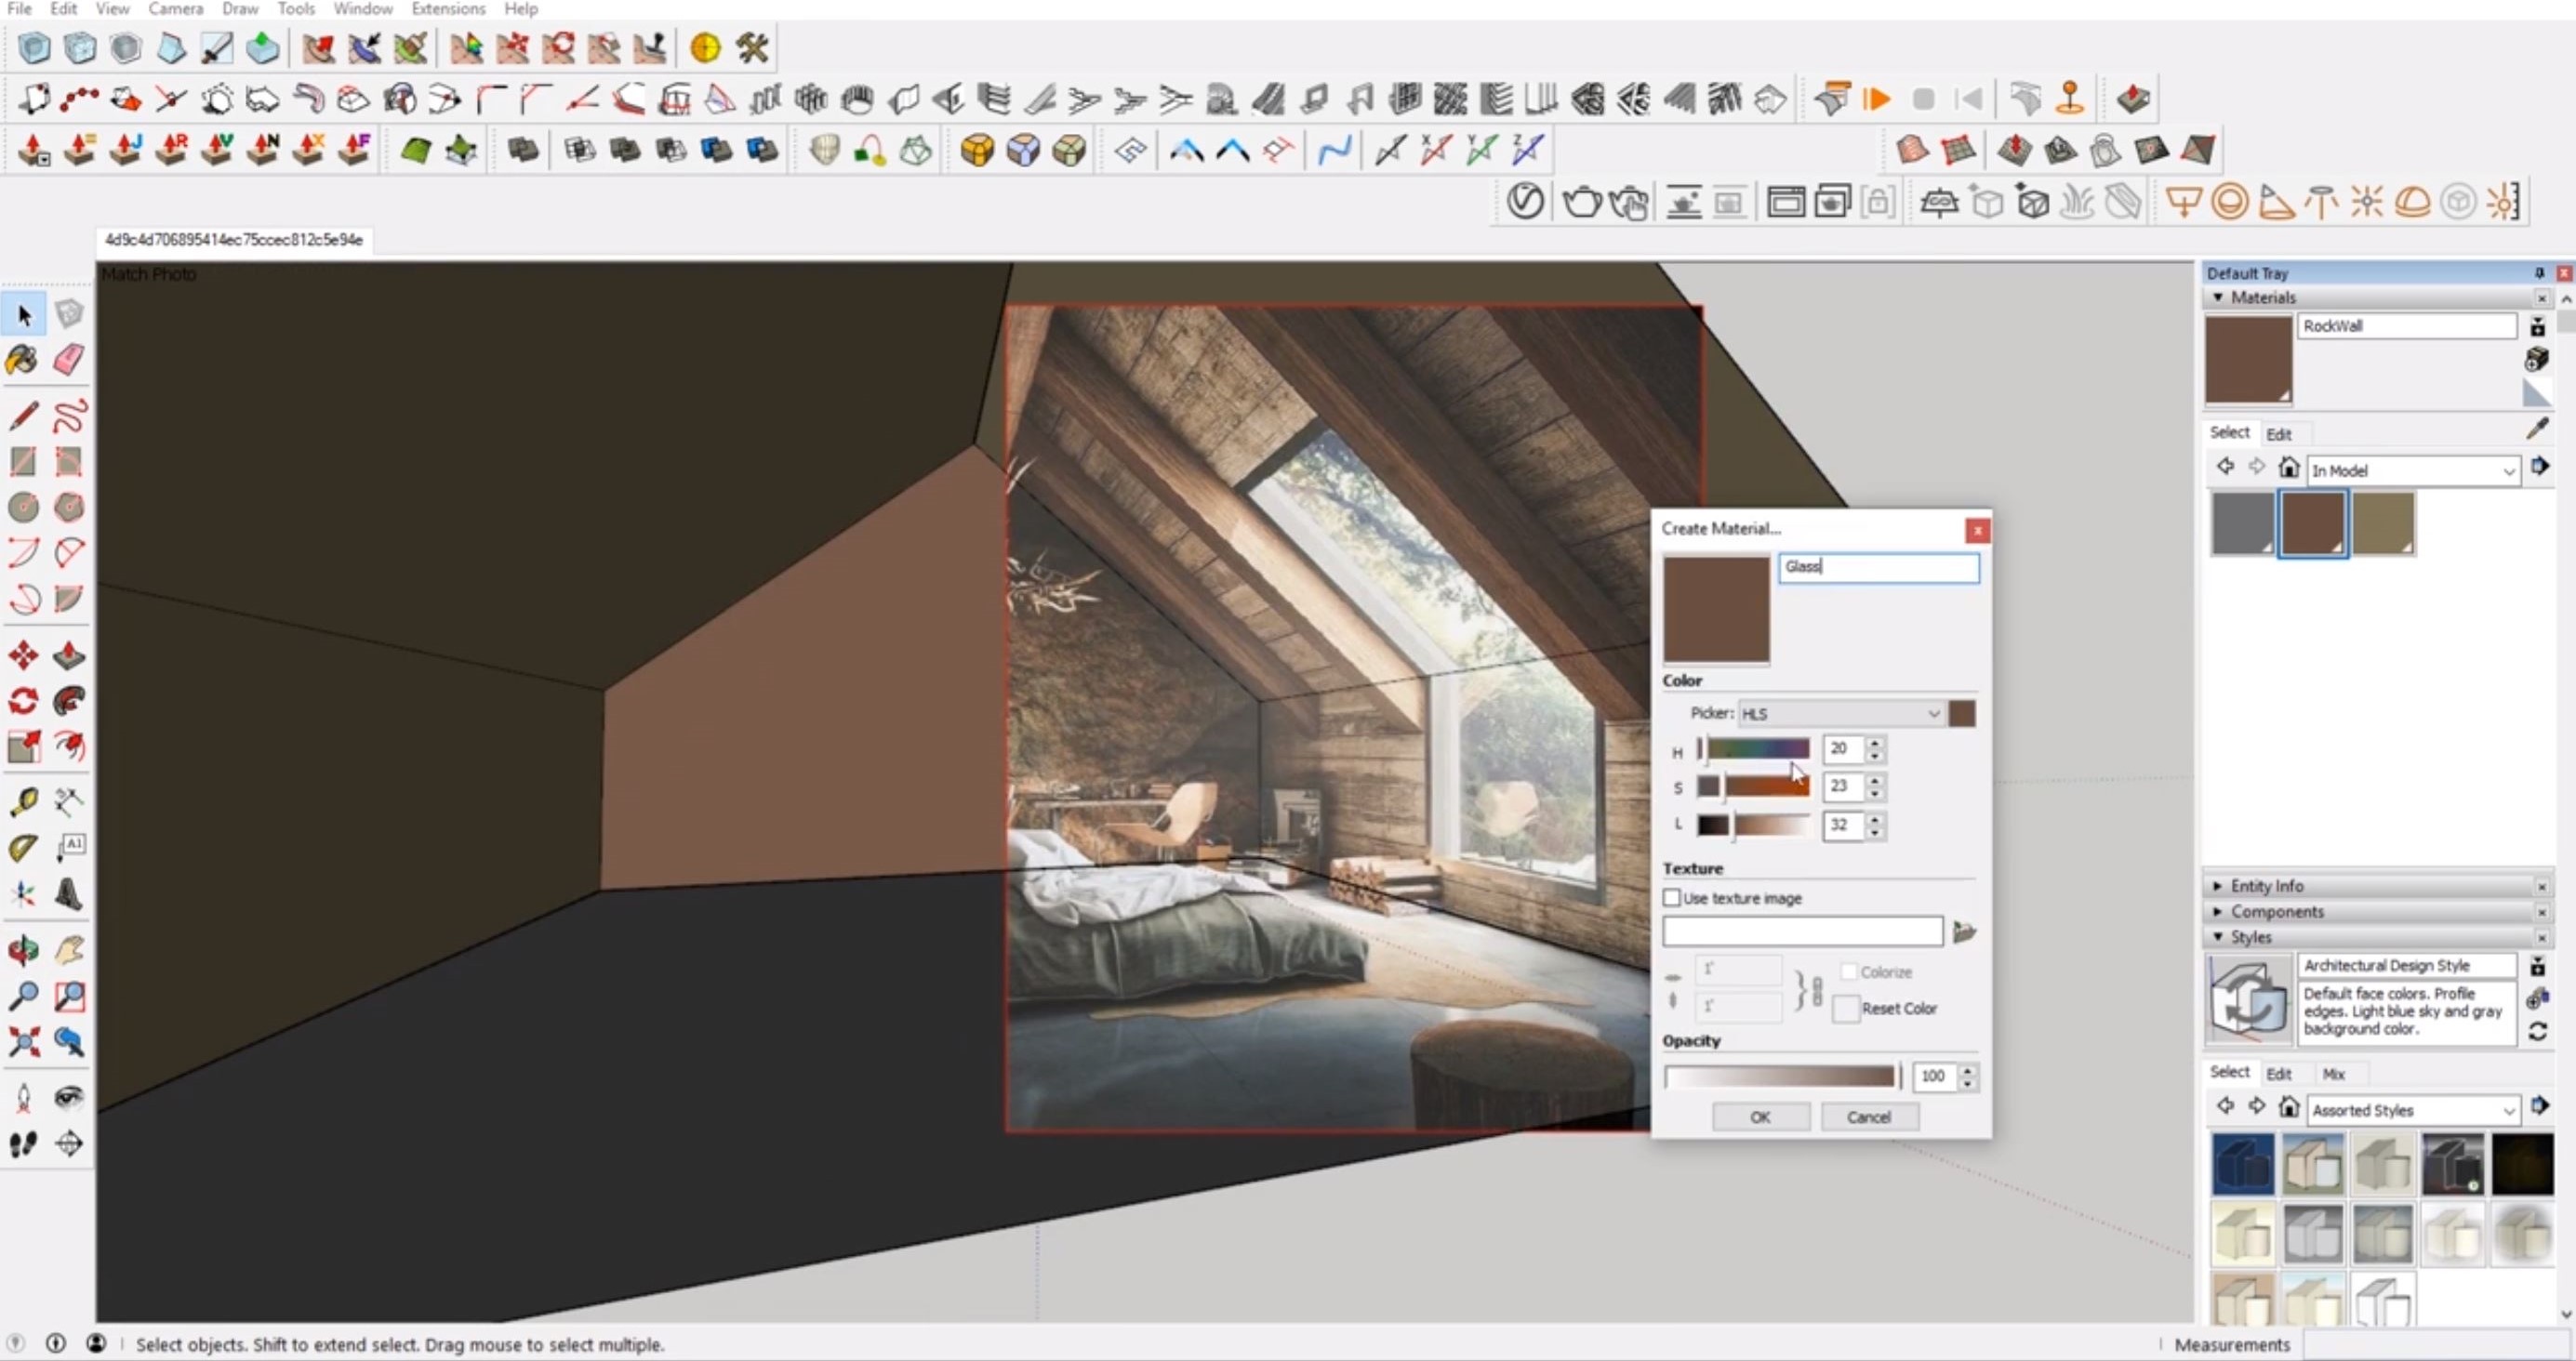
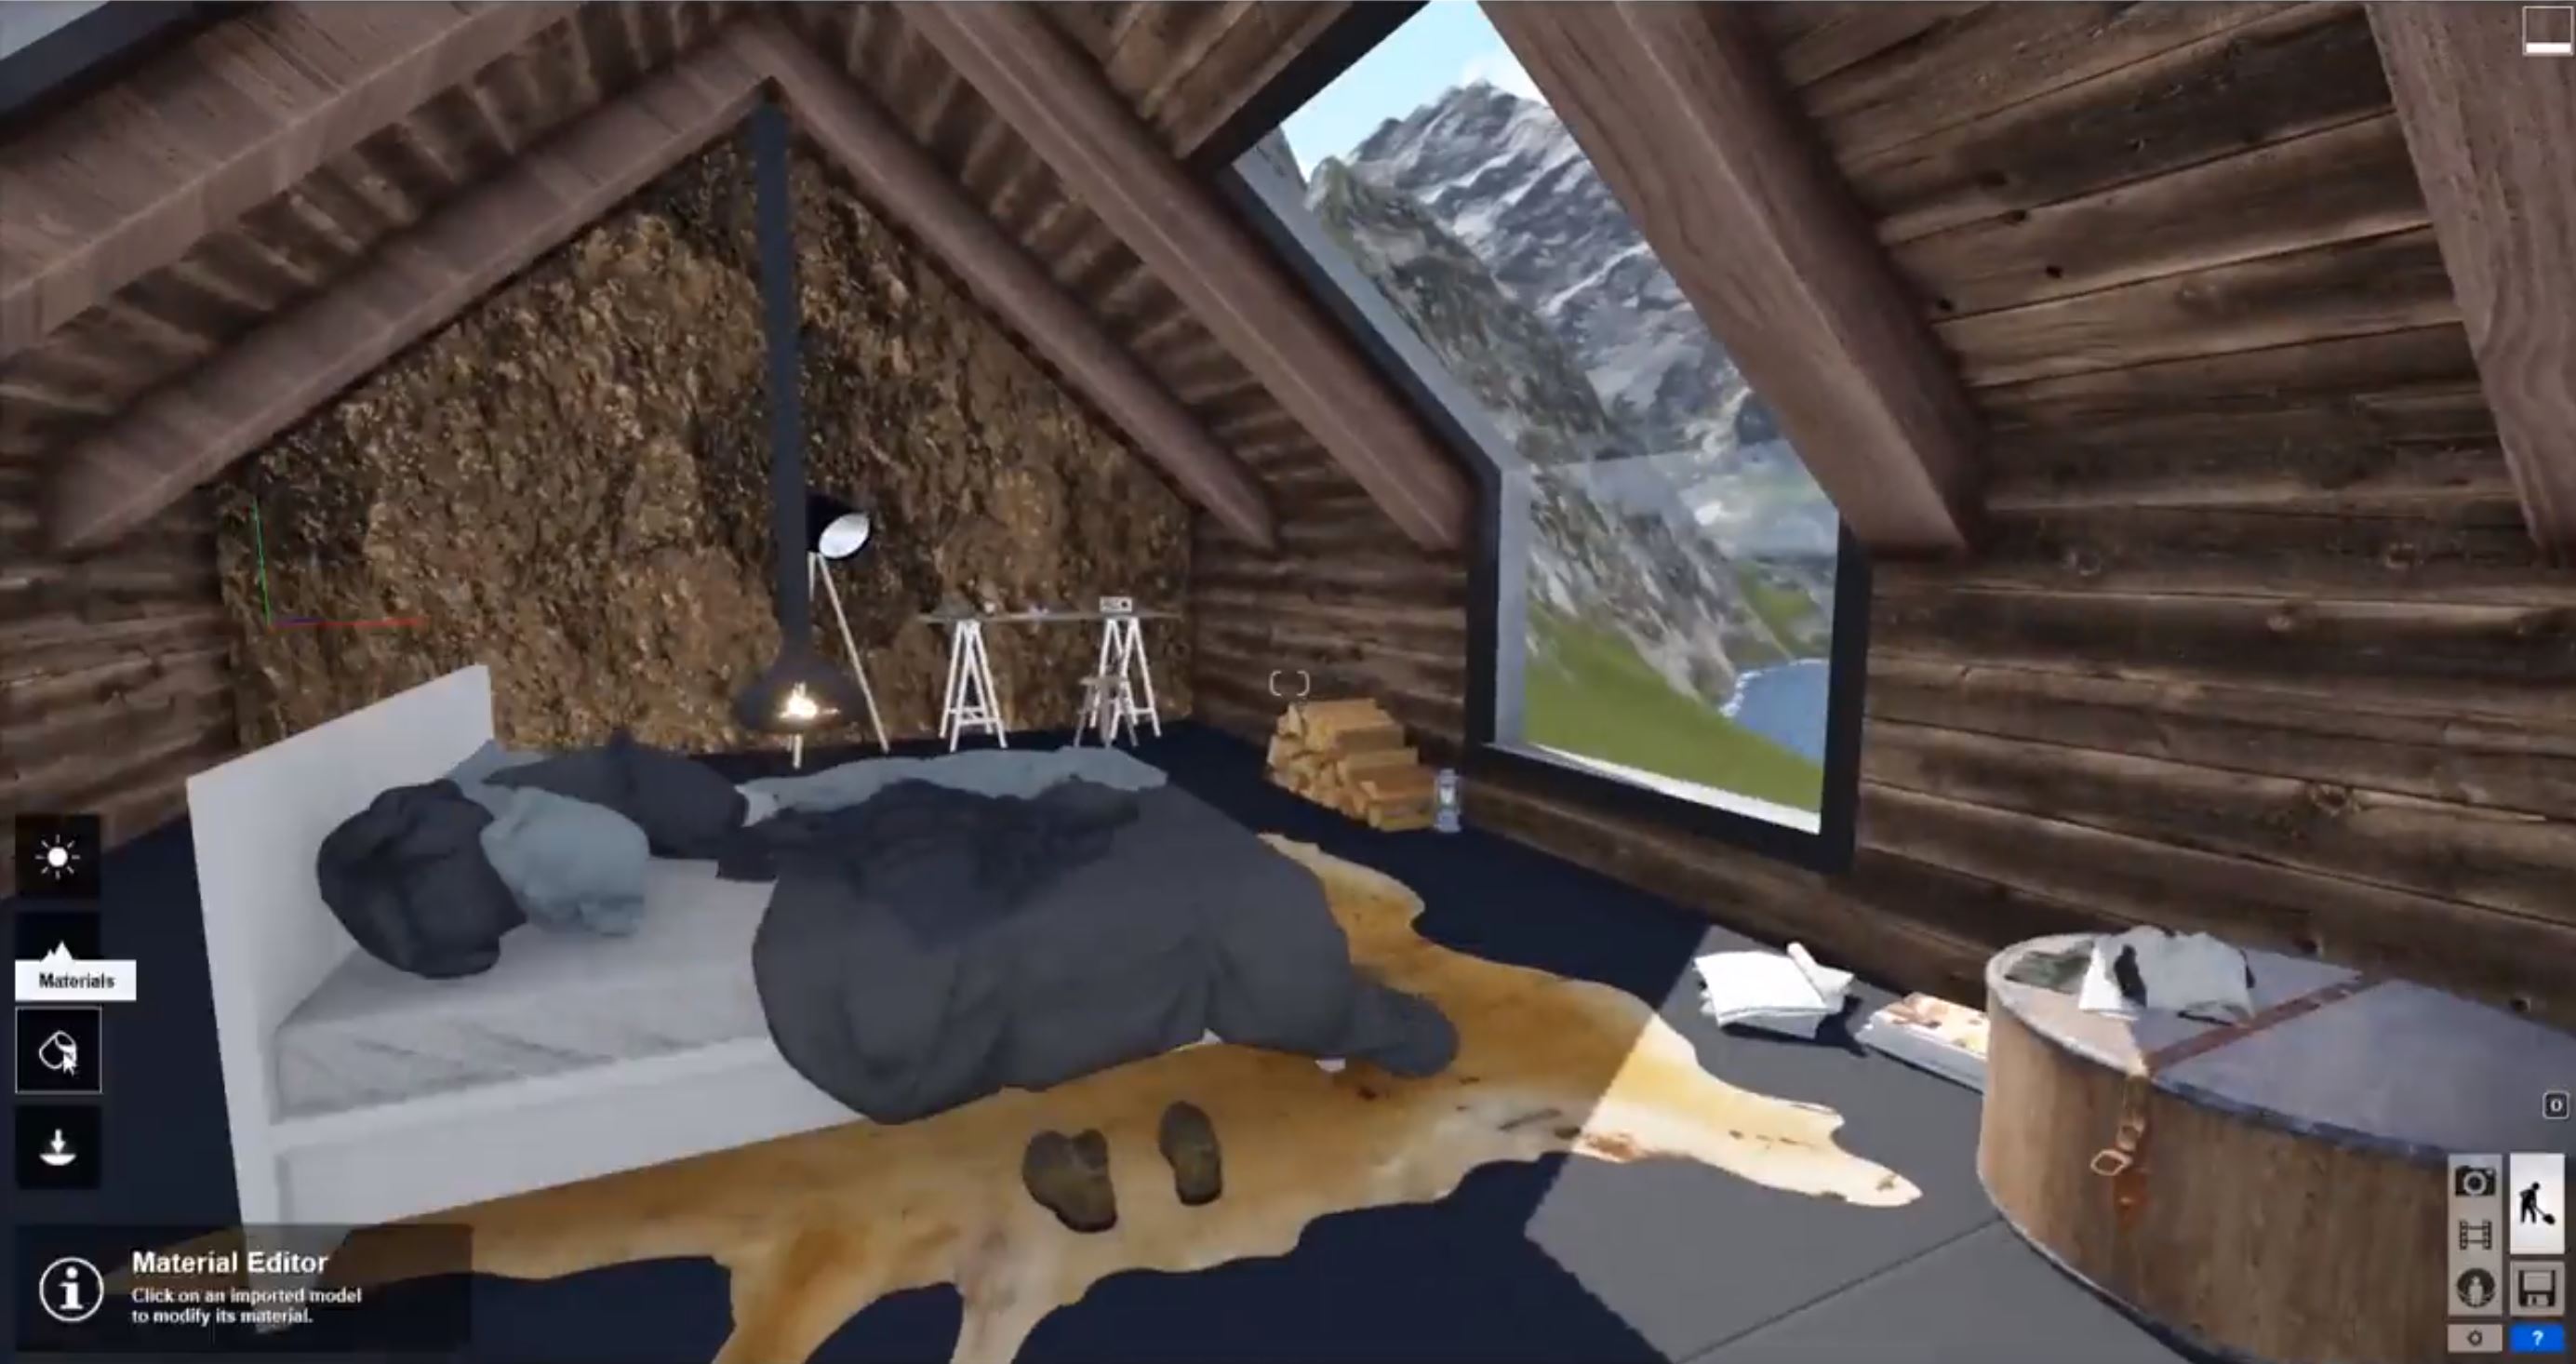
Once the outline of the room was created, we changed the color of the planes to represent what was in the picture and give the model a more natural feel.
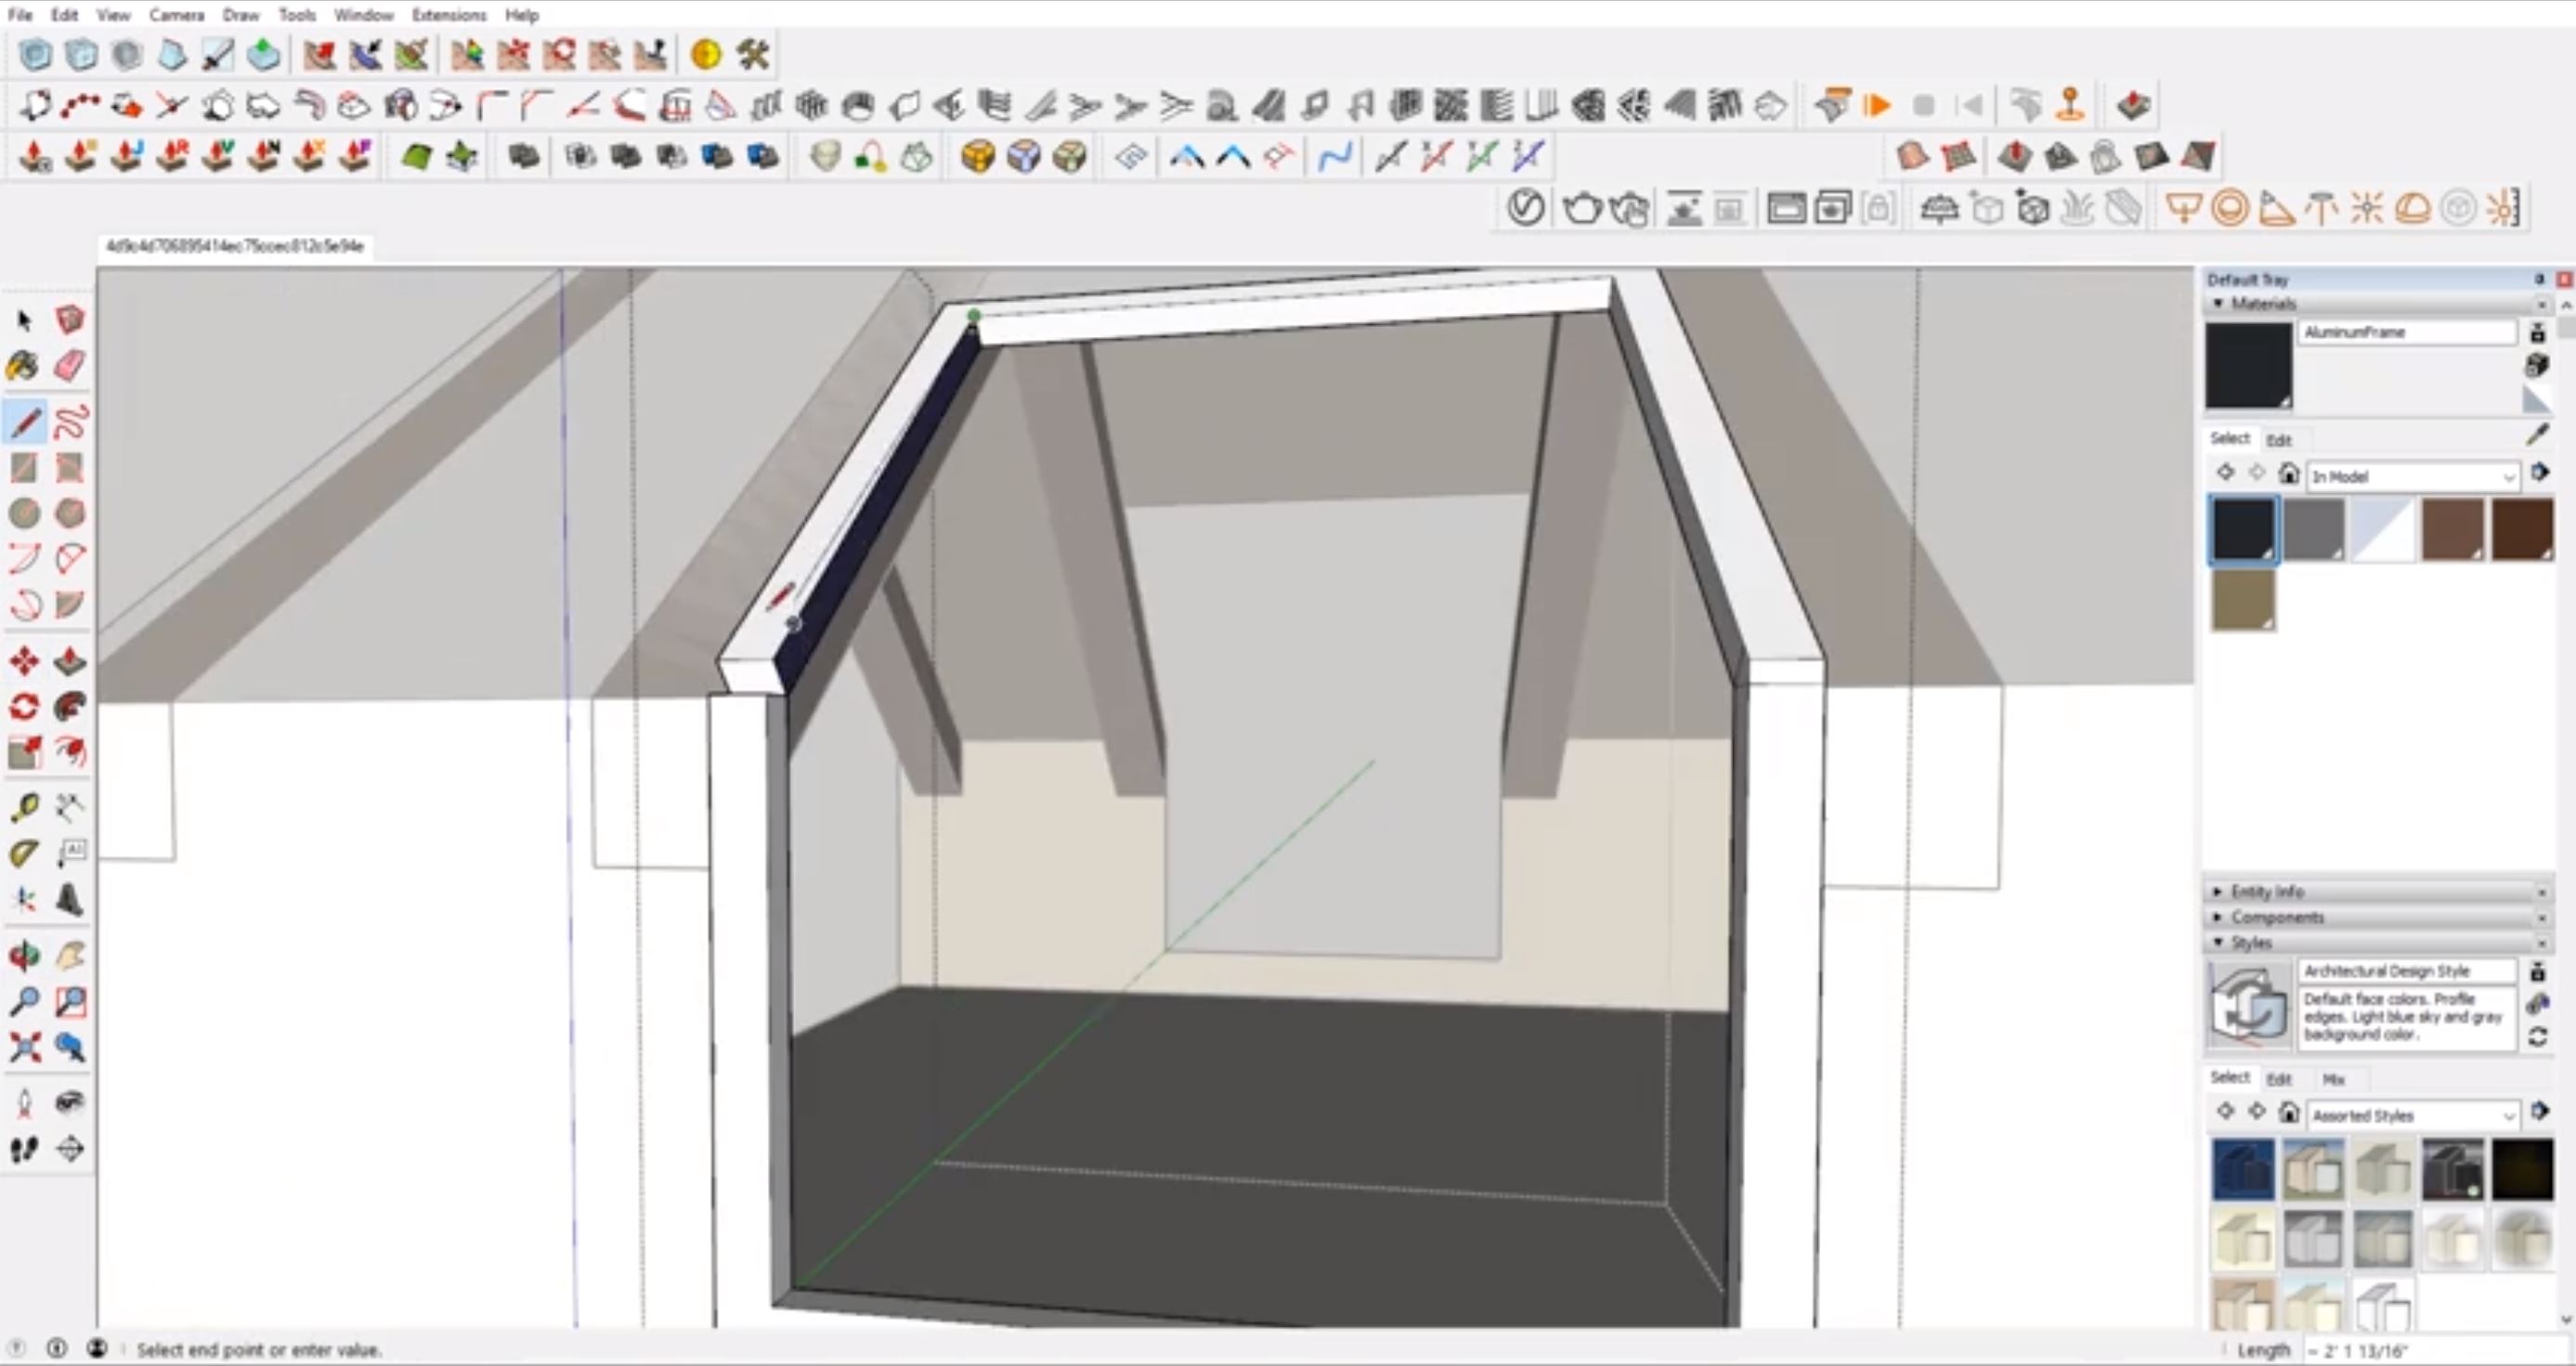
Then, we started adding the defining architectural details such as the ceiling beams, window frame, and skylight to make the room come alive. Once everything was added, we cleaned up the interior and exterior walls to make it a smooth surface.
Rendering the Interior Sketchup Model
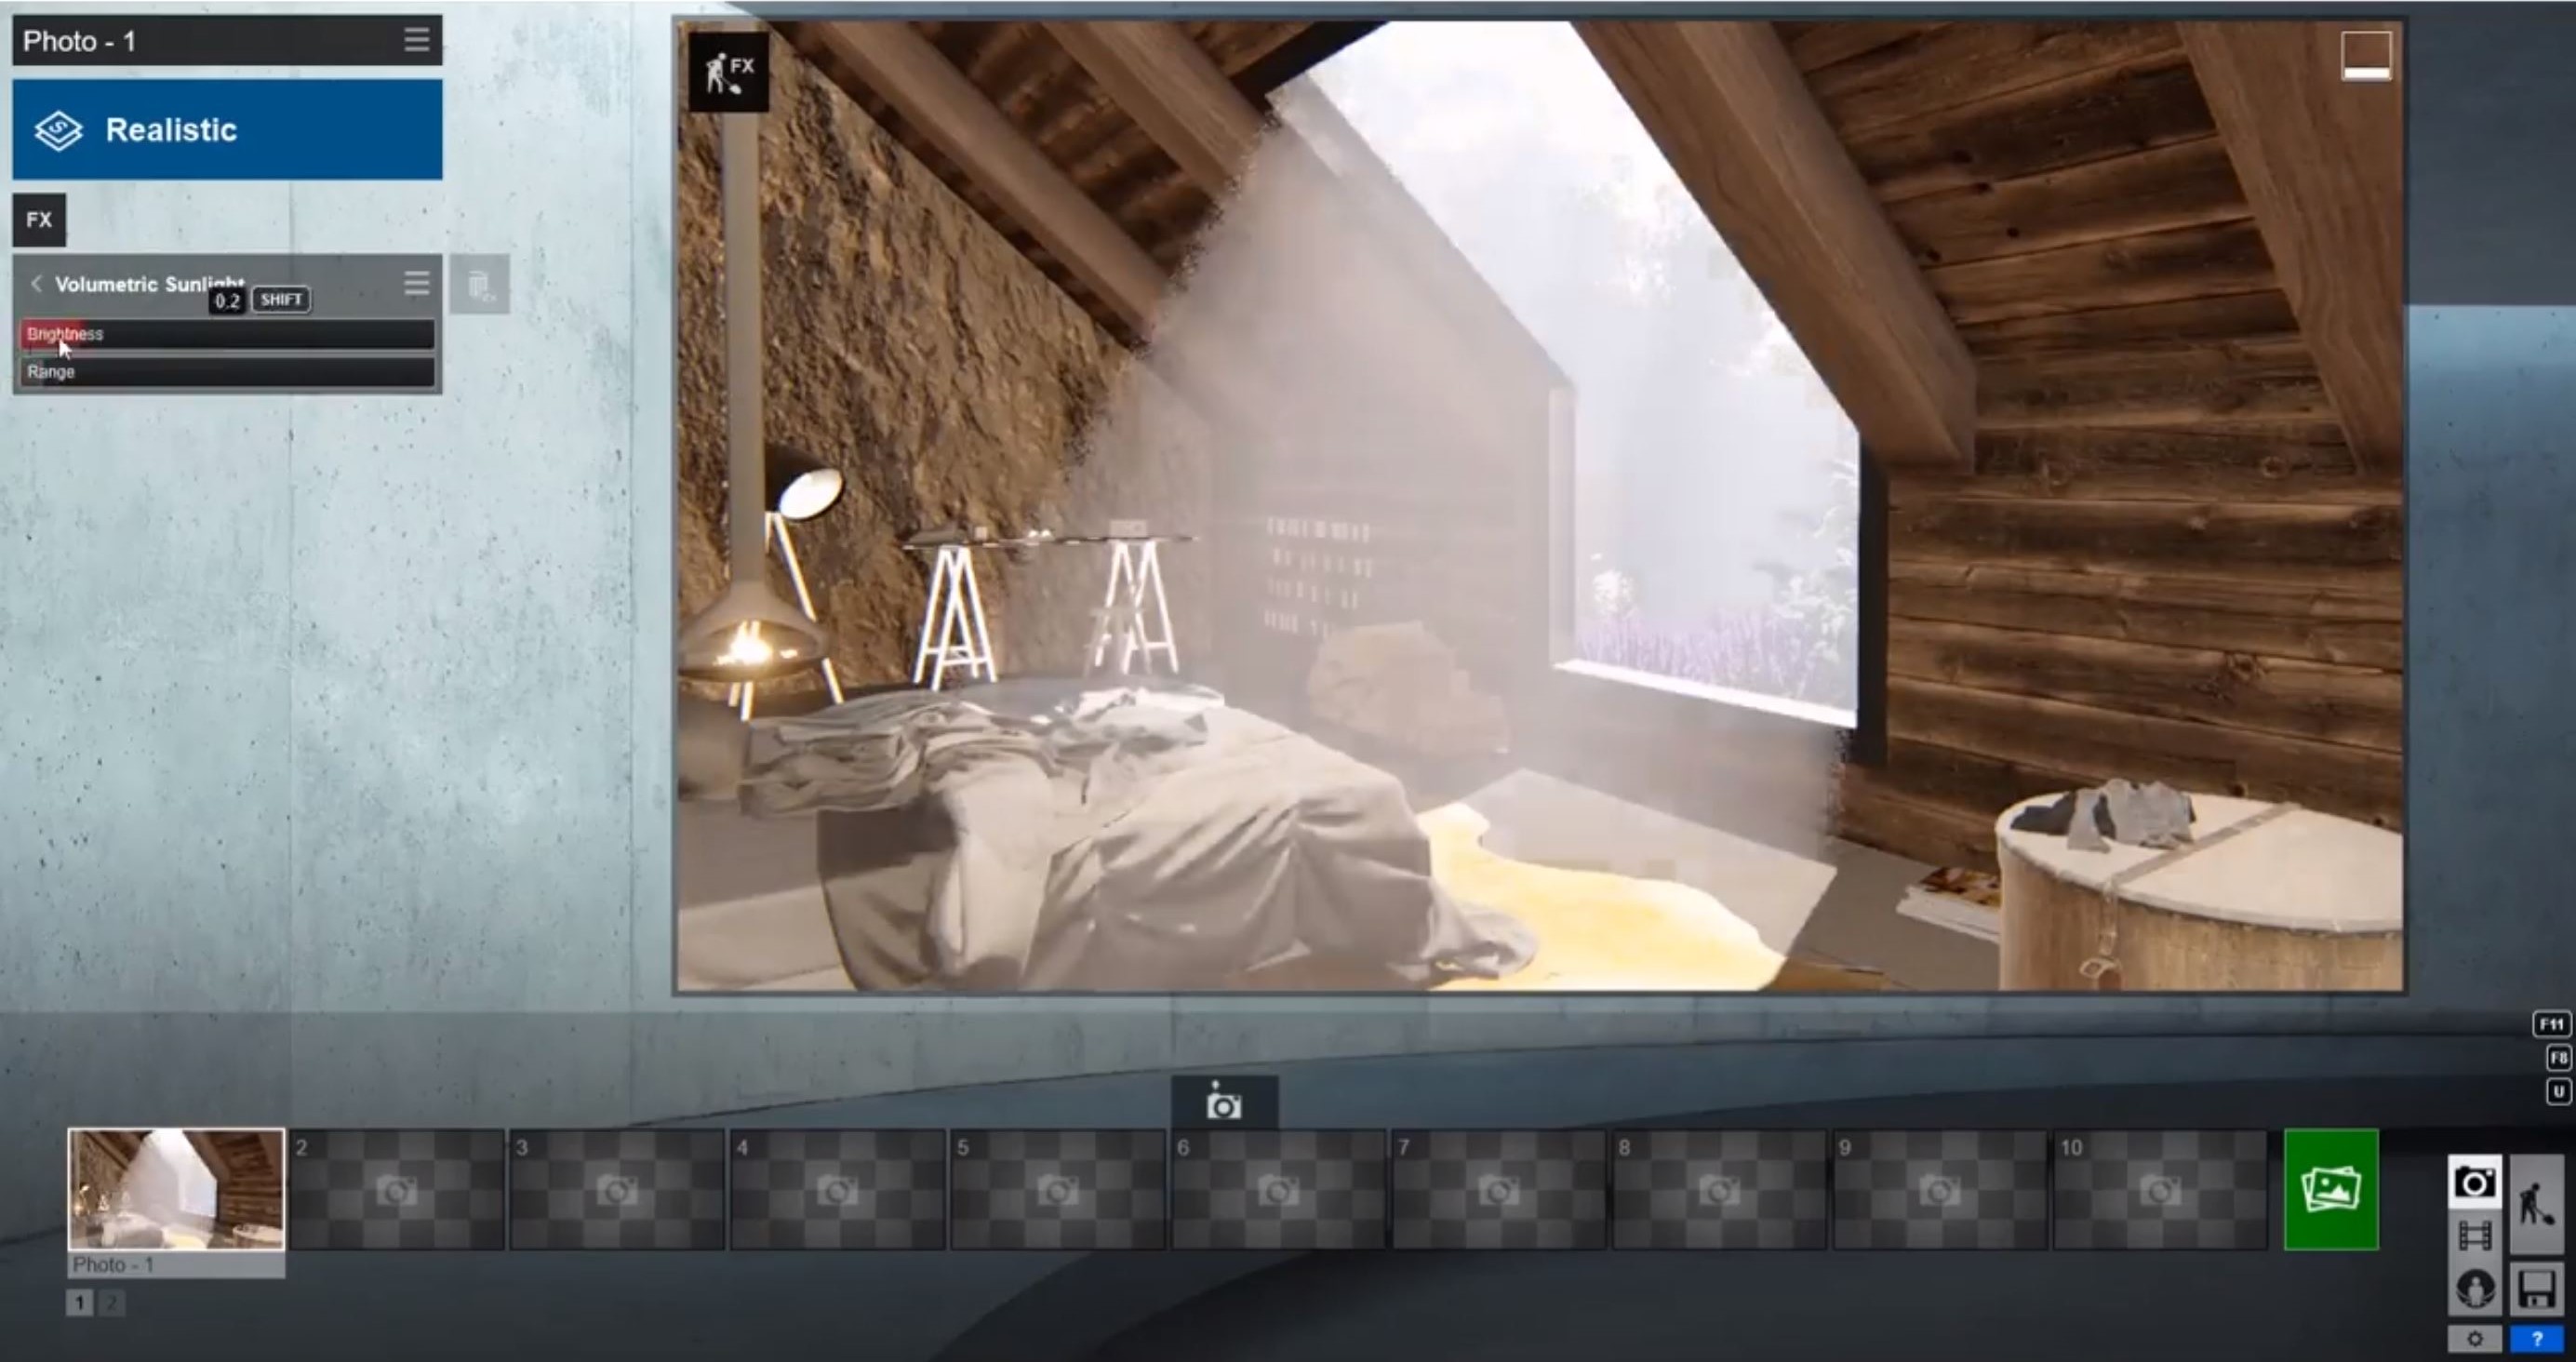
When we were happy with the interior Sketchup model, we imported it into Lumion to start rendering. There are a ton of great features in Lumion that will allow us to create a realistic view. We put it in a lakeside setting to complement the atmosphere of the image. Using the original image for reference, we added materials to all of the surfaces. Then, we imported models from Lumion’s library and the 3D Warehouse to complete the interior. More customized models, like the unmade bed and cowhide rug, were imported from the 3D Warehouse into our interior Sketchup model before we could render them in Lumion.
Once the interior was finished, we added some foliage in the background to make the room feel more secluded and to dress up the exterior. When everything was placed, we selected a view that matched the original image. We played around with the sunlight settings, tweaked a few materials, and that’s it!

Transforming a picture into your own 3D model can be a fun process and a great way to practice your modeling and rendering skills. If you really want to practice your skills, you could even take one image and use it as a jumping off point to create an entire home around!
Have you tried turning an interior Sketchup model into a realistic rendered image? Share your experience below!
No comments yet.