
How to Create a Transparent Sketchup PNG

Use this simple hack to save yourself an extra step and export transparent PNGs directly from Sketchup! You may use Sketchup PNGs to add your image onto different backgrounds, experiment with paint colors, or to create a fun collage.
My default, if you export your current model as a 2D PNG image you will notice that the ground plane is be transparent, but the sky is not. You can delete the unwanted background in Photoshop, but why give yourself an extra step? Follow these steps and you can have a transparent Sketchup PNG right from the start!
Exporting a Sketchup PNG
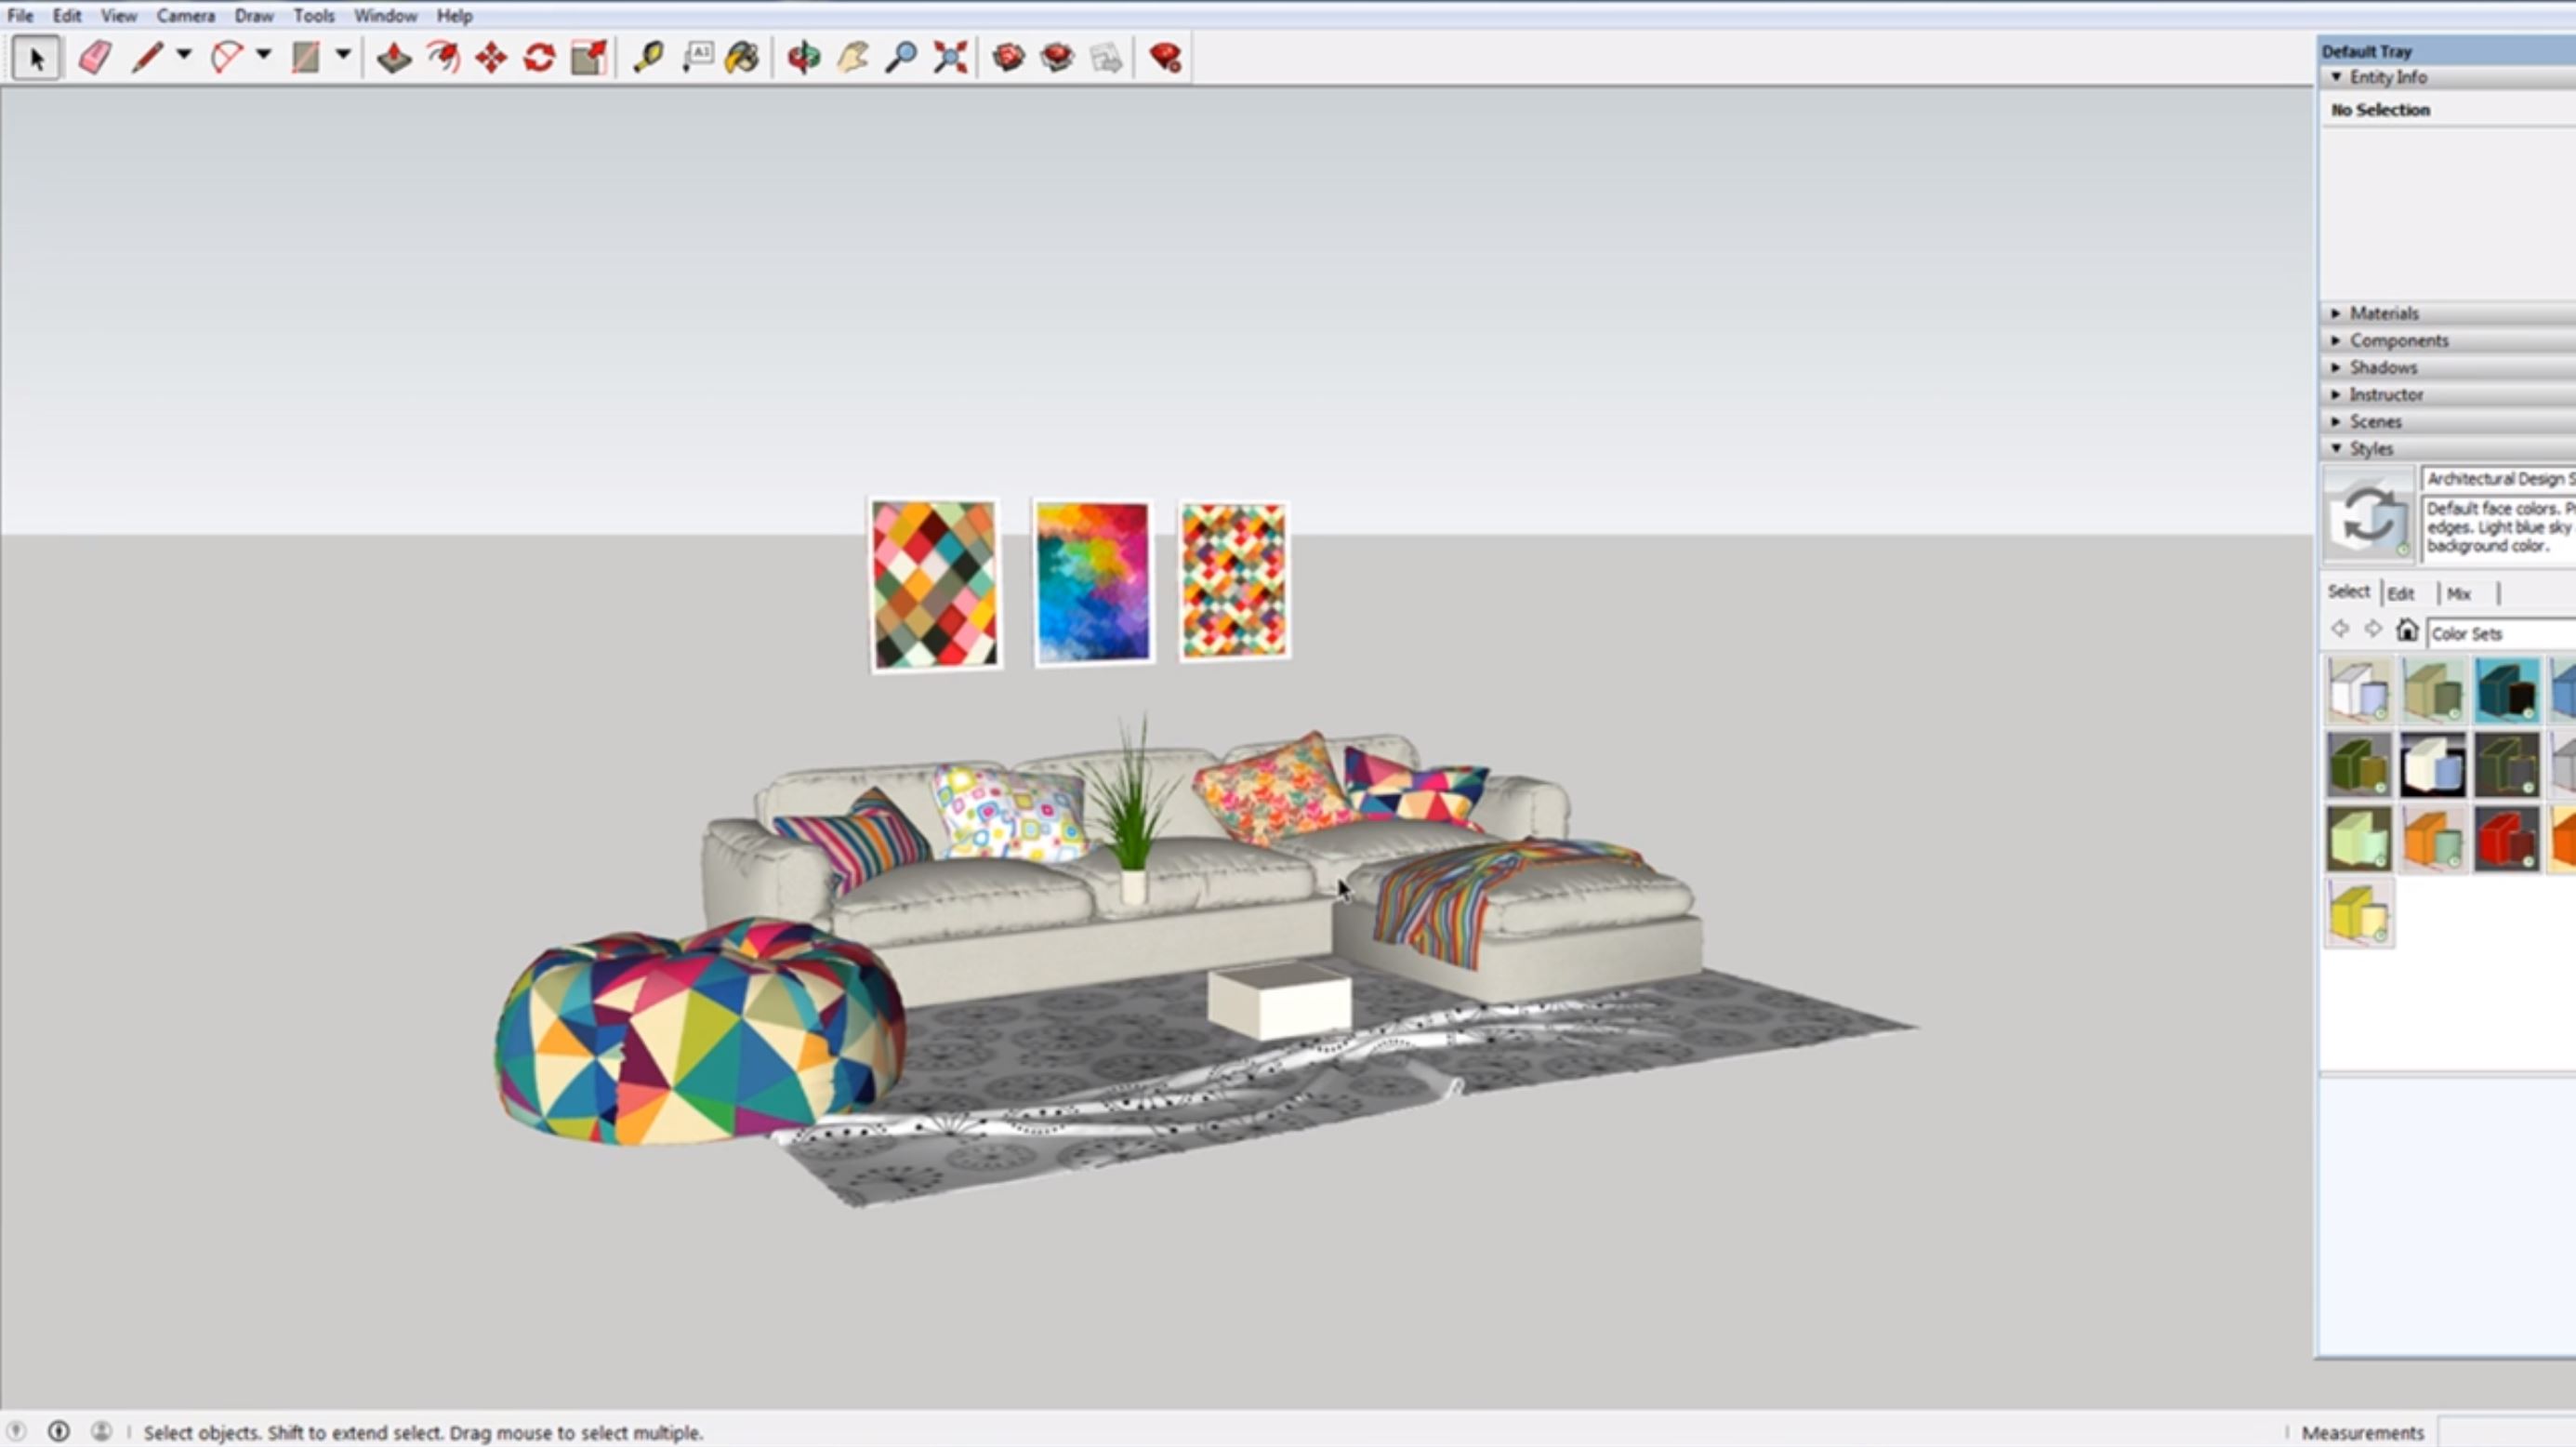
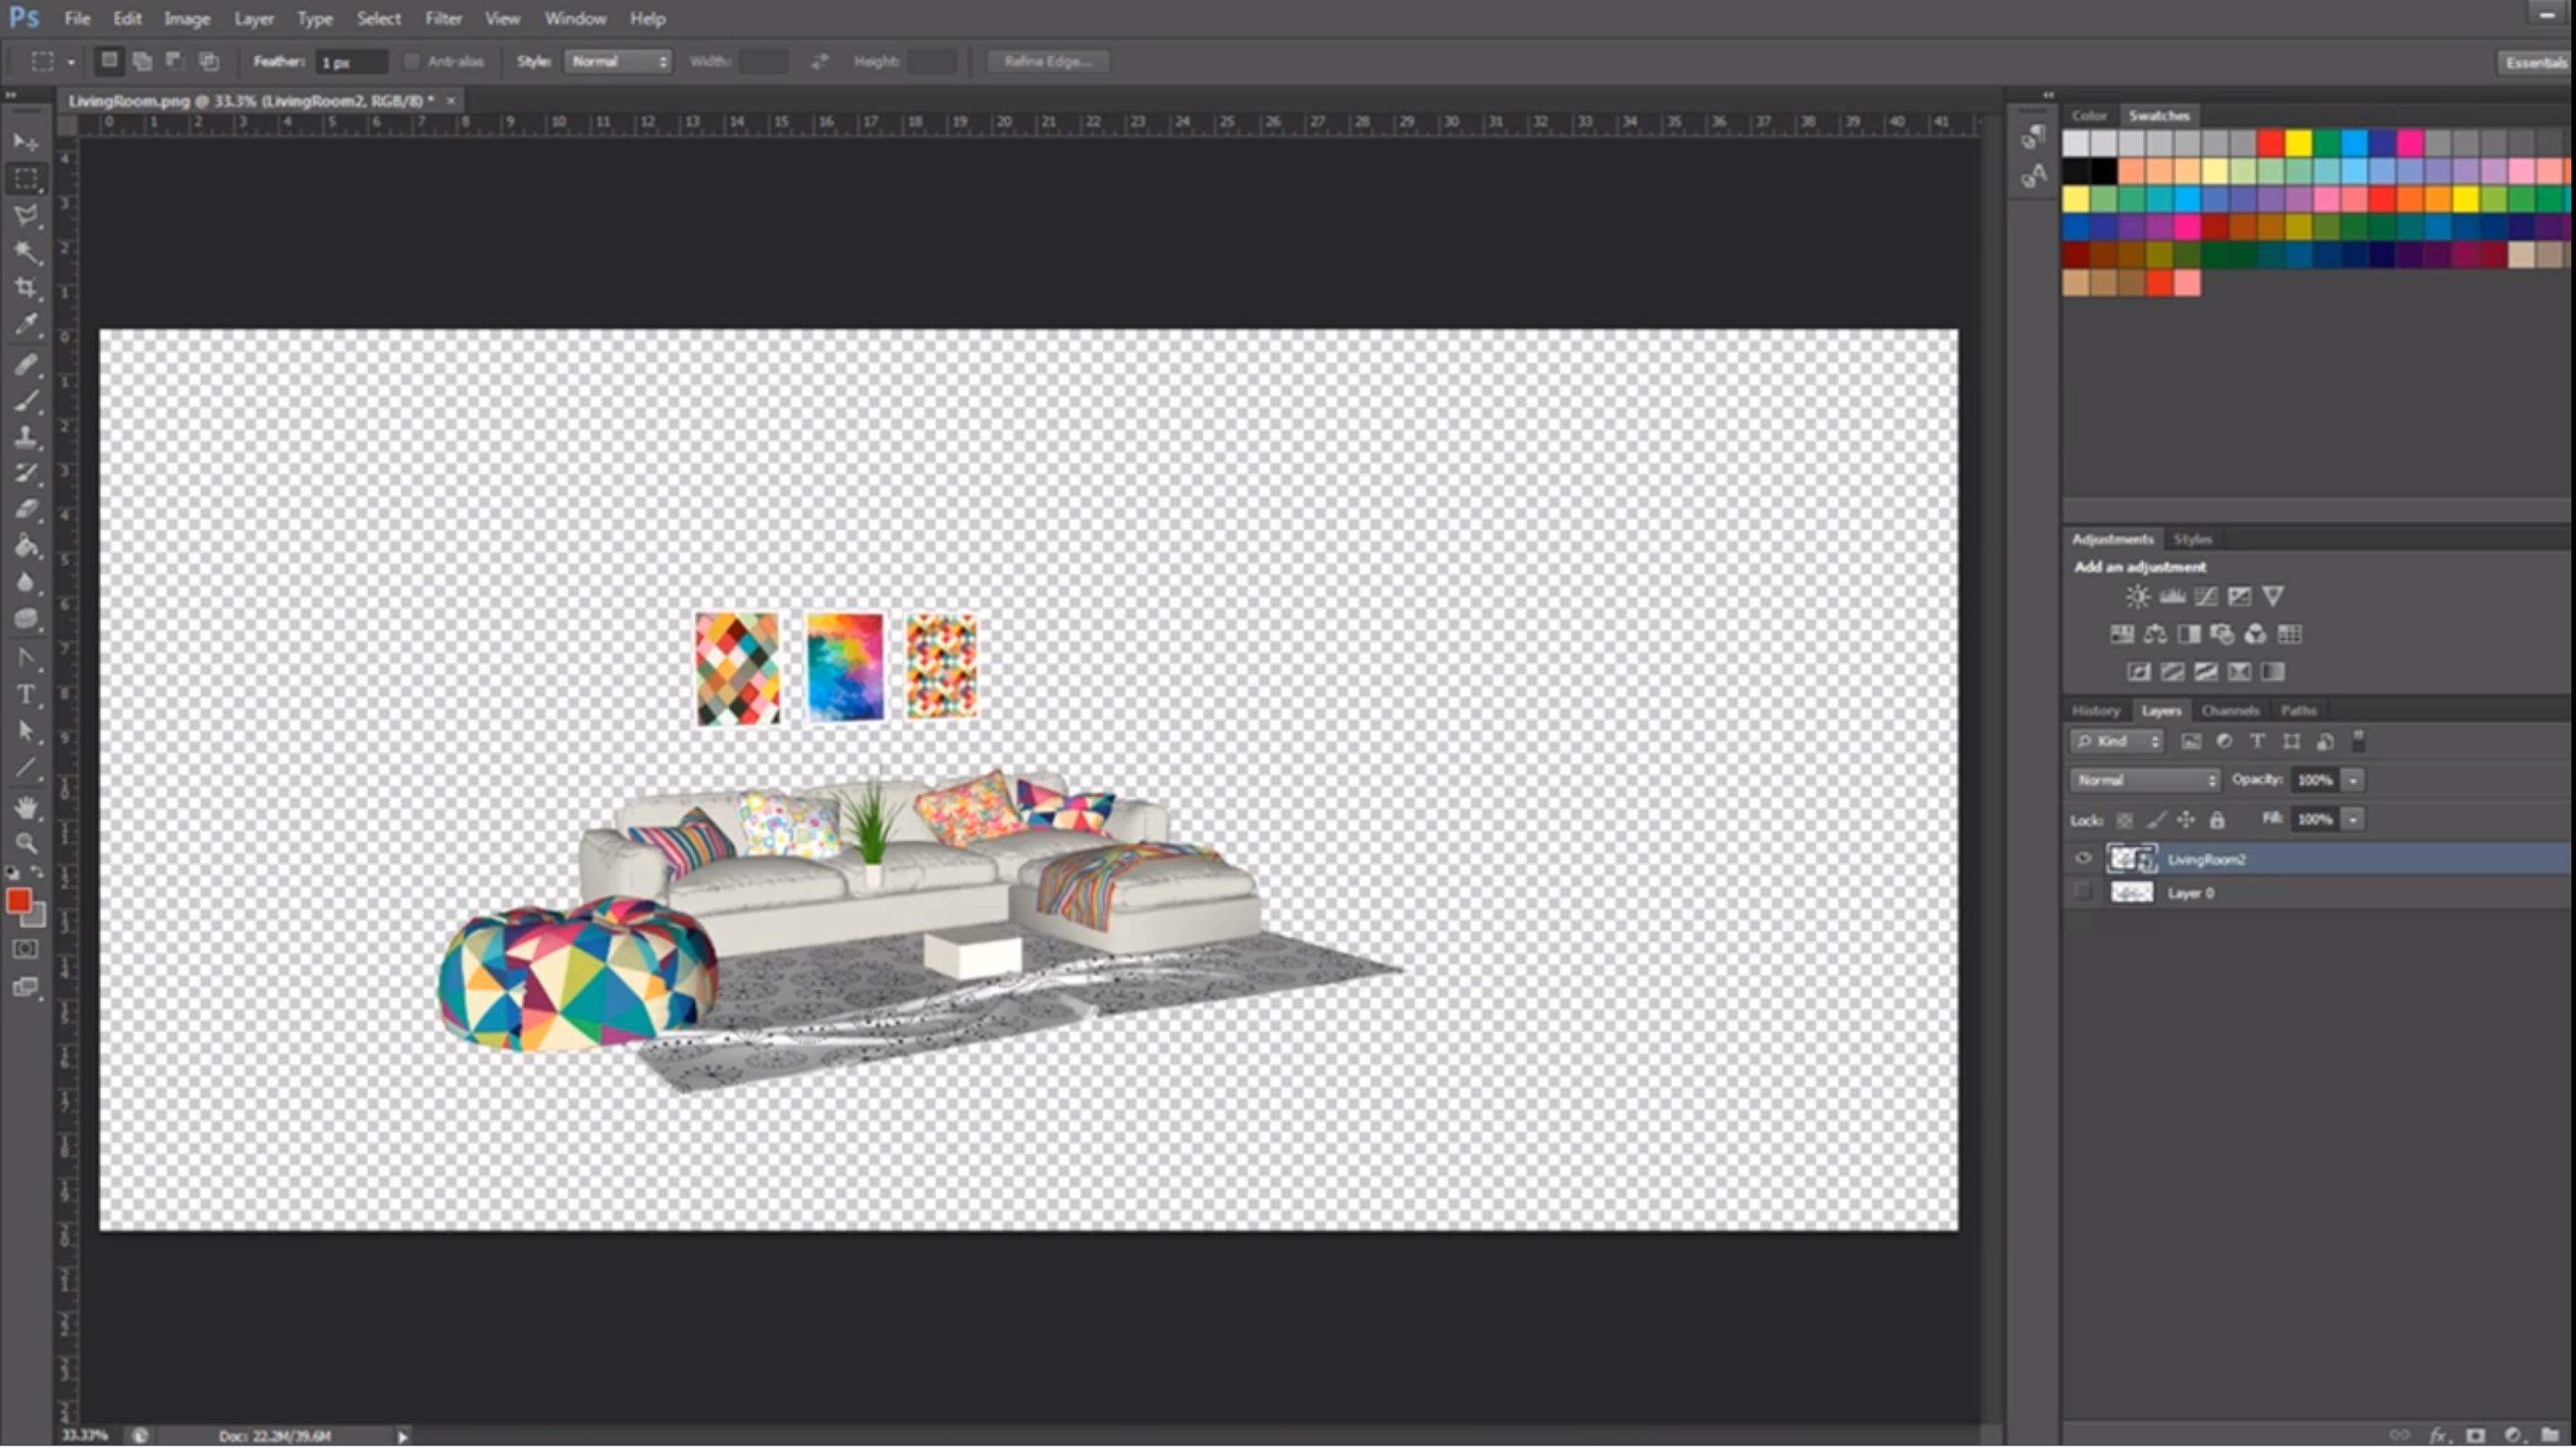
Open a model in Sketchup that you want to save with a transparent background. You can use a model you already have or download one from the 3D Warehouse. We chose a simple living room set up with some picture frames above the sofa. I like this one because it has objects hanging on the wall. This will make it easy to visualize where planes will meet if you want to experiment with different wall or floor planes in Photoshop.
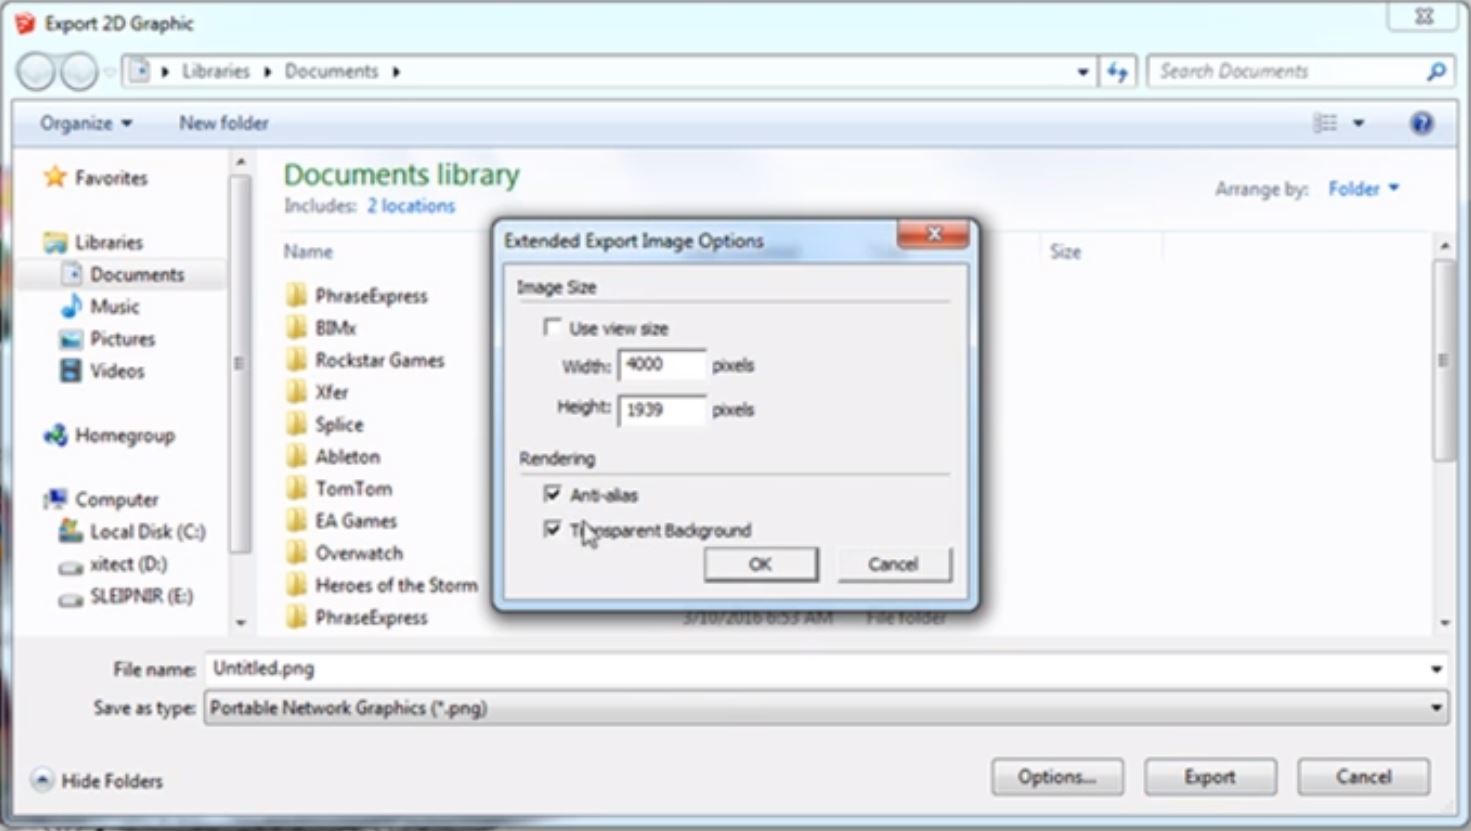
Export Settings. Once you have a model open in Sketchup, open the 2D graphic window. Do this by navigating to File > Export > 2D graphic. Click on the “options” button in the lower right corner next to “export.” The “extended export image options” window will appear. Under the rendering options, make sure you have “transparent background” and “anti-alias” selected. Close the window.
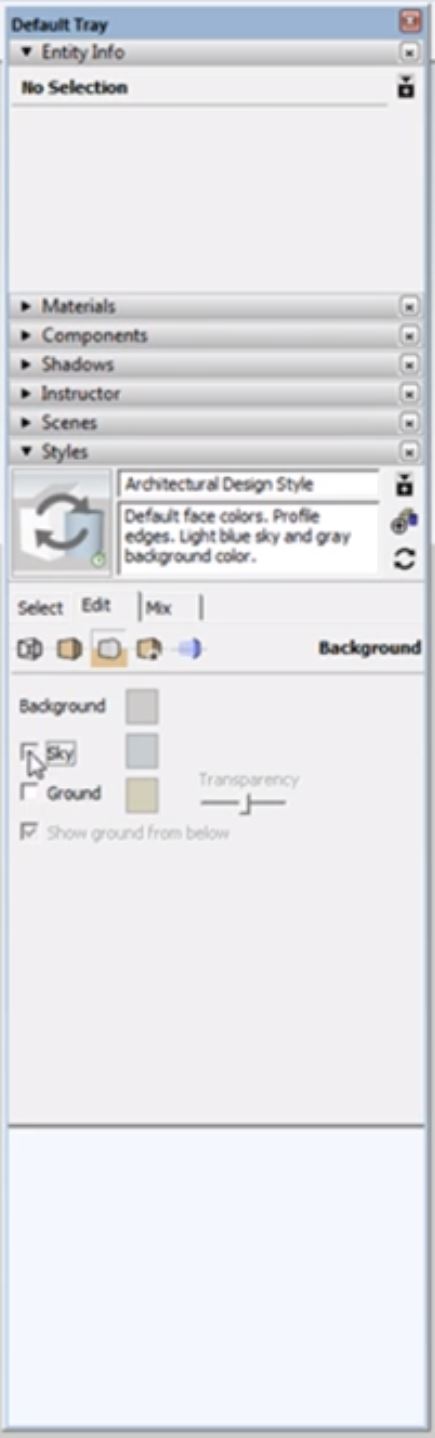
Showing the default tray. If you do not already have the default tray open, you can open it by navigating to window > default tray and selecting “show tray.” Once the tray is open, click on the “styles” tab and then select “edit.” Under background, you will notice that “sky” is probably selected. This is why the sky will show up if you were to export your current file as a 2D graphic. To avoid this, simply uncheck the “sky” and “ground” boxes and you will have a transparent background.
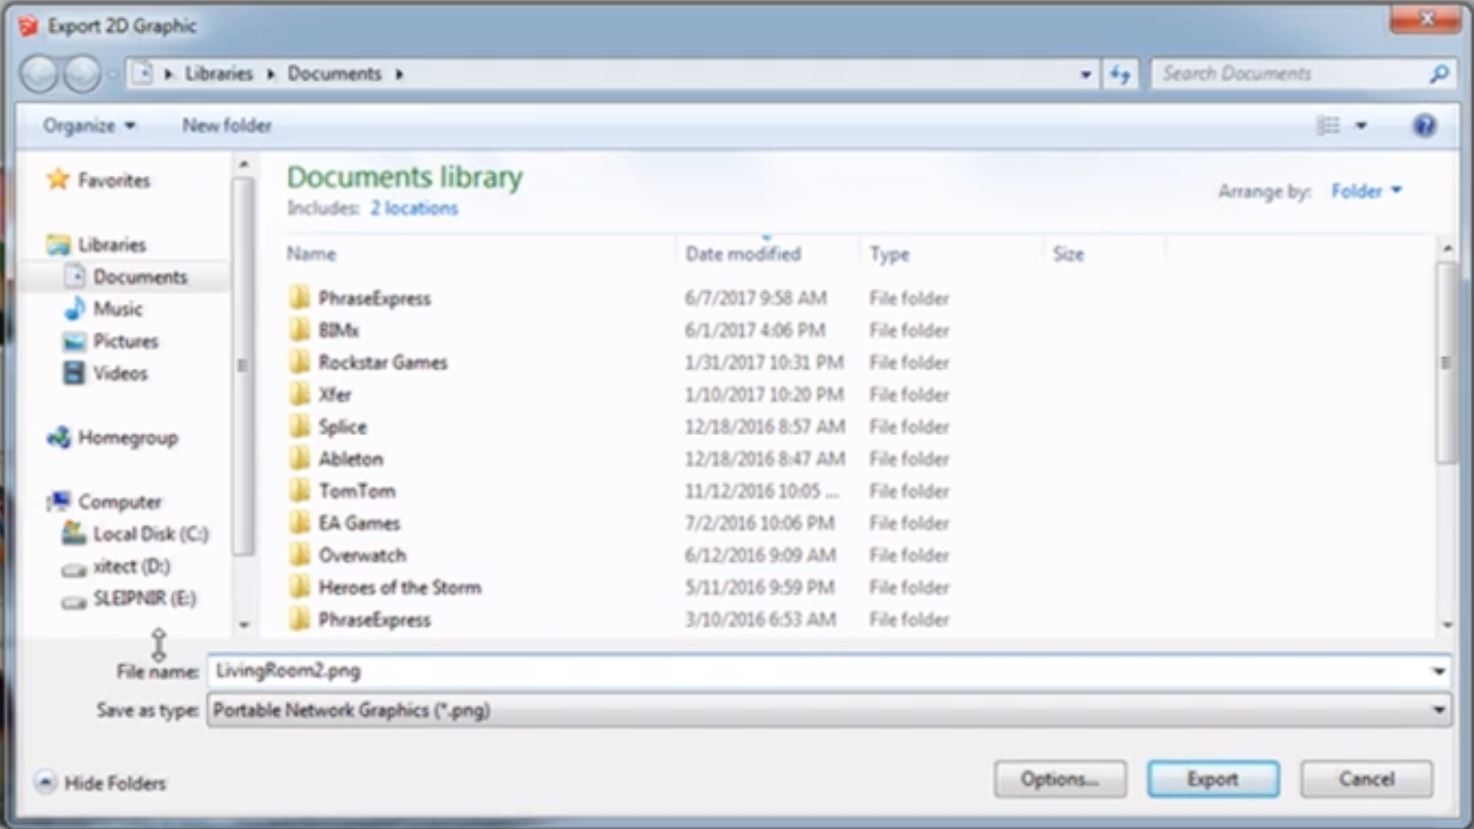
Exporting the PNG. To export your image with a transparent background, navigate to file > export and select 2D graphic. Rename the file if you choose and then select “export.” If you open the Sketchup PNG in Photoshop, you will see that there is now a transparent background and you can add whatever color or background you want without having to take the time to delete an existing background.
With this simple hack you won’t have to worry about spending extra time in Photoshop to delete backgrounds. Just a few clicks in Sketchup and you have a transparent Sketchup PNG ready to go! Looking for more Sketchup tips and tricks? Check out our favorites here!
What kind of projects do you use transparent PNGs for? Let us know in the comments!
Happy Hacking!
No comments yet.