
Sketch Floor Plan to 3D in Sketchup

When I it comes time to turn your sketches into reality, you may want to use Sketchup to model your sketched floor plan to 3D. In this tutorial, we’ll show you exactly how to take a floor plan sketch and turn it into a 3D model in Sketchup!
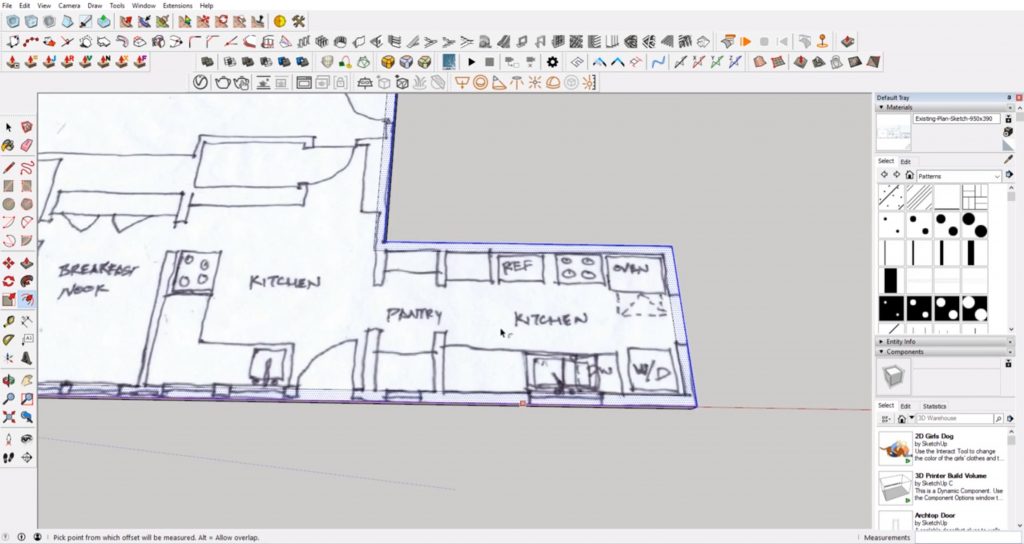
File > Import. You can either download a sketch image, or use one of your own sketches. Click on “file” > “import” and select the image you wish to use. Make sure “image” is selected in the “use image as” options. Click “import.”
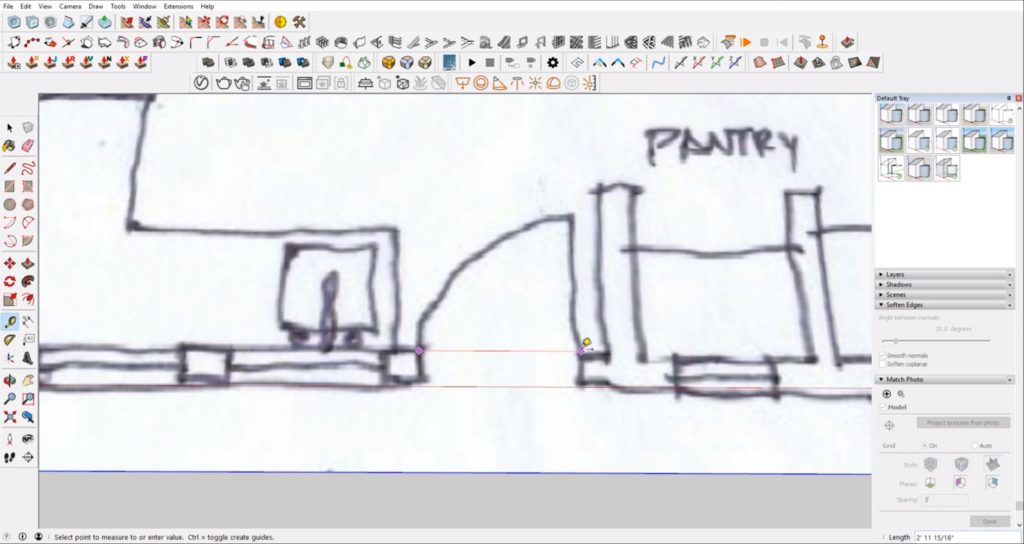
Scale Image. If you use one of your own images, you can scale the plan based on a measurement you know. If not, we can assume the door widths are around 36 inches. Select the tape measure tool and click from one side of the door frame to the other. Then, type in 36” and hit “enter.”
Lock Image. To make sure the image doesn’t get moved around, you will want to lock it in place. First, double-click to select the image and then right-click to select “make group.” Then, right-click again and select “lock.”
Modeling from Floor Plan to 3D
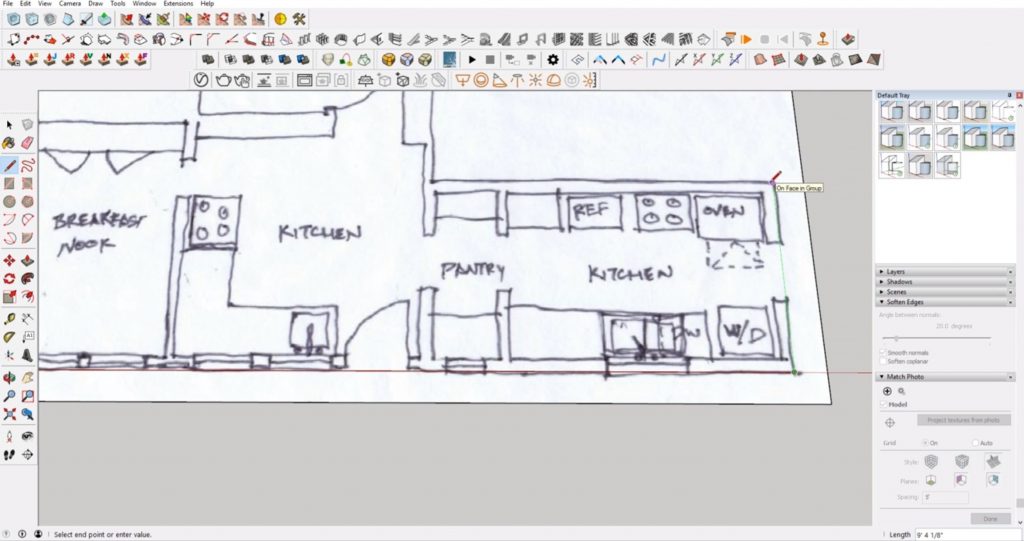
Draw the Floor. Starting at your reference point, use the line tool to trace the floor. If you have exact measurements, type those in for each line. If you are using a drawing without measurements, drag the line tool to the edge and try and round to the nearest inch or foot if possible. When drawing your final line, hold “shift” to lock to the axis and click on your reference point to close off the last corner.
Paint. Right-click on the original image and select “unlock.” Hit “B” to open the paint bucket tool. Then, hold “alt” to bring up the eye dropper and click on the original image again. Click on the floor group you just drew and paint it. Now you can delete the original image because your floor has all of the plan details on it.
Make the Slab Floor. To begin transforming your sketch to 3D, you’ll want to make the slab floor. Click on the floor and use the push/pull tool to extrude it down 8 inches.
Draw Exterior Walls. Click on the floor, ctrl+c to copy, exit the group, and select “edit” > “paste in place.” Then, use the offset tool and type in 7” to offset the exterior walls.
Draw Interior Walls. Using the same method you did to draw the floor outline, trace the interior walls. Make sure to use whole number increments unless you have the exact measurements.
Change Increments. You may find it helpful to change the increment settings if you are rounding to whole numbers for your measurements. Click on “window” > “model info.” Then click on the “units” tab. In the “precision” dropdown select 0”.
Close Lines. As you go along, you want to make sure all of your lines are closed off. Thankfully, there is a plugin called Edge Tools² by ThomThom to make this a little easier. Go to “tools” and select “edge tools” > “find edge gaps.” The tool will circle any corners that do not meet so you can easily locate any gaps in the drawing.

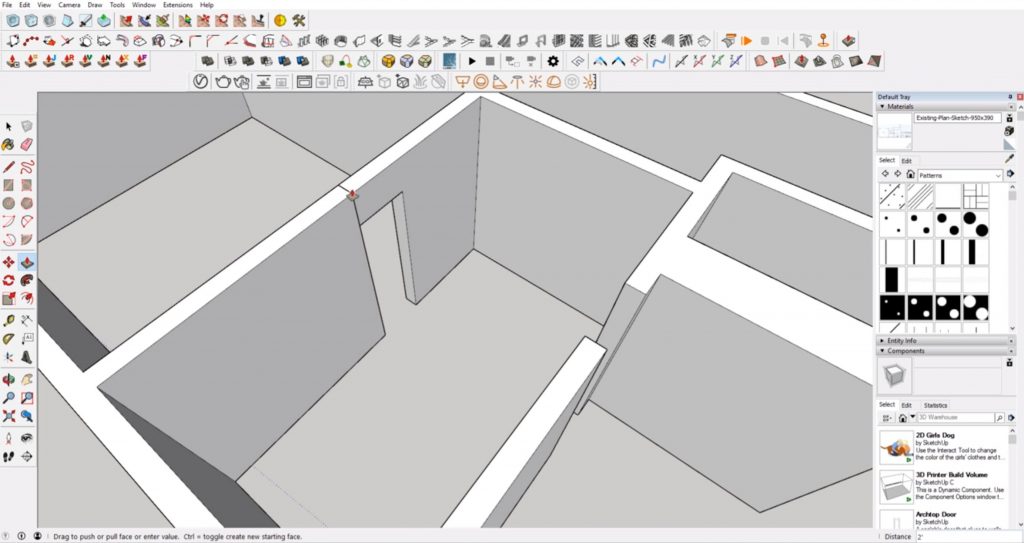
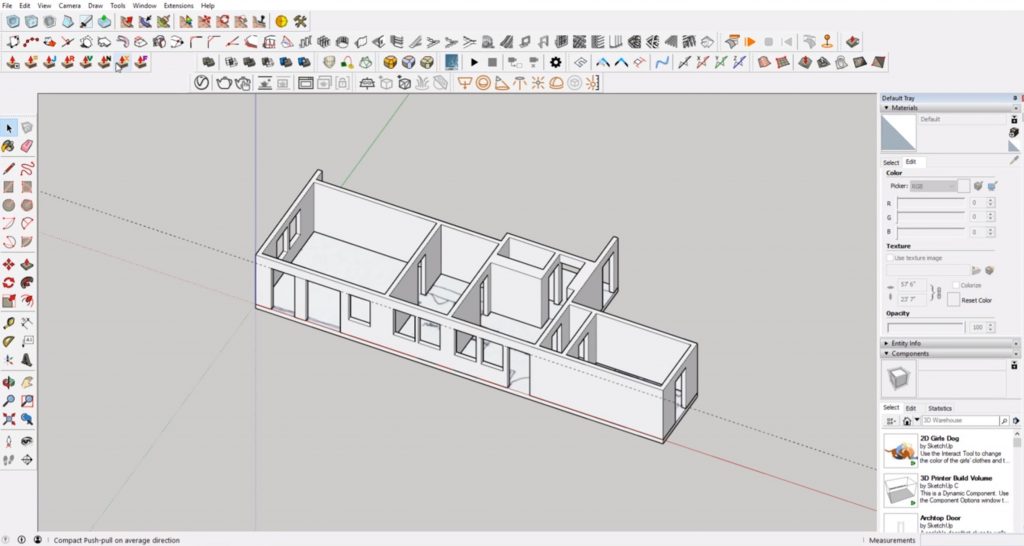
Extrude Walls. When all of your walls are drawn, you can use the push/pull tool to extrude them up. A typical floor to floor height is 8 feet, so use this measurement if you are unsure of how tall the walls are.
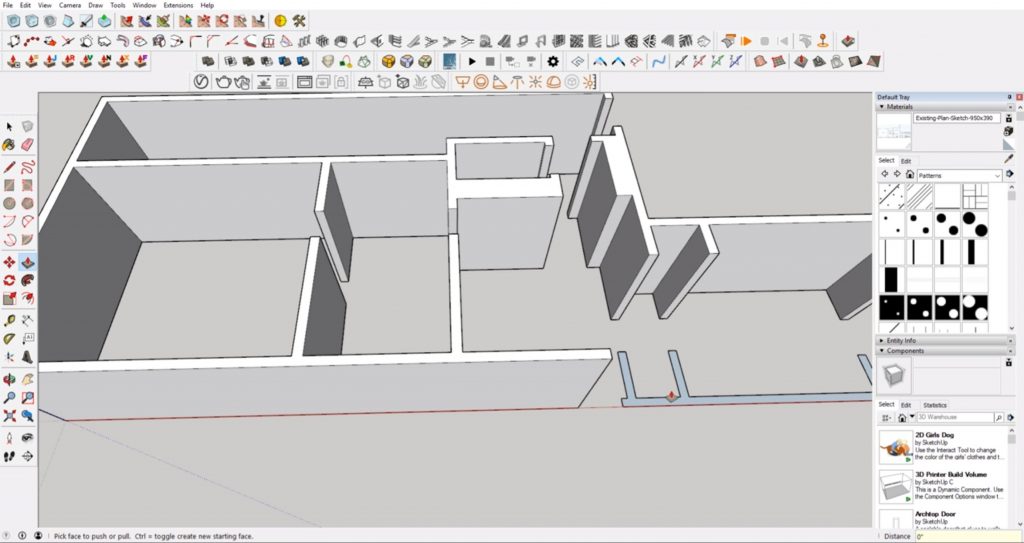
Select the push/pull tool and click on your walls. Then type in 8’. Double click on the rest of your walls with the push/pull tool to get them to the same height.
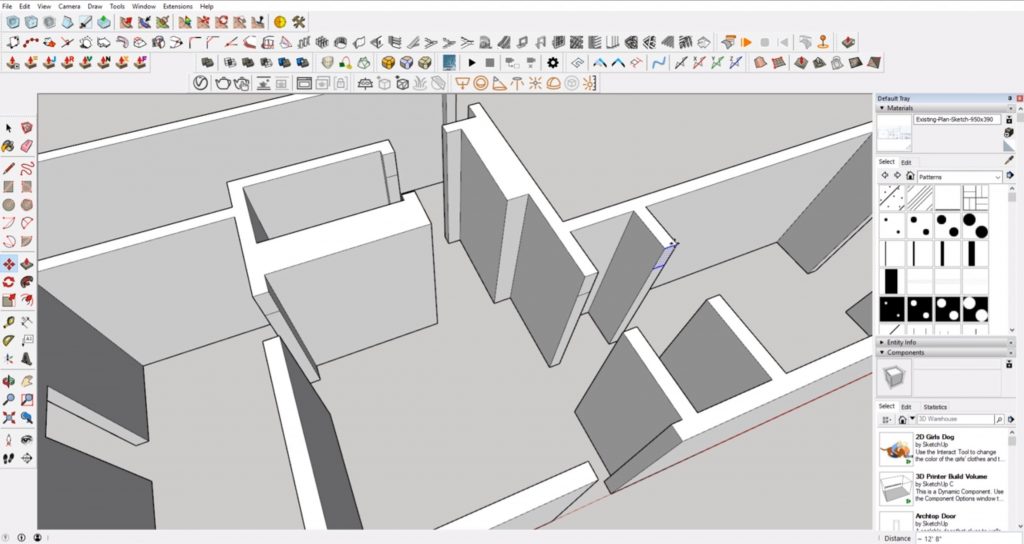
Add Door Frames. The standard height for door frames is 6’ 8”. Click on the base of one of your door frames and type 6’ 8”. Draw a line up to the 6’ 8” mark. Then, from that point, draw a line across the width of the wall. Copy the shape and extrude it to the other side of the door frame. Use the eraser tool to erase any extra lines.
Paste the header shape that you copied to the rest of the door frames. Use the push/pull tool to extrude the rest of the headers across and erase any extra lines.
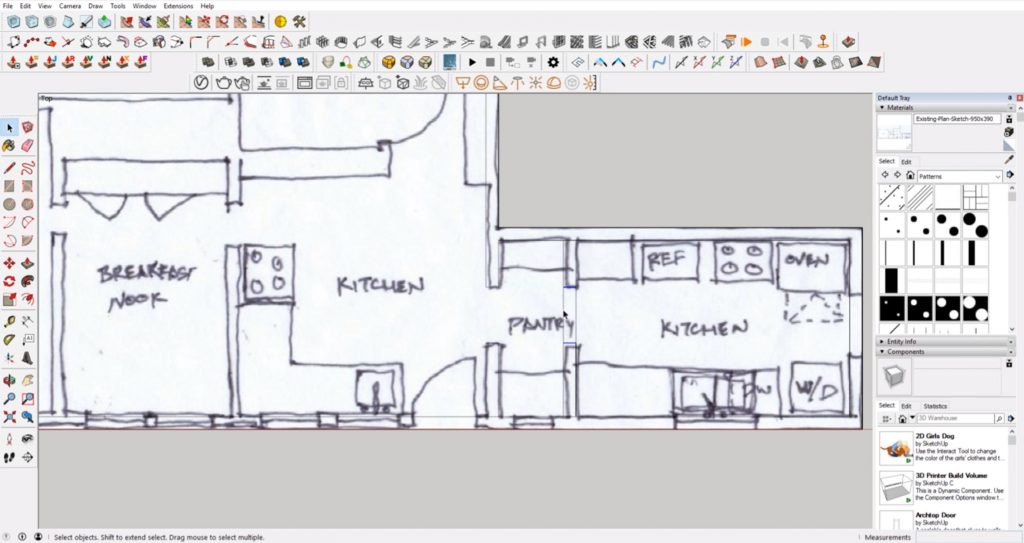
Change View. To get back to a top-down view, select “camera” > “standard views” > “top.” Make sure “parallel projection” under the “camera” dropdown is turned on. Unhide the original sketch you imported.
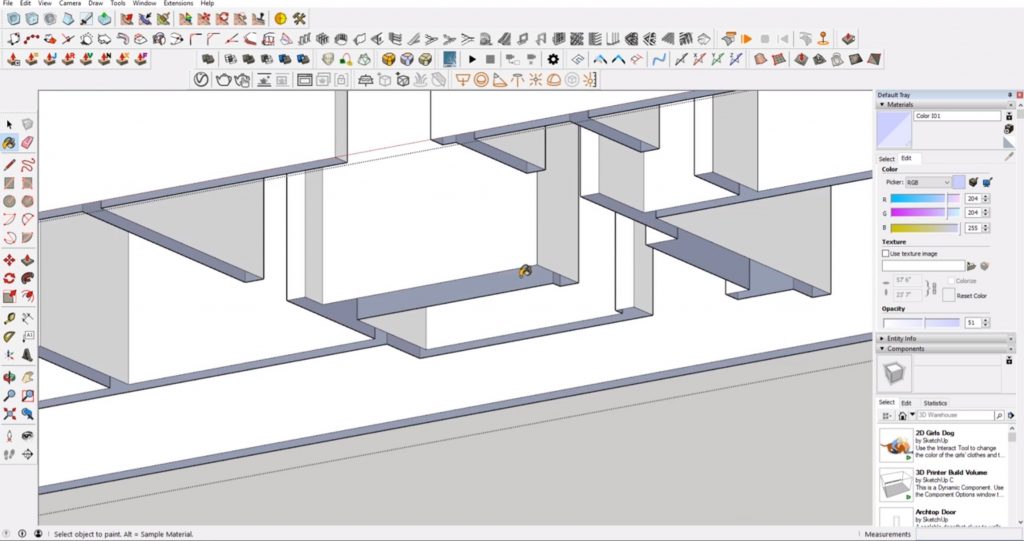
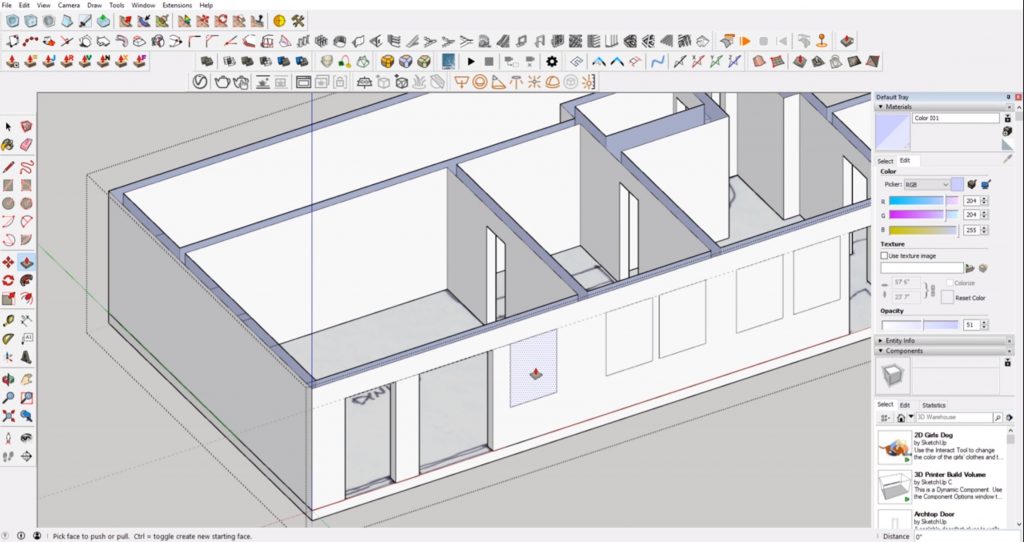
Add Windows. To finish turning your floor plan to 3D, you’ll have to add the windows. From the parallel projection view, you will notice that you can no longer see the window openings. One way to fix this is by bringing the sketch to the top and lowering the opacity. You can also leave the sketch below your model and change the opacity of the top and bottom of the walls.
Select the top of the walls. In the default tray, open the “materials” tab. Select “colors” from the dropdown. Select a color and use the paint bucket to paint the top of the walls. Use the opacity slider in the “materials” tab to lower the opacity. Use the paint bucket tool to paint the bottom of the walls and lower the opacity.
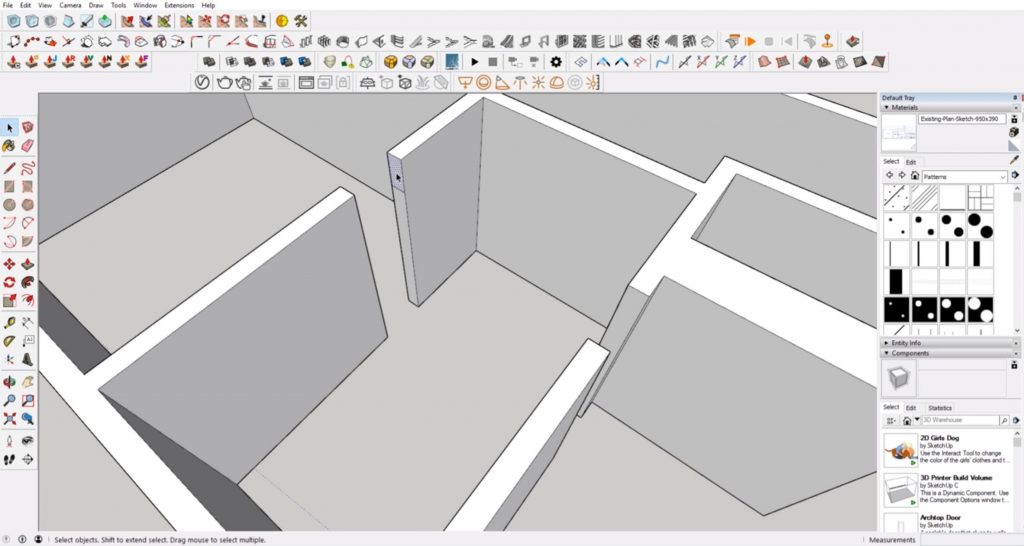
Now you should be able to see the plan underneath your model. Trace the lines to draw the edges of the windows and copy and paste each window along the wall so that they are the same size.
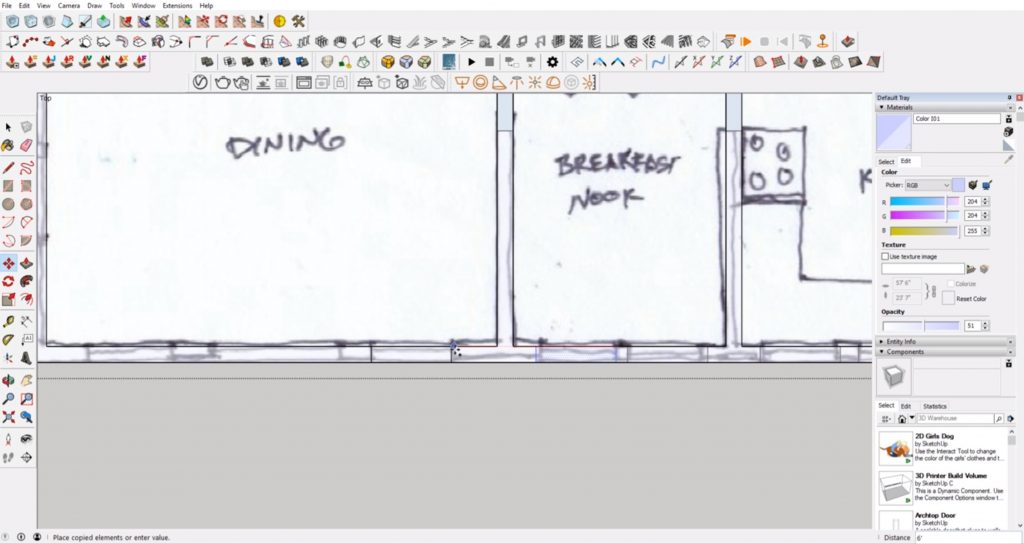
From the 3D view, draw a line across the bottom of the windows to create the sill height. Then, use the eraser tool to get rid of the bottom lines. Use the push/pull tool to push the windows all the way through to create an opening.
Add the Final Details
Now that you have your finished floor plan to 3D model, you can begin adding doors, windows, and appliances. You can use the 3D Warehouse or your own models. Be sure to check out the rest of our Sketchup tutorials for more great tips!
Happy Hacking!
No comments yet.