
How to Create Domes in Sketchup

Modeling curved objects in Sketchup can be tricky, but in this tutorial we’ll go over a few ways to create domes in Sketchup! Domes are common in architecture because they are efficient in transferring loads. It’s helpful to think about how this works when modeling your own domes.
Semicircular Domes
First, let’s go over how to create a simple, semicircular dome in Sketchup.
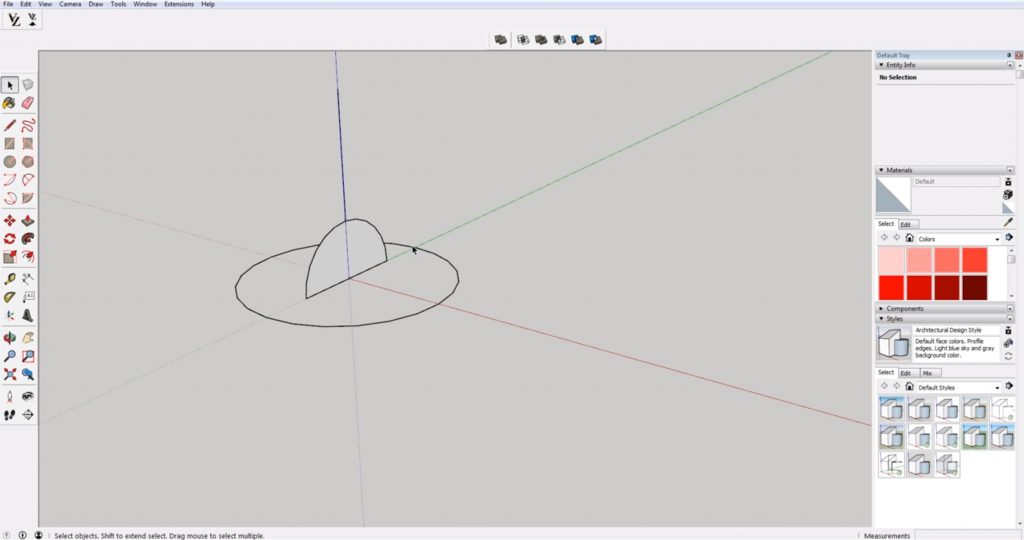
Draw a Circle. Hit “C” on your keyboard and click and drag to draw a circle. Delete the inner circle or face. Hit “C” again and this time, hold the right arrow key to lock to the red axis. Draw another circle in the middle of the first one you drew. Cut the circle in half and delete the lower half.

Draw a vertical line at the center of your second circle to mark where the exact center of the dome is. Delete half of your half-circle so you’re left with just a quarter of the original circle.
Follow Me. First, select your path (the first circle you drew) and then click on the “follow me” tool. Then, select the semicircle.
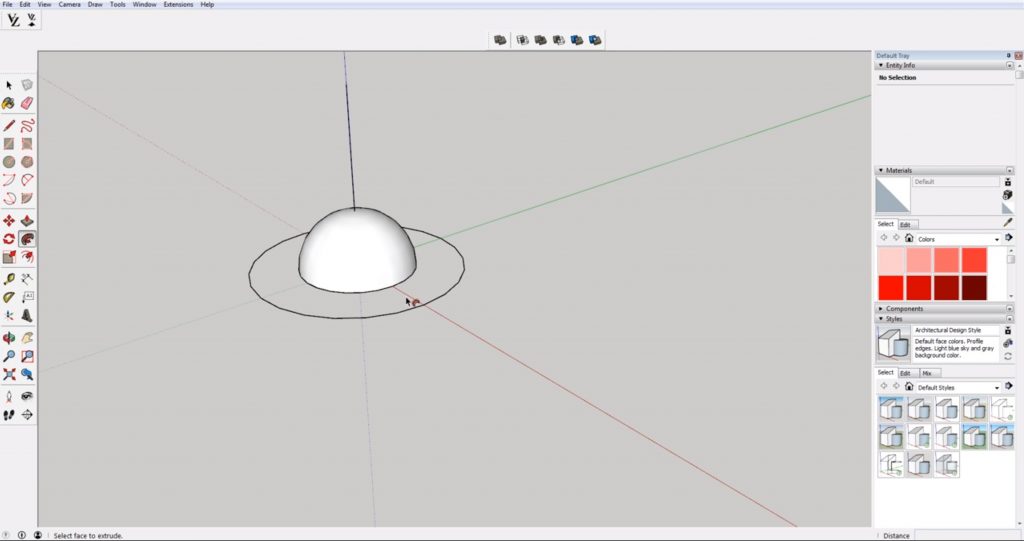
If you want to modify the dome, hold “S” any of the points in the direction of your choosing.
Add an Oculus
Copy and paste the dome you just drew. Triple-click on the dome and make it a group. Draw a circle at the tip of the vertical line in the center. Right-click on the dome and select “make group.” Right-click on the circle and select “make group.” Use the “push/pull” tool to drag the circle all the way through your dome.
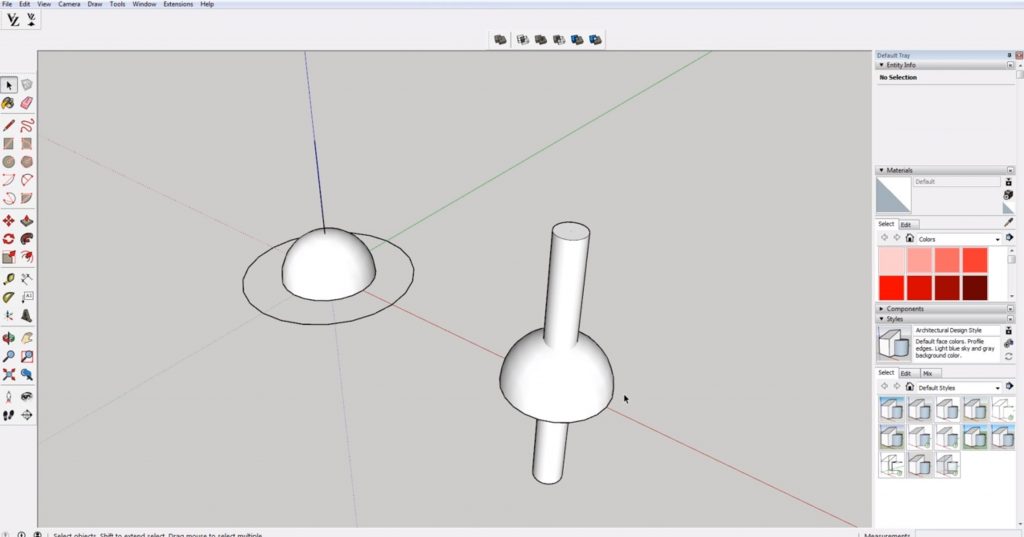
Subtract. To open the solid tools toolbar, right-click in the toolbars area and select “solid tools.” Before you use the “subtract tool,” make sure you delete the vertical line in the center of your dome (or any other extraneous lines or geometry). Click on the “subtract tool” from the solid tools toolbar. First, select the cylinder going through the center of the dome, then select the dome.
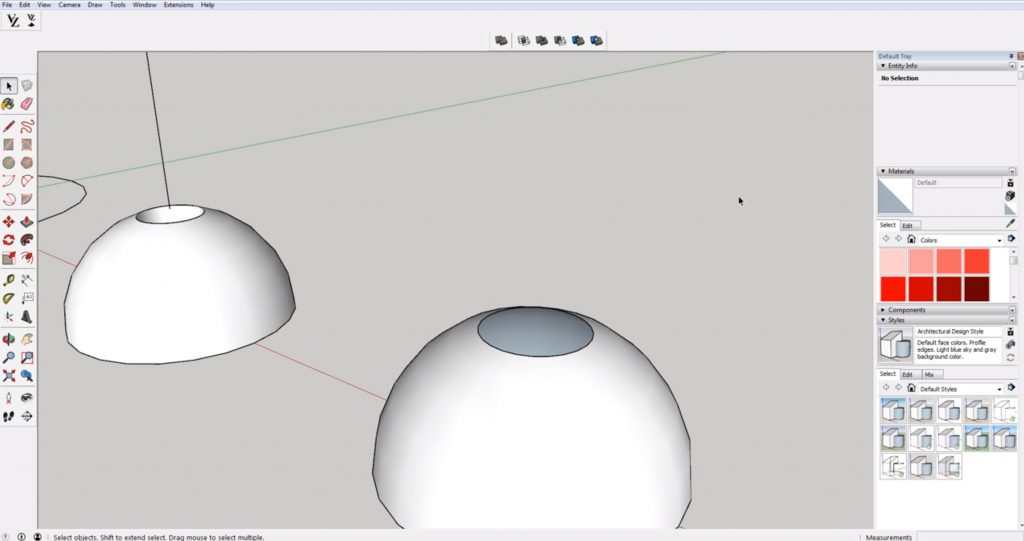
Intersect Faces. Another way to add an oculus is to interset faces of two geometries. Make sure your dome isn’t a group at this point. Create your cutting cylinder again, and make it a group. Select both items: your ungrouped dome, and the grouped cylinder. Then, right-click and select “intersect faces” > “with selection.” Delete your cylinder group and then delete the face where the oculus is.
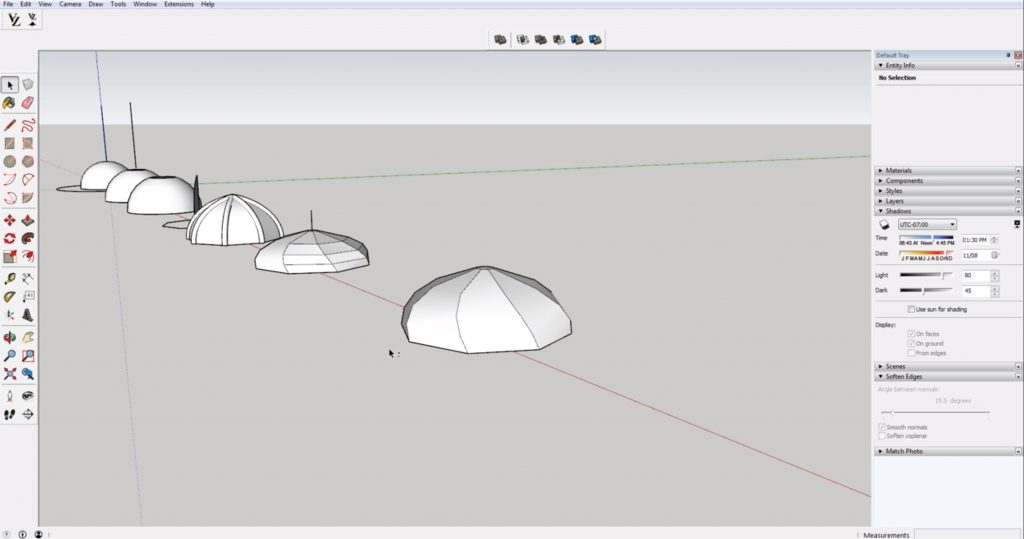
Create Domes in Sketchup with Multiple Sides
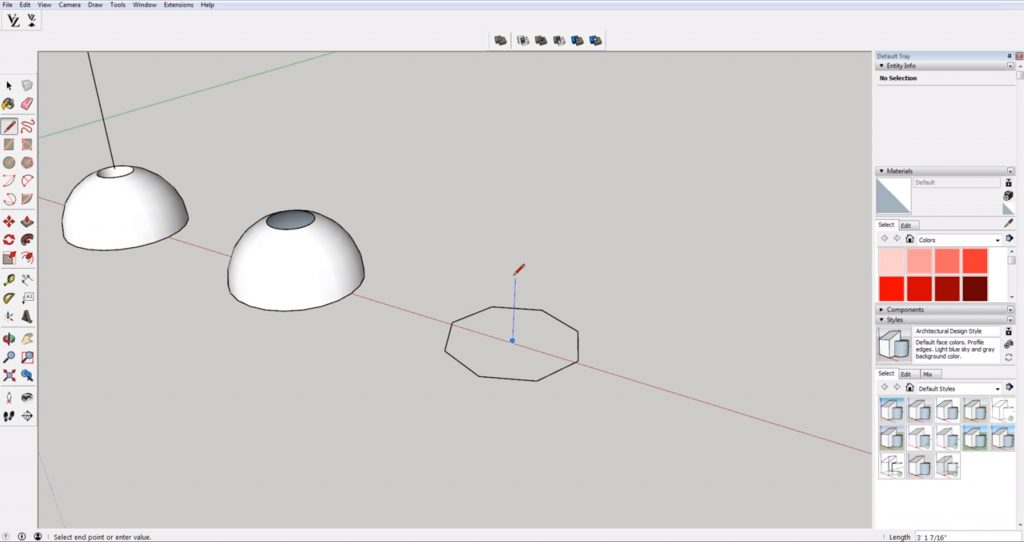
When you first enable the circle tool, you will notice there is an area in the bottom right corner to edit the number of sides. Type “8” and draw an octagon (or any number of desired sides). Lock to the blue axis by pressing the up arrow on your keyboard and draw a vertical line in the center of the octagon.
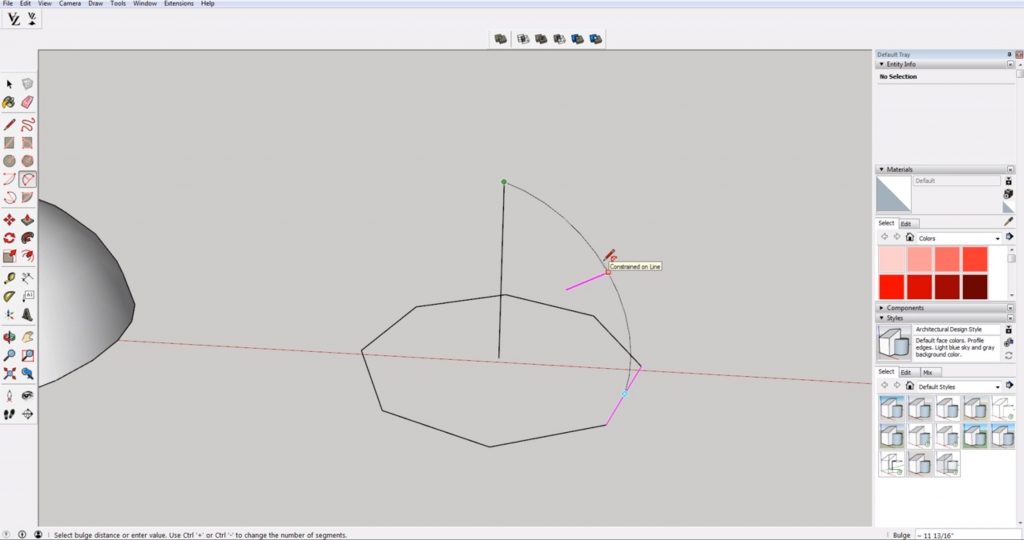
Hit “A” to open the arc tool. Draw a line from the tip of the vertical line to a midpoint on one of the octagon’s sides. Make sure you are in the same plane, and hold the “shift” key to lock to that plane and draw an arc.
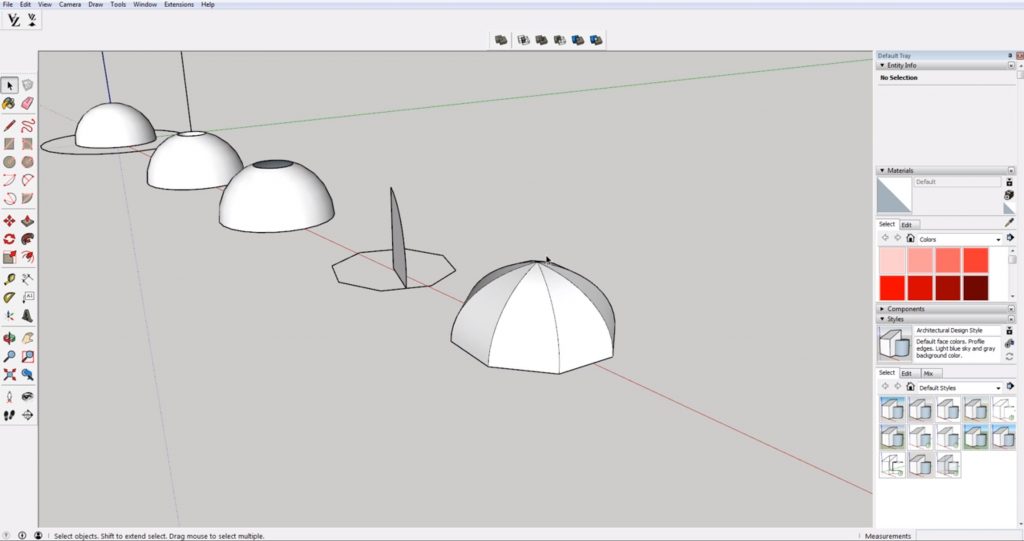
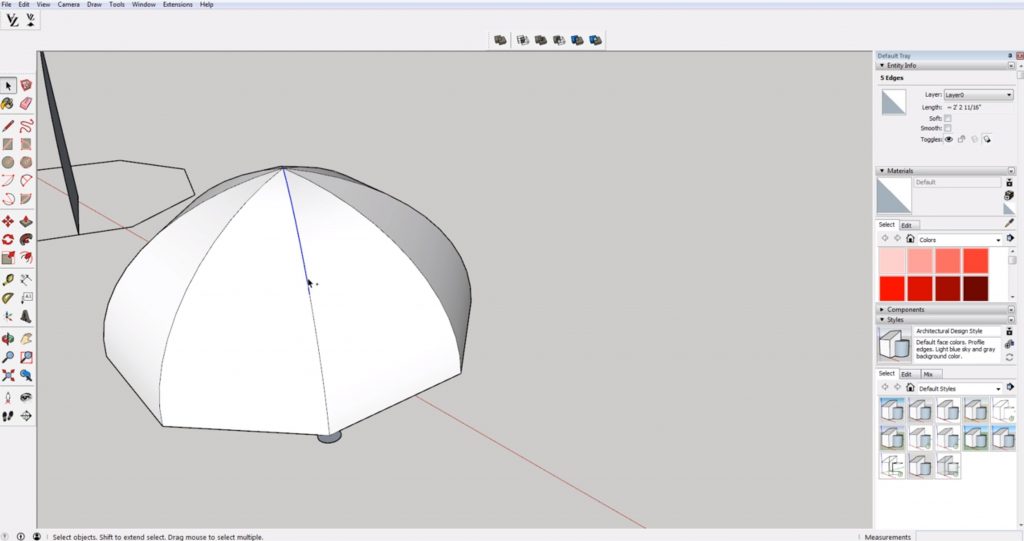
Close off the arc by drawing a line from the center of the octagon to the point where the arc meets the edge. Select the path, click on the “follow me” tool and then select the arc. If you want to make the sides a little crisper, you can turn on “hidden geometry” and trace over the lines.

It’s also possible to make a geometric dome with ridges by using the polygon too. Use the same method you did to create the previous dome, but select the polygon tool instead of the circle tool. This will give you hard edges.
Add Ribs
With a dome created using the polygon tool, you can easily add other details like ribs on the outside. Hit “C” and draw a small circle at one of the corners of the dome, making sure the number of sides is back to 24. Hold “ctrl” and click on each segment of the path (edge). Then select the “follow me” tool and click on the circle.
Soften Edges. Select each segment of the rib, right-click and select “make group.” Then, right-click again and make the group a component. In the default tray, go to the “soften edges” tab and use the slider to smooth out the rib.
Copy Ribs. Select the top midpoint of the rib. Press “q” to open the protractor (rotate) tool. Hit the “up” arrow to lock to the blue axis and then select the bottom midpoint. Drag and click to another corner of the dome. Type “*7” to make a copy for each ridge.
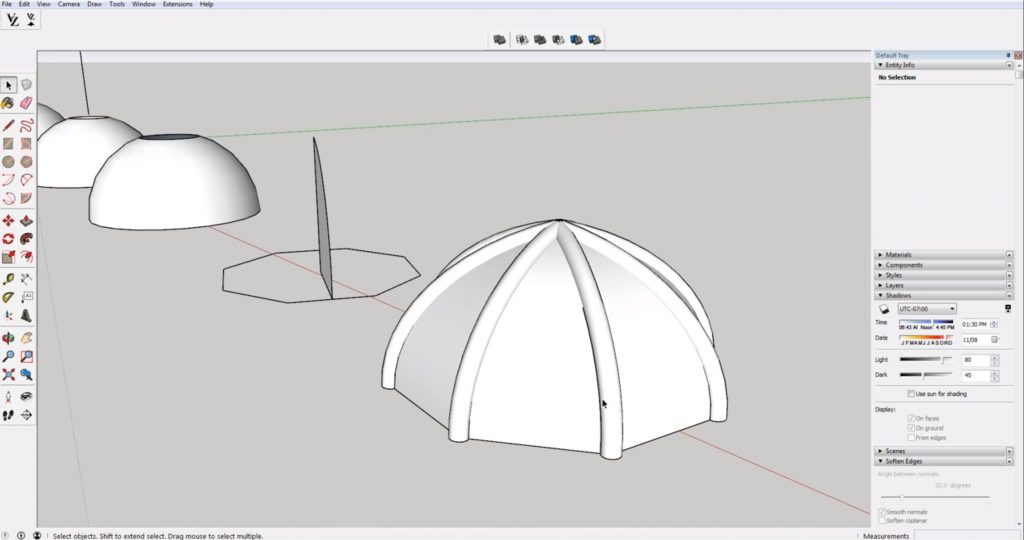
Create a Spiraled Dome
Once you have the basics down, you can begin to experiment and create more complex domes in Sketchup like this spiraled dome.
Draw a Polygon. Select the polygon tool and draw an octagon. Extrude the shape up and select the top face. Hit “M” and move the top face to the bottom and type “5.”
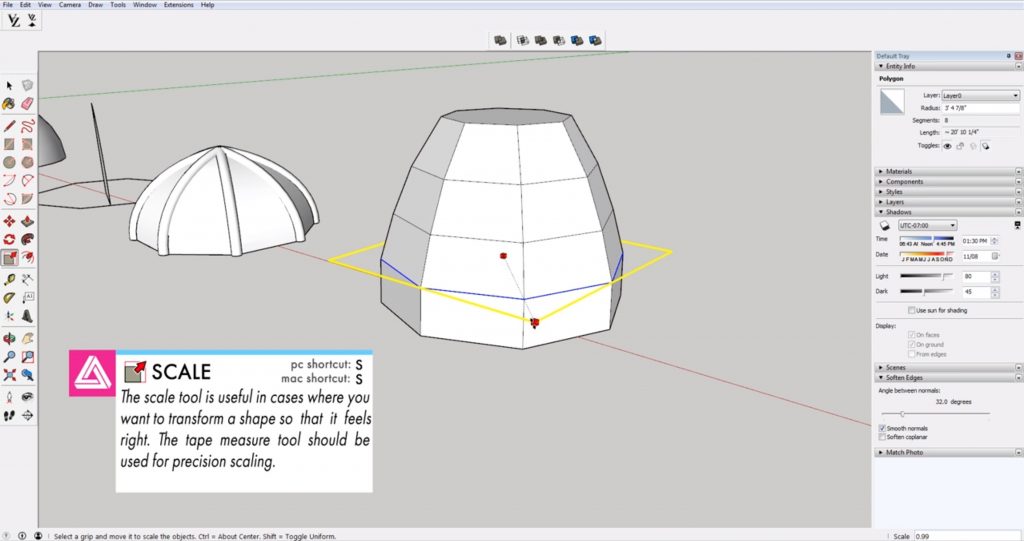
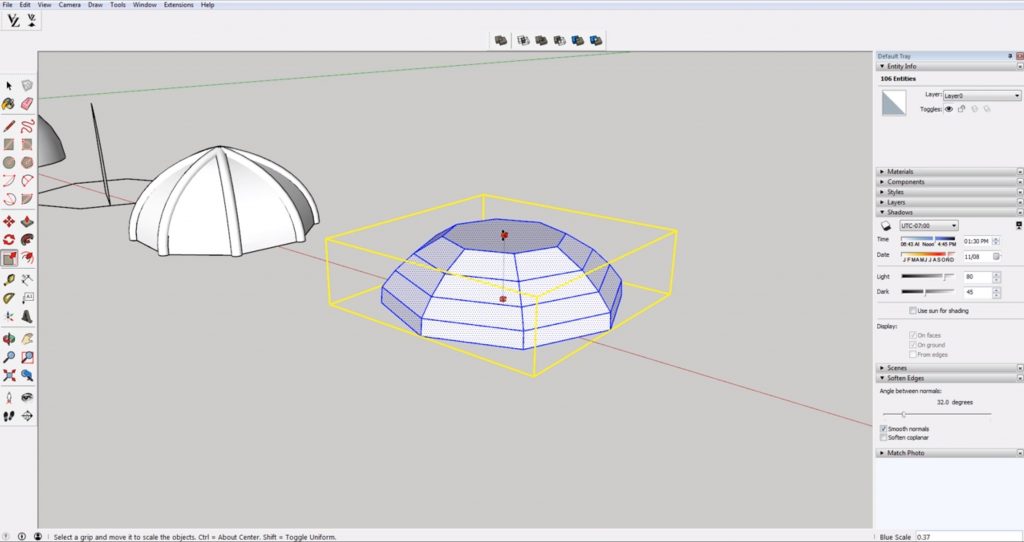
Scale. Select each polygon face and hit “S” to scale each one down. Select the entire dome and use the scale tool to compress the dome down.
Rotate. Press Q to enable to rotate tool. Select a midpoint on the bottom of the polygon and draw a line to the center. Then, draw a vertical line through the center of the dome. Select one of the polygon faces and use the vertical line as the rotation point to rotate the polygon 5 degrees. Continue to rotate each face in 5 degree increments until you have a spiraled dome.
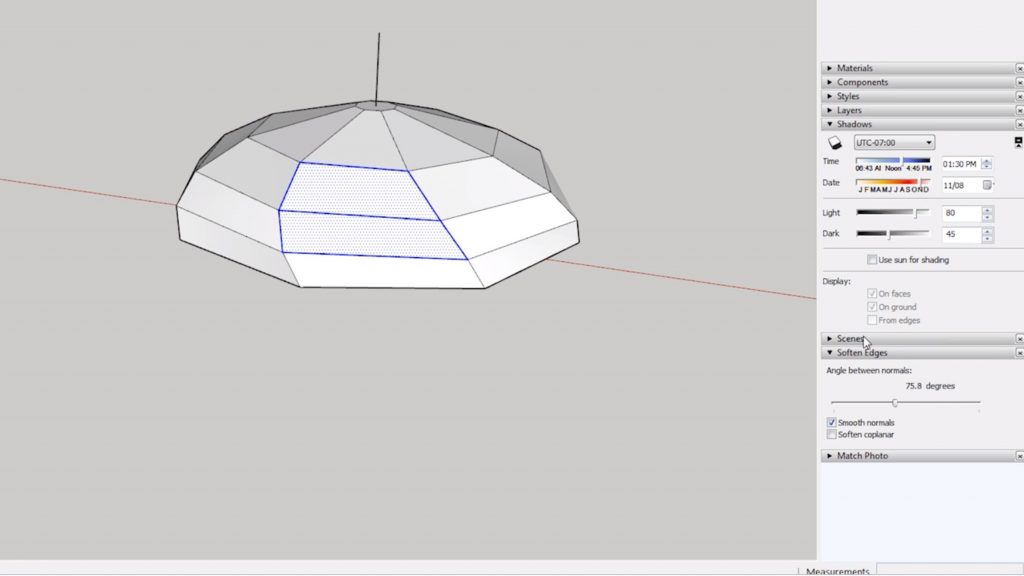
Soften Edges. Select each polygon, right-click to select “explode curve.” Choose one side of the dome and select the center two faces. Use the “soften edges” slider in the default tray to soften the edges until the lines disappear.
Reconstruct Dome. Instead of repeating the process on each side, we can just reconstruct a new dome. Select the side you just smoothed and copy it to another area in your model. Select the face you just copied and use the rotate tool to multiply the face by 7.
With these tips you can now model all types of domes in Sketchup from semicircular to spiraled! Be sure to check out our tutorials on creating spheres and manipulating curved surfaces in Sketchup! What types of domes do you model the most? Let us know in the comments!
Happy Hacking!
No comments yet.