
How to Add Texture to a Curved Surface in Sketchup

Adding textures in Sketchup is simple, but when you try to add texture to a curved object, in can get a bit tricky. In this tutorial, we’ll go over a few different ways of how you can apply texture to a curved surface.
Import Image
File > Import. Once you’ve opened or imported your model, you will want to also import the image you plan to use. Go to “file” > “import” and make sure the “image” option is selected. Select the image you want to import and click “import.” Roughly scale the image and click to place it in your Sketchup model.
Right-click on the image and select “explode” to make it an editable object. Then, right-click again and select “make group.”
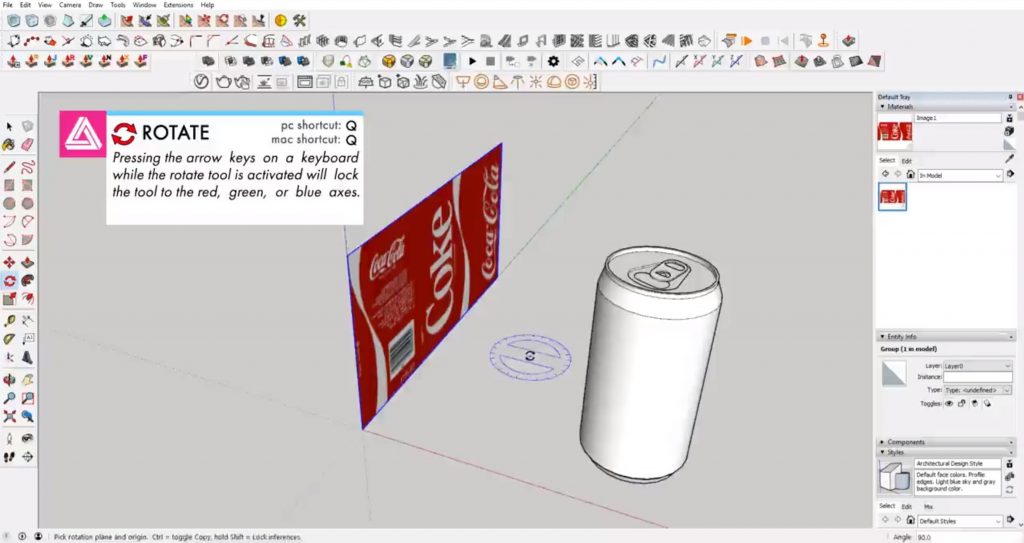
Rotate. Hit “Q” on your keyboard to rotate the image. Use the arrow keys to lock to the correct axis and rotate the image so it is vertical.
Project Texture to a Curved Surface
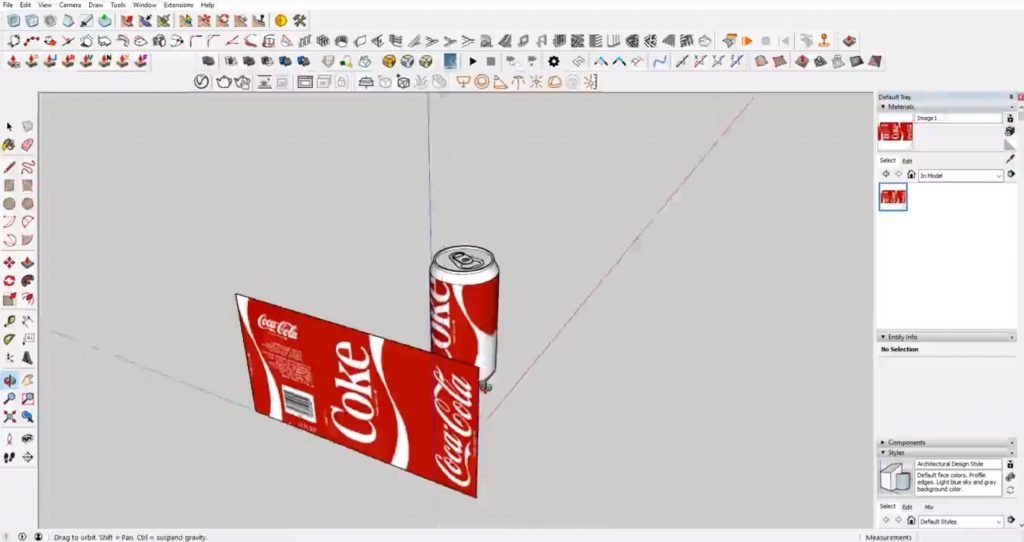
The first way to add texture to a curved object isn’t ideal, but it may still work for you. Basically, the texture image will be projected onto the surface rather than wrapping around it.
Right-click on the image and select “explode.” Hit “B” to open the paint bucket tool. Hold “alt” to enable the eye dropper tool, select your image, stop holding “alt”, then click on your curved object with the paint bucket tool still enabled.
Wrap Texture onto a Curved Surface
Right-click on your texture image and uncheck “projected.” Then turn on hidden geometry by going to “view” and selecting “hidden geometry.”
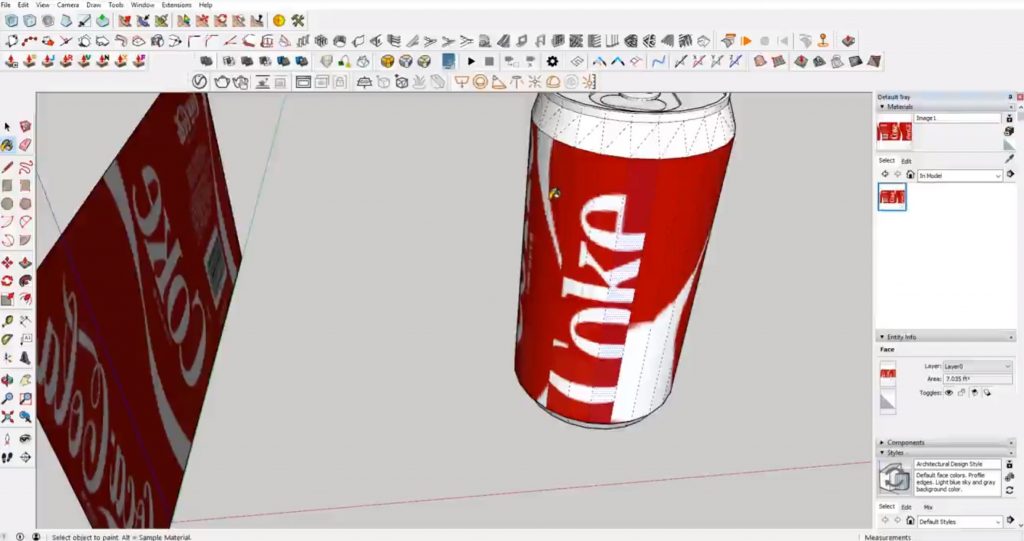
Edit Height. Make sure your texture image is a group. Use the tape measure tool to measure the height of the can or cylinder. Then, enter the image group by double clicking on it and use the tape measure tool to measure the height of your image. Type in the height of the cylinder and hit “enter” to resize the image.
Paint. Hit “B” to open the paint bucket tool. Hold “alt” and select your texture. Then, use the paint bucket tool to manually fill in each face of the cylinder.
Another way to apply the texture to a curved surface is by changing the length of the image instead of the height.
Edit Length. Select the top circle from your cylinder and open the “entity info” tab in the default tray. In the length box you can see what the circumference of the circle is.
Use the tape measure tool to measure the length of your image. Type in the same measurement of the circle circumference. Then, use the same steps as before to paint the image onto each face of the cylinder.
If you notice any tiling happening on the image, you can try repositioning the texture. Turn on hidden geometry. Right-click on the cylinder and select “texture” > “position.” From here you can drag the image to a slightly different position to get rid of any tiling.
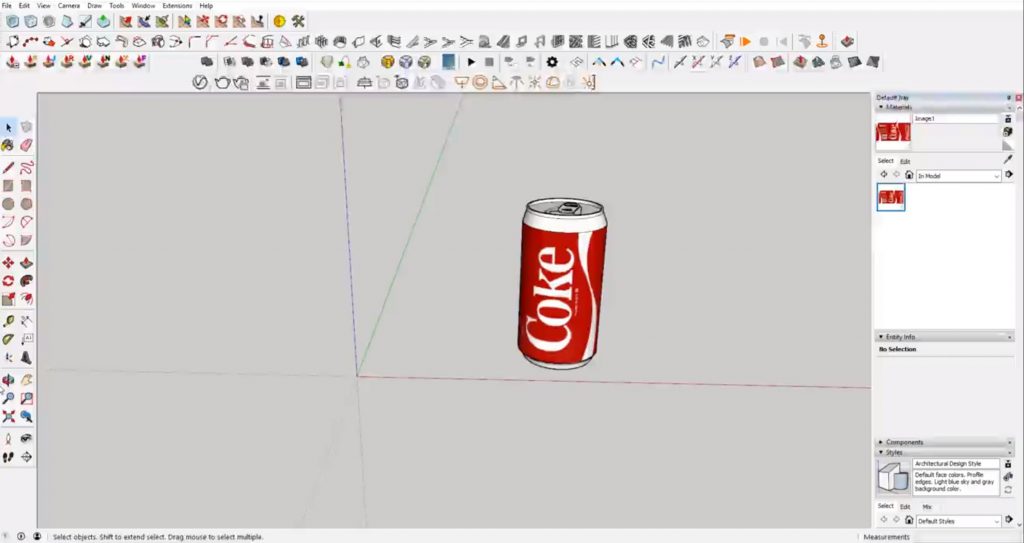
With these techniques, you’ll be able to easily apply texture to a curved surface in your model! If you want to see similar tutorials, let us know in the comments! And be sure to check out our similar tutorials on creating custom textures in Sketchup.
Happy Hacking!
No comments yet.