
How to Import Sketchup Textures & Create Custom Materials

Sketchup has a pretty nice array of materials built into it, but it probably doesn’t have everything you’re looking for. In this sketchup tutorial, you’ll learn how to import your favorite sketchup textures and turn them into new materials that you can use in your models.
How to Import Sketchup Textures & Create Custom Materials
- If you haven’t already, the first thing you’re going to want to do is find a sketchup texture to use.
- SketchupTexture – a great place for a ton of free textures.
- CGtextures – This used to be my go-to before I found SketchupTexture. These textures are not all super clean, but it’s certainly an awesome library to look through.
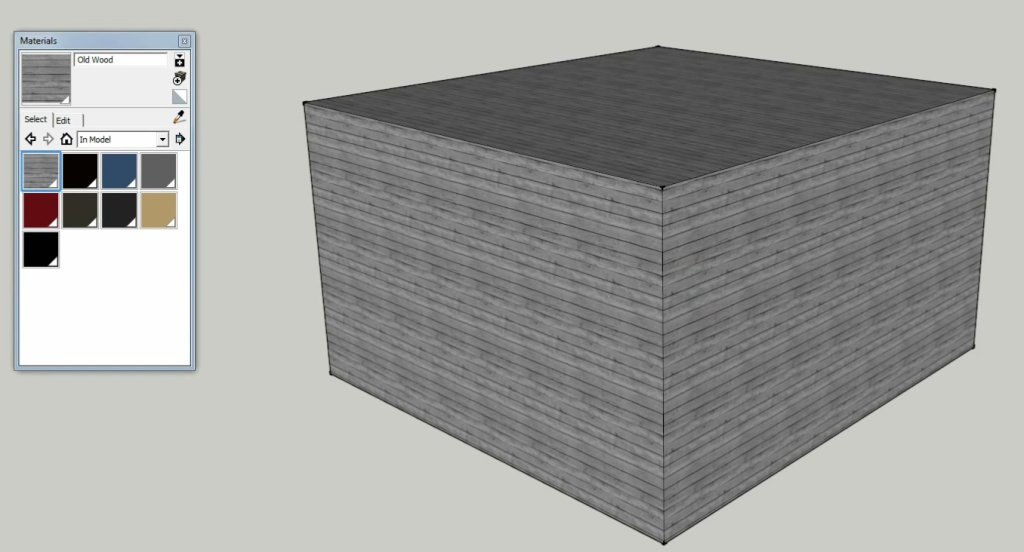
- Click on the Paint Bucket tool. Doing this will pop up the Materials window.
 Alternatively, you can go to the Window tab and select Materials from the drop-down list.
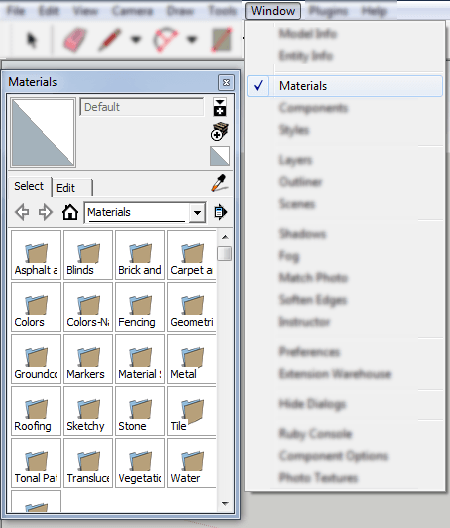
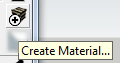
- In the Material window click the Create Material button.
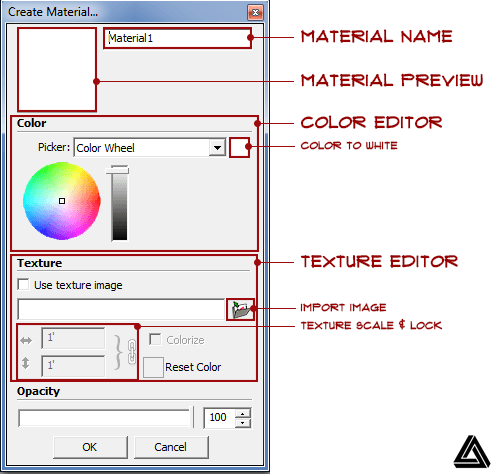
- The Create Material window will then pop-up. To import your sketchup textures, click the Import Image in the Texture Editor section. After your texture image is uploaded, you’ll see a preview of it in the upper left hand corner. You can use the Color Editor section to adjust your material’s color without having to edit it in an external program and reimport it.If your texture starts to look weird when using the color picker, try checking the Colorize option in the Texture Editor section. Colorize turns your texture to black and white and then puts the color overlay on top.If you import your texture and it’s too small or too large, use the Texture Scale & Lock in the Texture Editor section to adjust the scale of your sketchup texture.
When you mess things up too bad, there’s always the Reset Color.
- Click OK.
- Your custom material will now show up in the sketchup material library. Select it, grab the Paint Bucket tool, and have at it
Where’s your favorite place to find sketchup textures? Share them in the comments below!
Happy hacking!
The tutorial above is 2015 on PC. There are slight variations between the Mac version and PC version.
Are you having any specific issues with the translation between platforms?
Thanks for the texture hack but frankly my materials window shows nothing like what you are showing My version is 2015 running on a recent Mac Mavericks platform
Here is what I get when I open my materials window, (link below) . The color and list submenus allow Edit apparently only pixel by pixel),remove and add options with no color modification –much less color intensity slider such as you show.
What version are you using is it a mac versus PC issue or ??
Thanks in advance.
file:///Users/richardstanley/Desktop/Screen%20Shot%202015-09-10%20at%203.31.34%20PM.png