Modern Mountain House in Sketchup | Sketchup Speed Model

In this speed model tutorial, we’re going to show you how to create a contemporary mountain house in Sketchup. We got this beautiful design from Adrian Jaskiewicz. We’ve done a few tutorials on speed modeling in Sketchup before. If you’re interested in a more detailed explanation, you can check out this video! Otherwise, let’s get started on breaking down how we made this contemporary mountain home! First, well block out the basic shapes and then we’ll start adding in the details!
Block out House in Sketchup
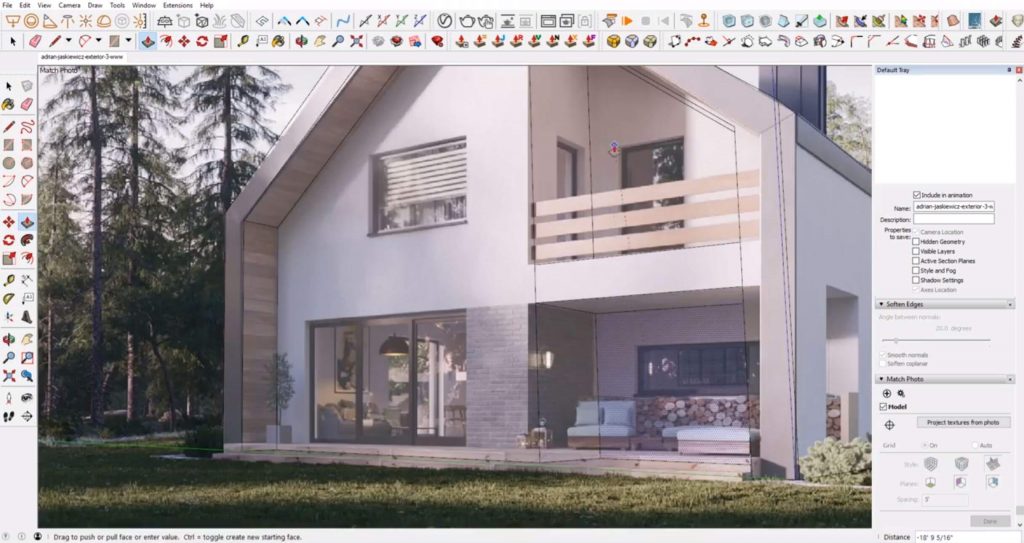
Import Image. Go to “file” > “import.” Choose the image you want to import and make sure “new matched photo” is selected.
Align Perspective. Move the perspective lines to align them with those in the image. Make sure the red and green lines are on two perpendicular planes.
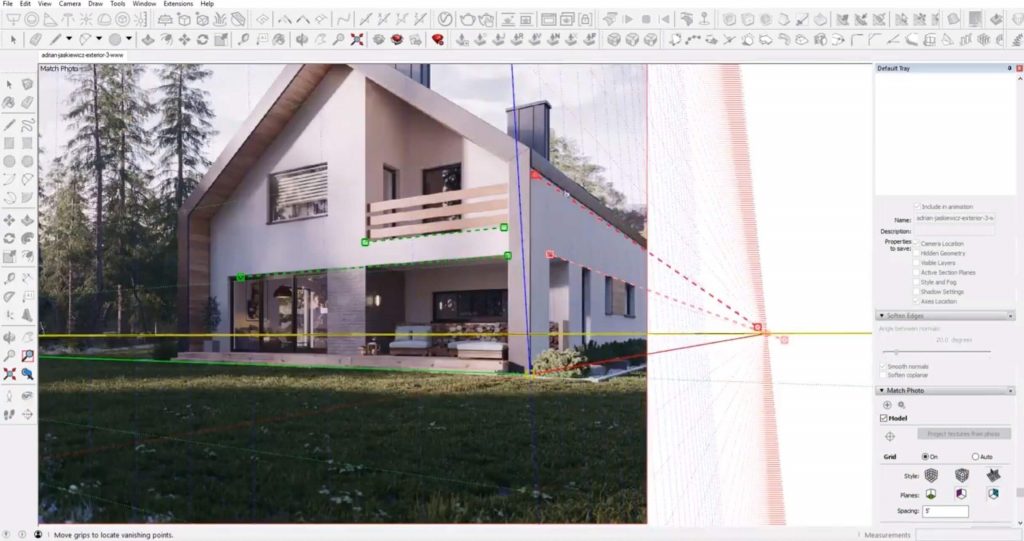
Block it Out. The easiest way to model from an image in Sketchup is by creating blocks for the basic shapes and then carving out, or adding the details from there. We used the rectangle tool to draw a rectangle on the ground floor then used the push/pull tool to extrude it up.
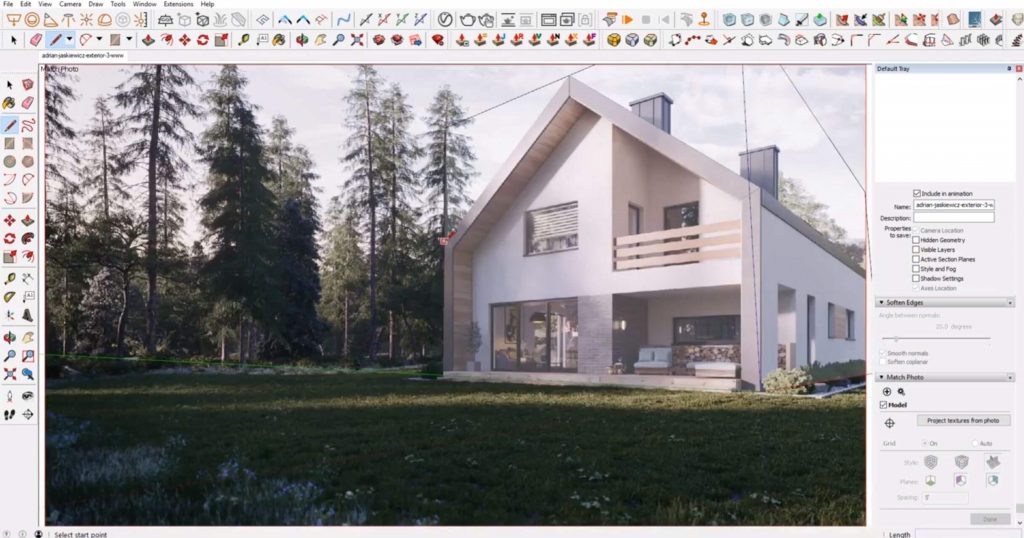
Cutout Roofline. We used the line tool to trace the roofline on one side. We mirrored it on the opposite side to make sure the angle was symmetrical. Then, we extruded each triangular face to the back of the house. You can see that the perspective lines don’t match up 100%. That’s okay, it’s in the ballpark, you just need to use your judgment on this one. We could certainly get the lines to match up but lose the symmetry. In cases like this, it’s best to maintain symmetry and settle for a “close enough” photo match.
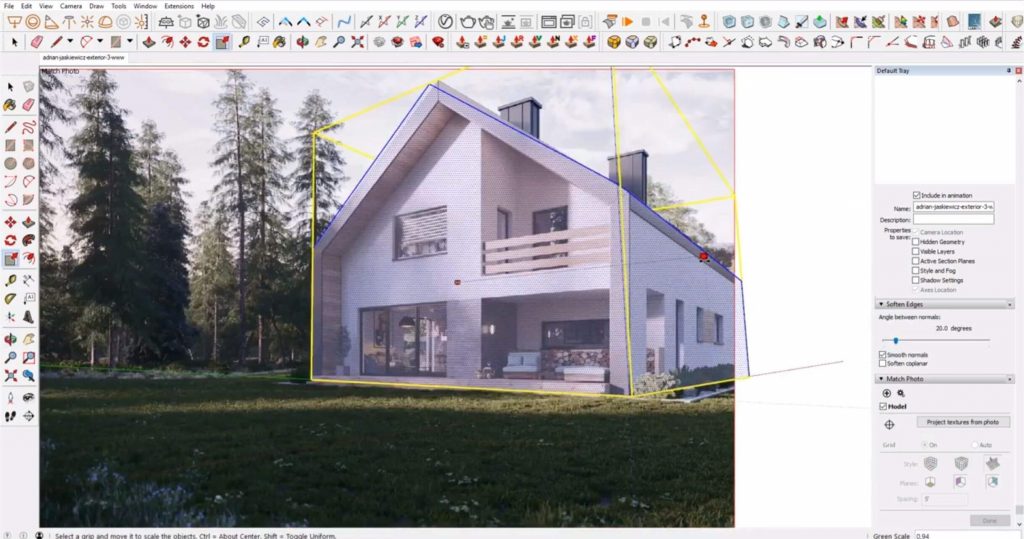
Offset. We used the offset tool to offset the roofline shape and then extruded it inward to create the overhang.
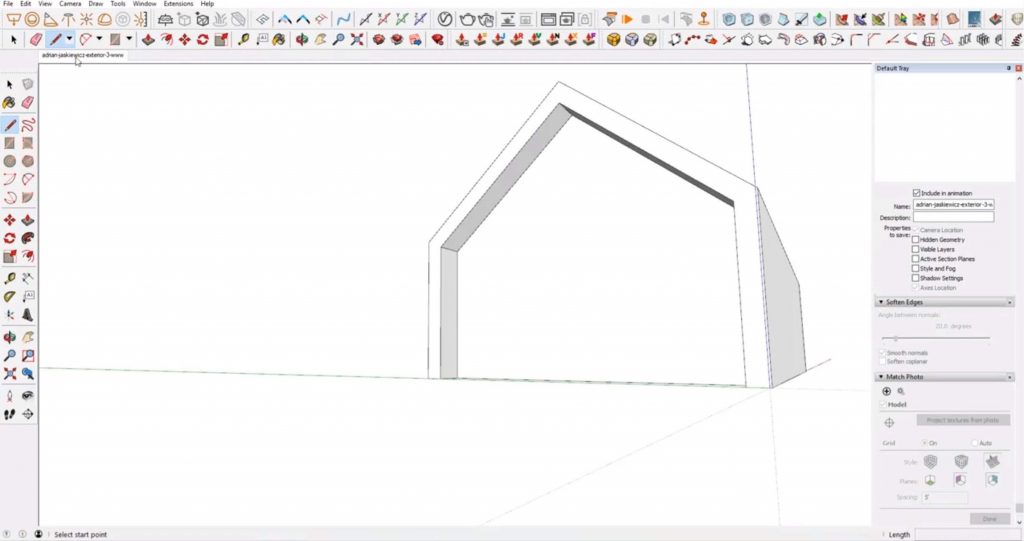
Add Details
Cutout Walls. Using a similar process to creating the roof, we traced the exterior wall cutouts and extruded them back. Then, we used the same method to create doors and windows.
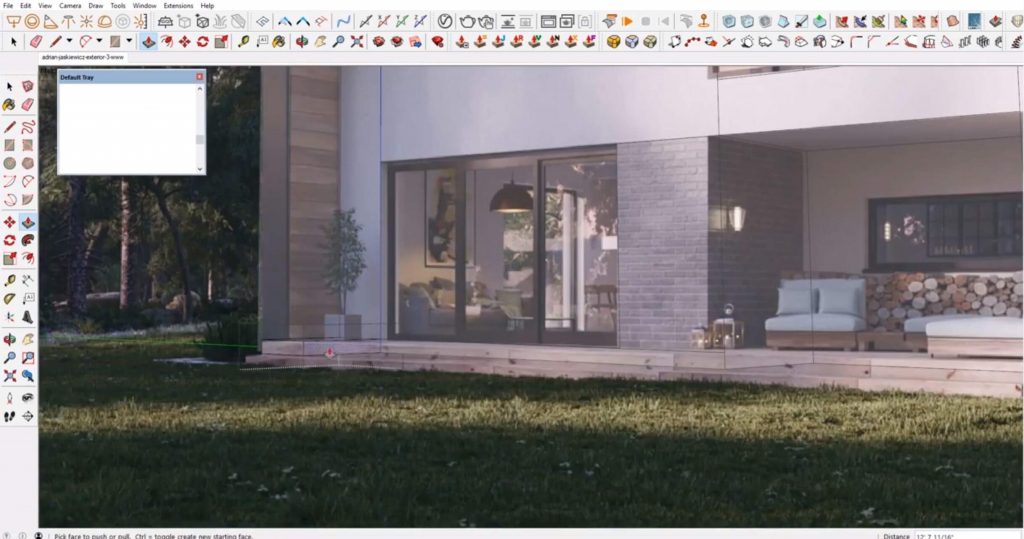
Add Steps. We used the rectangle tool to draw the base of the steps and the push/pull tool to extrude them.
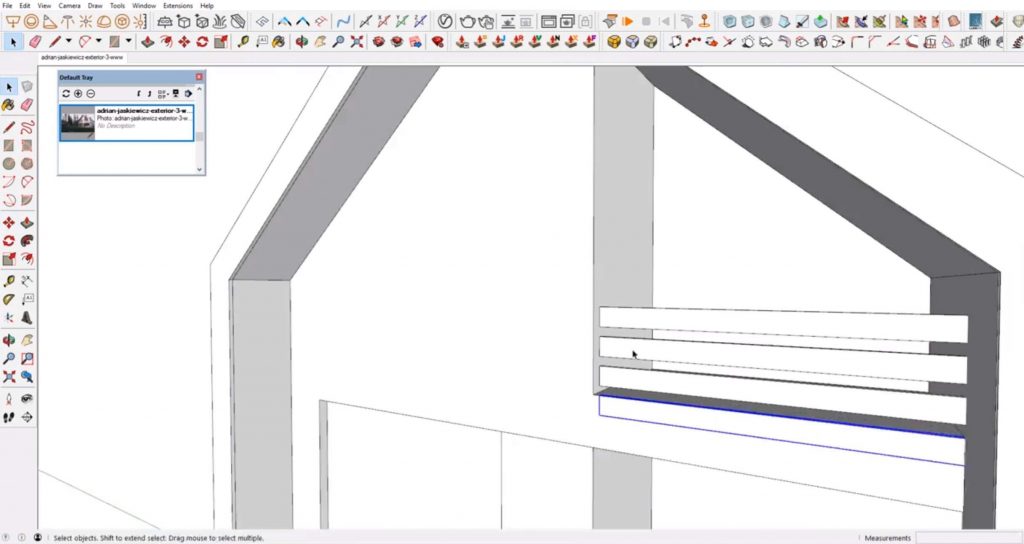
Make Wood Slats. To make the wood slats, we traced the front face of the wall below the slats. We moved the shape to align with the top slat and set it back slightly. We used the push/pull tool to add thickness and the scale tool to adjust the size. Then, we copy and pasted the shape down until we had all three slats.
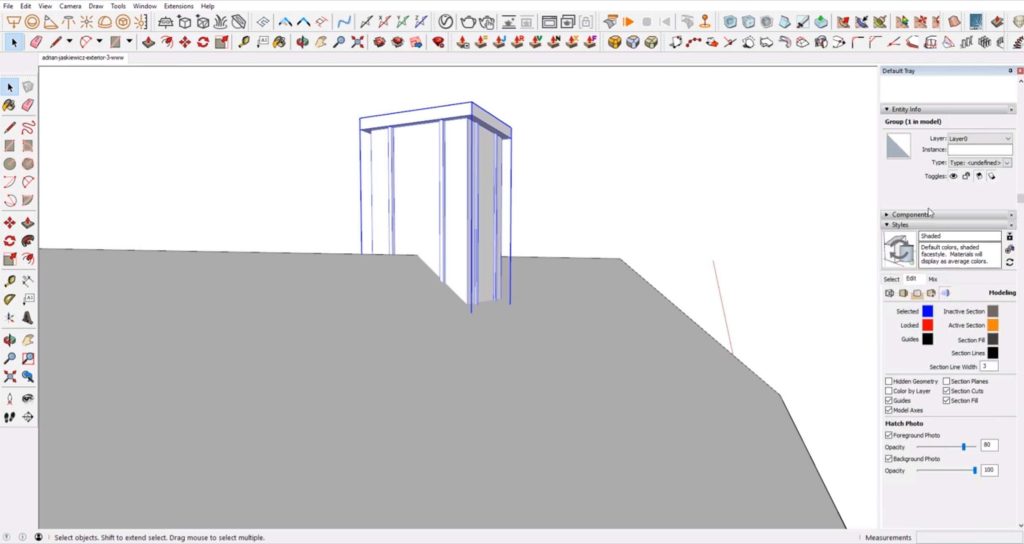
Model the Chimney. Next up, we began modeling the chimneys. We started by drawing a rectangle and using the push/pull tool to create the basic block. Then, we used the scale tool to get it to the right size. We drew another rectangle on top to create the lip and used the line tool to add the groves along the sides. We made it into a component and then copy and pasted it to line up with the second chimney.
Add Materials. If you want to add materials with another rendering program, you’ll have to paint all of them onto the house in Sketchup first. Use the material tab in the default tray to create custom materials. We made a custom material for each material in the image. Then, we used the paint bucket tool to paint each surface in that material.
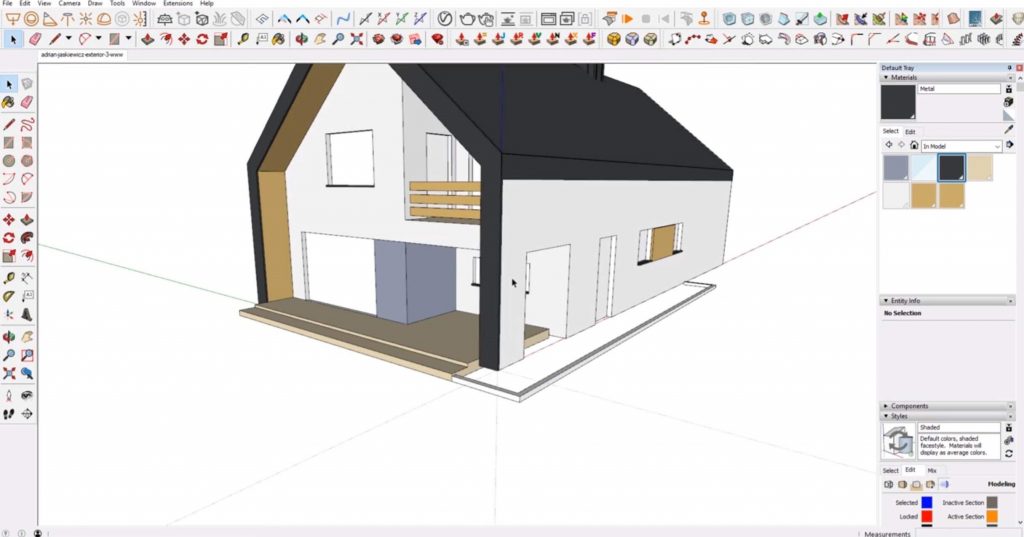
Clean Up. Make sure you close off any holes and erase any extra lines that may be floating around. This will not only make your model look clean, but it will decrease your file size and keep the loading time fast!
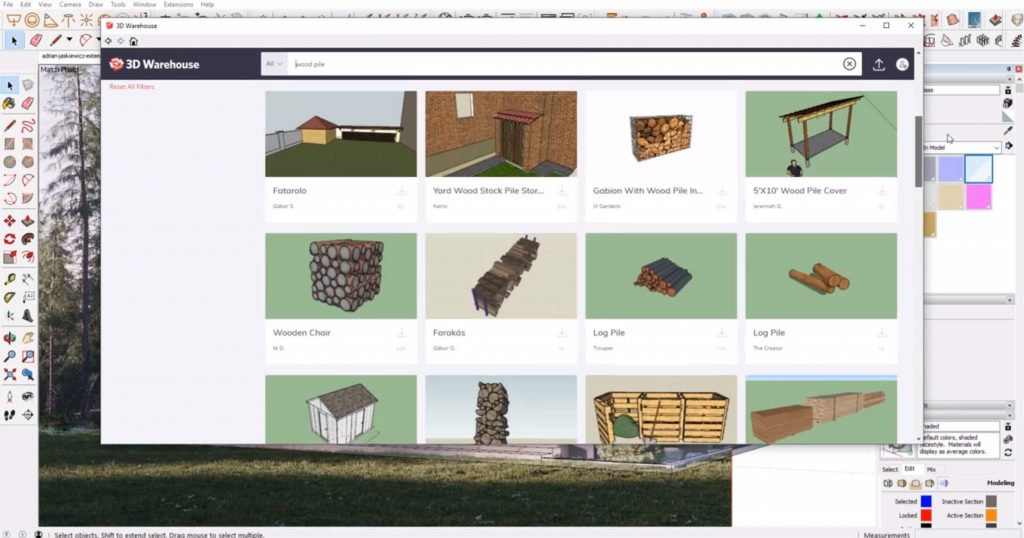
Add Furnishings. If you want to get really detailed you can model your own furniture too! We decided to get models off of the 3D Warehouse and add them into our model.
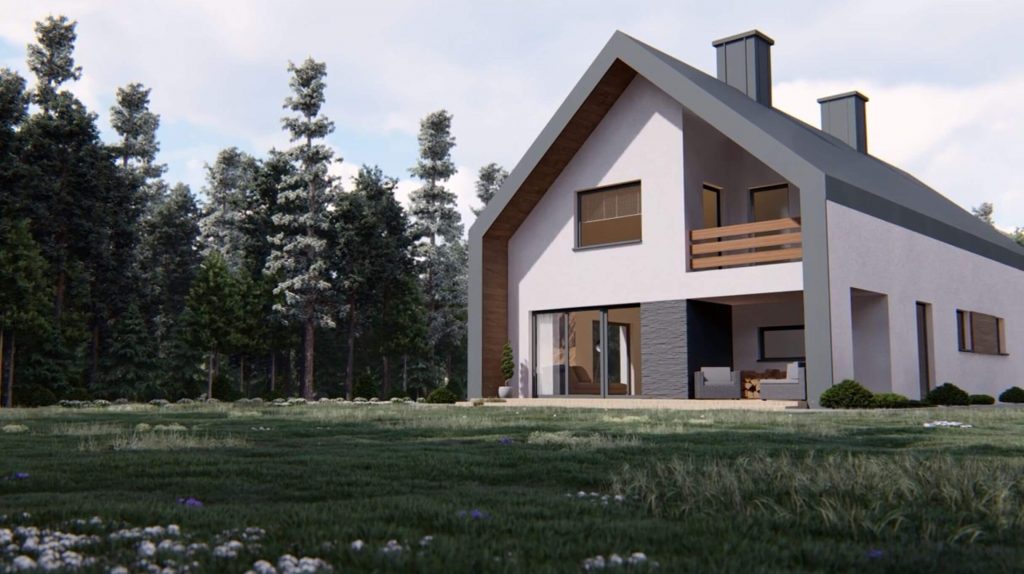
Once you’re finished you can load it into a rendering program like Vray or Lumion and really make it come to life! What do you think of our mountain house in Sketchup? Let us know in the comments and be sure to check out our other Sketchup tutorials for even more tips!
Happy Hacking!

No comments yet.