
How to Design a Sloped Wall in Sketchup

For this Q&A we’re going to be showing you how to create a sloped wall in Sketchup. This question comes from “chaznsc” who asks:
“Newish user here. I use AutoDesk Civil3d daily and have toyed with SU but this a first doing something official. Building a 3d version of a planned amphitheater. I have been tracing the flat “plan” from autocad and created these three-dimensional shapes. I’d like to trim down this side wall as shown. What’s a best method for doing this?”
We’ve imported a similar amphitheater model from the 3D Warehouse so we can show you how to create a sloped wall in Sketchup. Let’s get started!
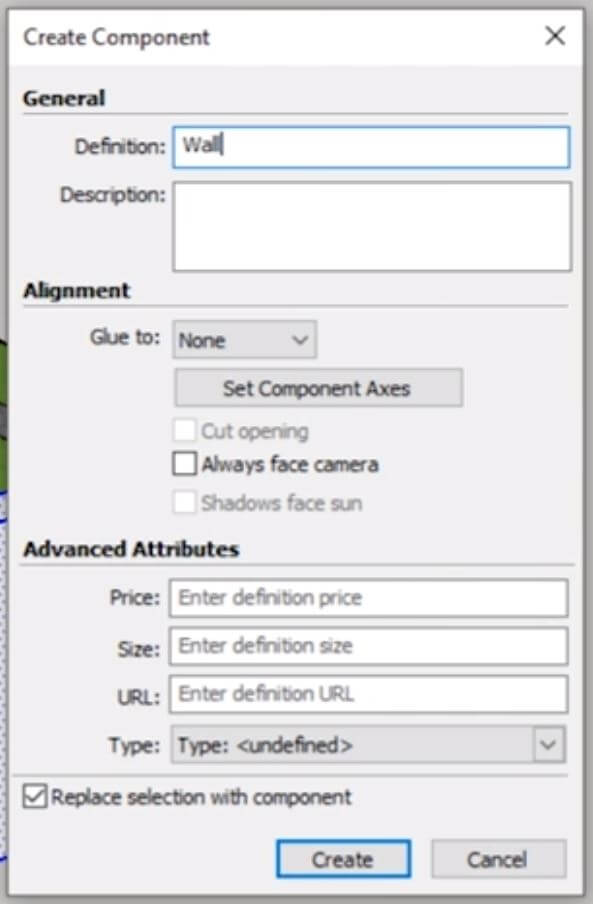
Make Component. The first thing you want to do is make the wall into a component. Right-click on the object and select “make component.” Type “wall” into the definition box and hit “create.”
Copy. Make a copy of the wall and move it to the other side of the amphitheater.
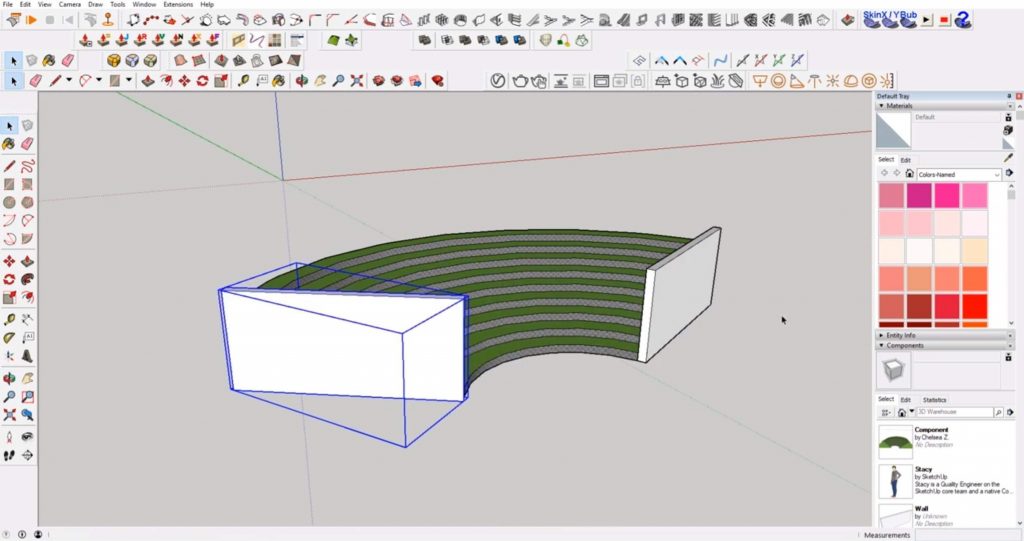
Rotate. Hit “Q” to activate the rotate tool. Press the arrow keys while using the rotate tool to lock to the red, green, or blue axes.
Two Ways to Make a Sloped Wall in Sketchup
1. Go by the Height
Draw a Line. Use the line tool to draw a line about 2/3 of the way down the front end of the wall.
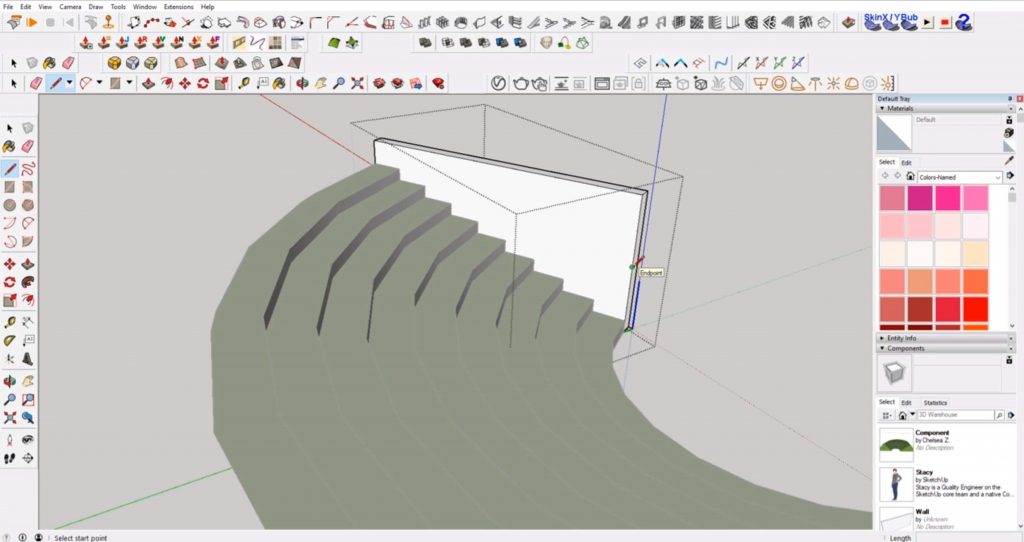
Move Edge. Hit the spacebar to end your current operation and select the line that creates the top edge of the wall. Hit “M” to enable the move tool. Move the edge down to the endpoint of the line you just drew.
2. Create a Parallel Slope
You can also use a similar method to create a more accurate slope that is parallel with the steps.
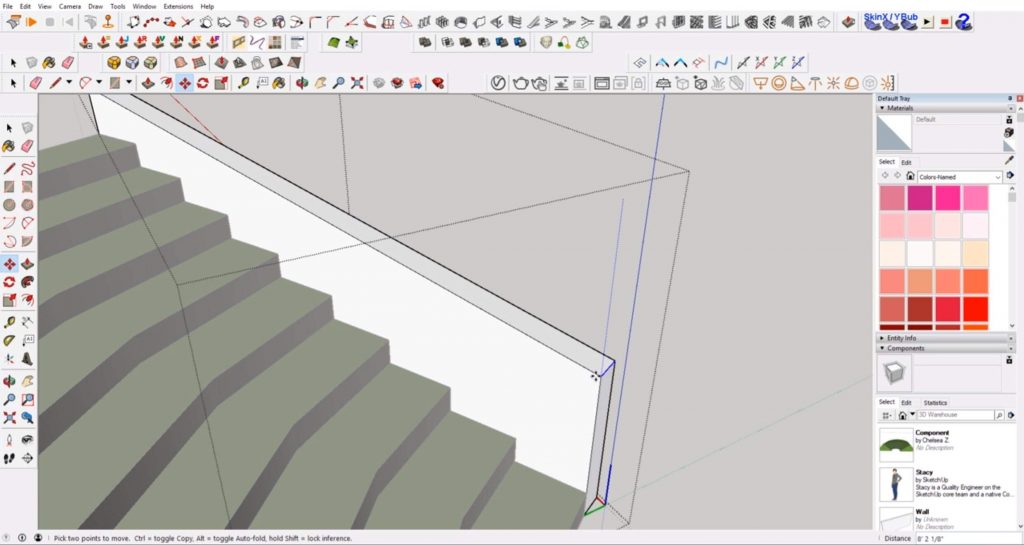
Draw a Line. Use the line tool to draw a line from the front corner of the top step to the front corner of the bottom step.
Move Line. Hit “M” and move the line to the top corner of the wall.
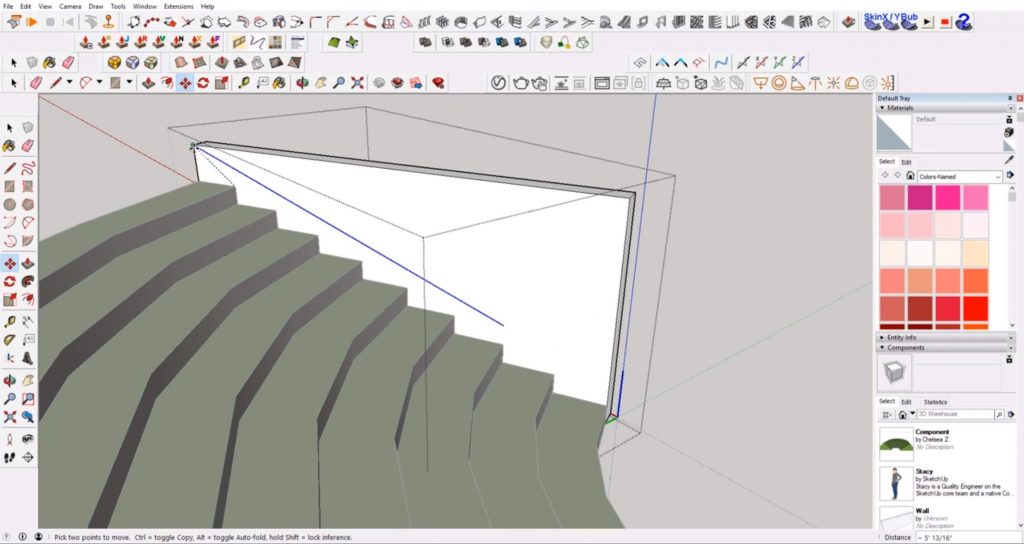
Trace Line. Hit “L” to open the line tool. Trace over the line you just drew and hold “shift” to lock to the slope of the line. Extend the line beyond the steps.

Erase. Hit “E” to open the eraser tool and erase where the line extends beyond the wall.
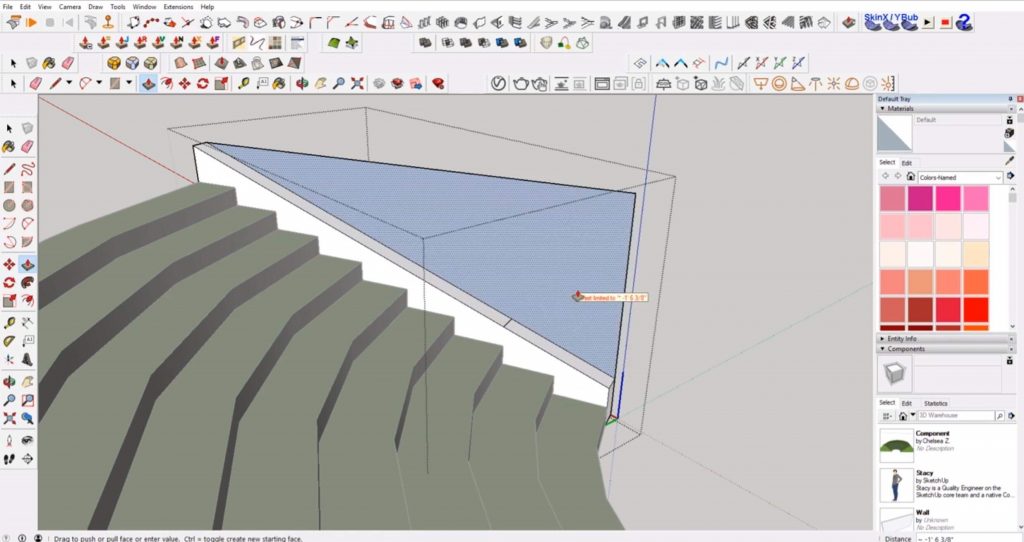
Push/Pull. Hit “P” to open the push/pull tool and push the top section of the wall all the way through to the other side.
Erase. Use the eraser tool to erase any extra lines.
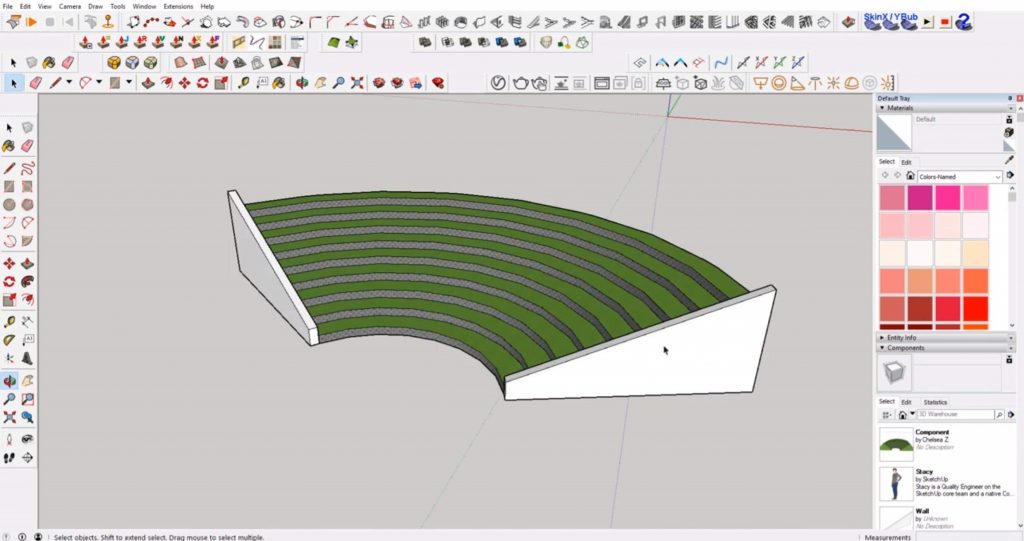
Now you have a low, sloped wall that matches the slope of the amphitheater. You won’t have to worry about repeating these steps for the other side because we started by making it a component! This means both walls are linked and will update together!
We showed you a pretty simple method, but there are probably other ways you can achieve the same effect. How would you create a sloped wall in Sketchup? Let us know in the comments! We would love to hear what your approach would be! If you’re looking for more easy tutorials, check out our full list here.
Happy Hacking!
No comments yet.