
How to Generate a Contour Map with Sketchup

This tutorial is going to cover how to turn contour lines into a 3D terrain contour map in Sketchup. Before we get started, one thing to note is that we will be using tools and methods that are pro-only features!
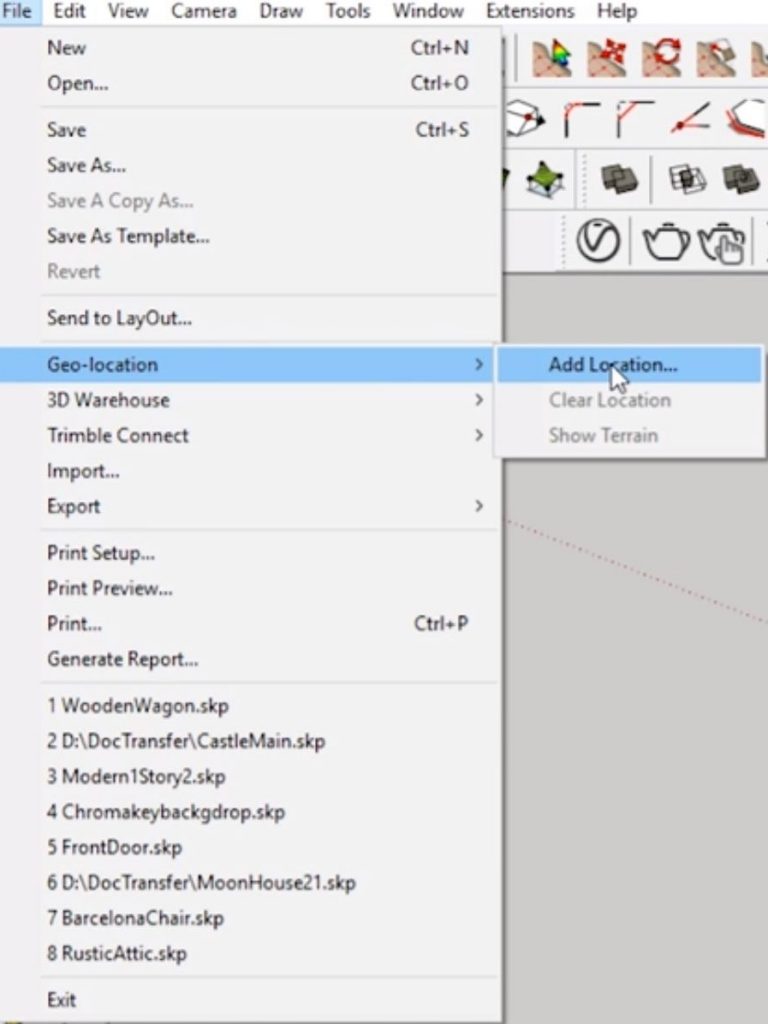
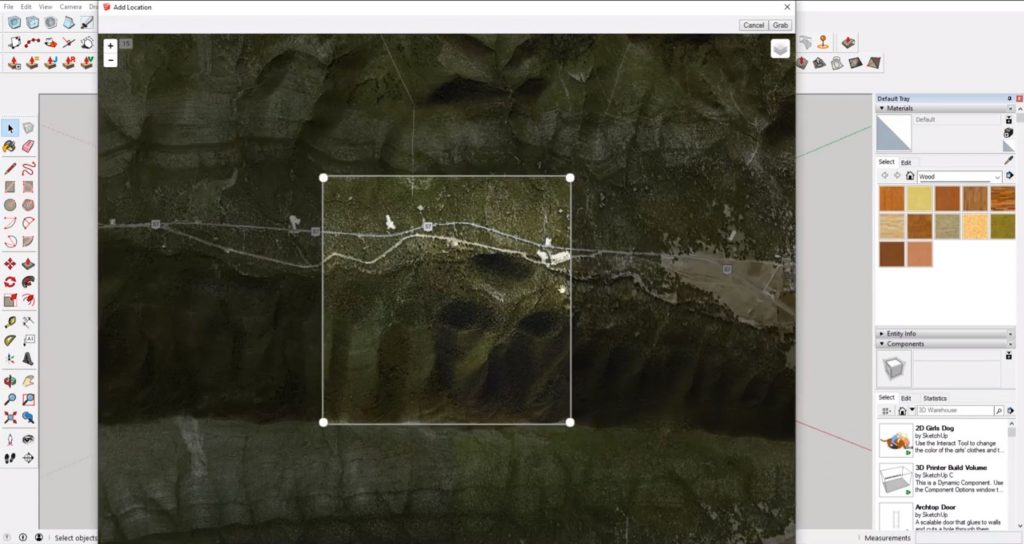
Add Location. To add a map, go to “file” > “geo-location” > “add location.” From the map you can either type in a specific location or scroll through the map until you find an area you want to use. For this example, we are going to select a location that is steep so you can easily see how the contouring works. When you find an area you want to use, click “select region” and then hit “grab” and it will import into your Sketchup model.
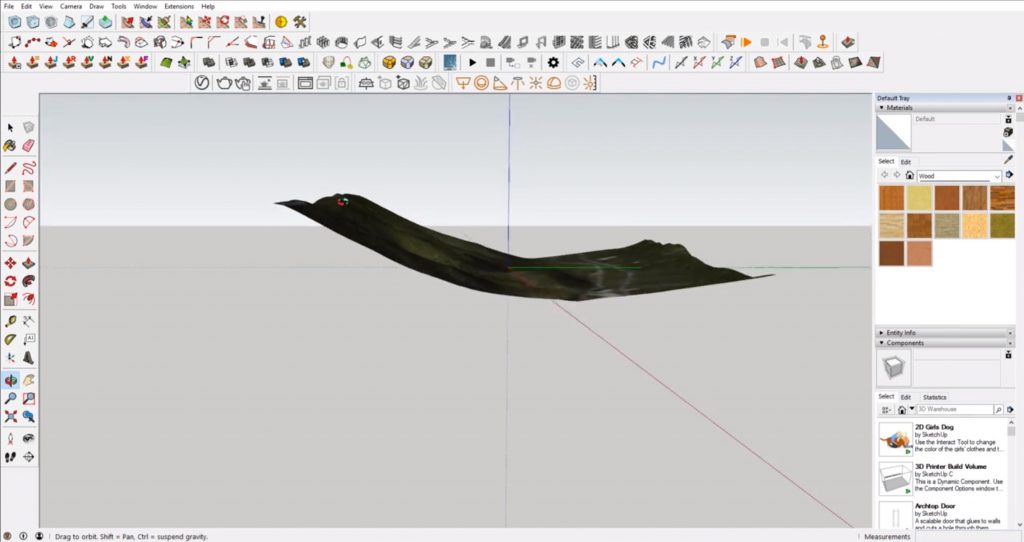
File > Geo-location > Show Terrain. To see what the 3D terrain looks like, navigate to “file” and hover over “geo-location” to select “show terrain.”
Creating a Contour Map
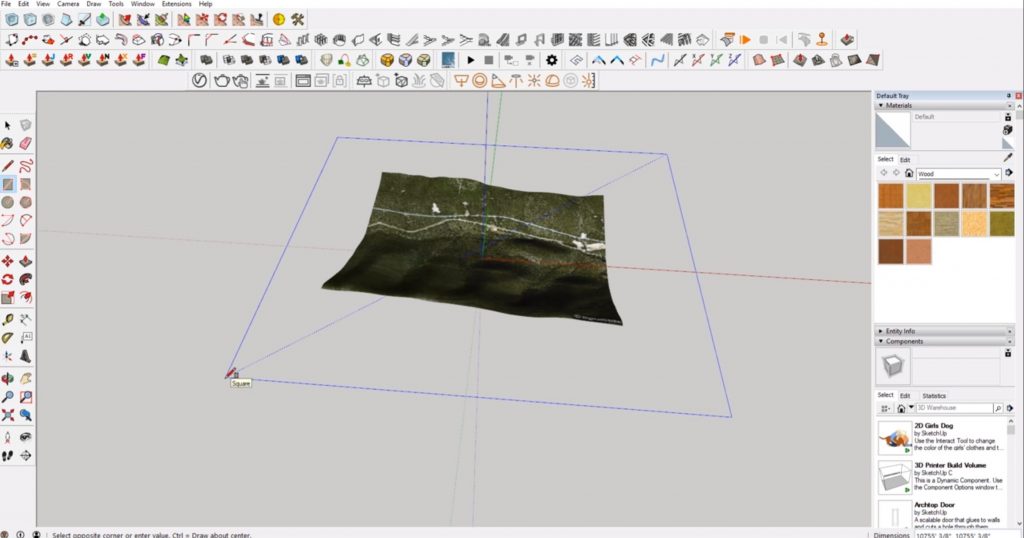
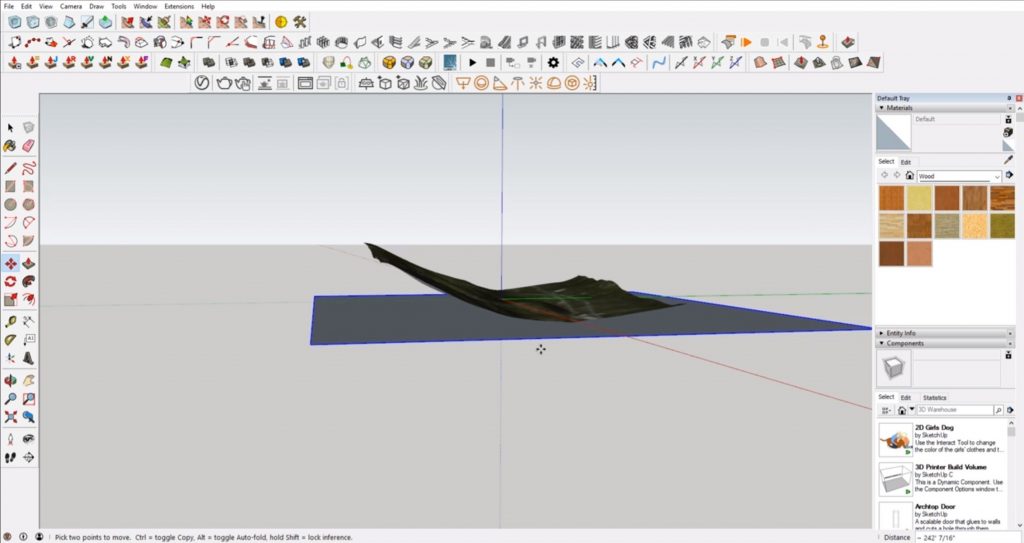
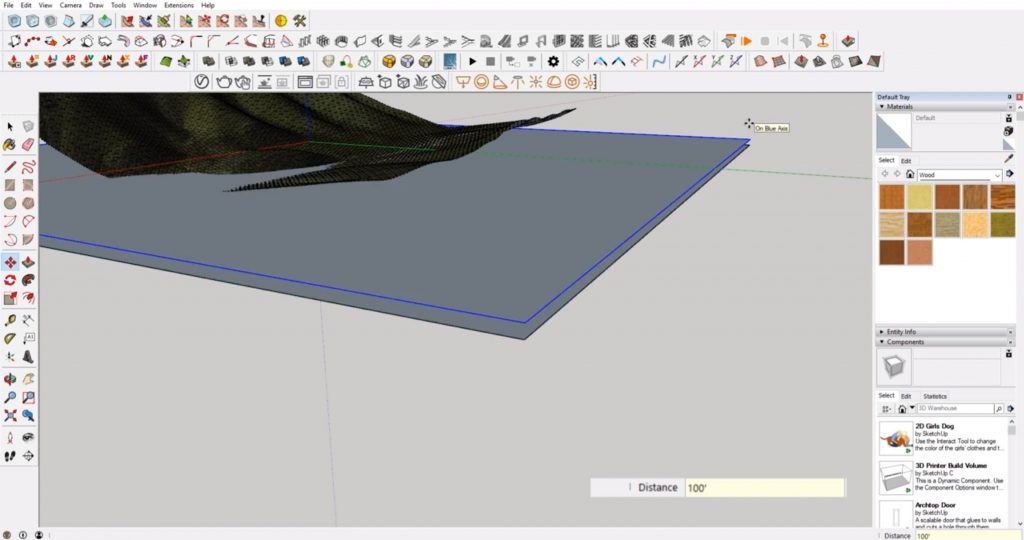
Make a Plane. The next step you want to do is make a plane to work from. To do this, hit “R” and then press the up arrow on your keyboard to make a rectangular plane on the blue axis. Drag the mouse to create a rectangle that is a bit larger than your terrain. Select the plane and hit “M” on your keyboard. You may have to turn on hidden geometry to see where you want to snap the plane to. Go to “view” and select “hidden geometry.” Then select the lowest point in the terrain to snap your plane to.
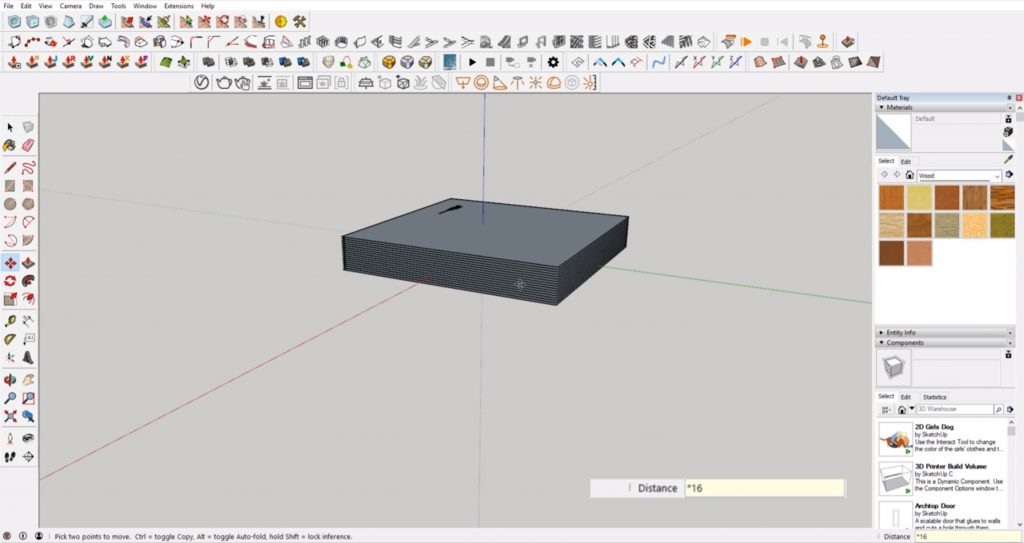
Copy. First, copy the plane you created and place it anywhere above the original. Contours are typically set at 1′, 2′, 5′, 10′, etc. increments. Then, select an increment that you want the contours to increase by. You may have to experiment to pick the best increment. In the “distance” box in the lower right corner of the screen, type in the number you want each contour to increase by. The more sloped your terrain is, the higher the number you may want to choose.
Multiply. Once you have an increment you are happy with, type “ * ” into the “distance” box. Then type the number of times you want the planes to multiply. Again, you may have to experiment until you get enough to cover the height of your terrain.
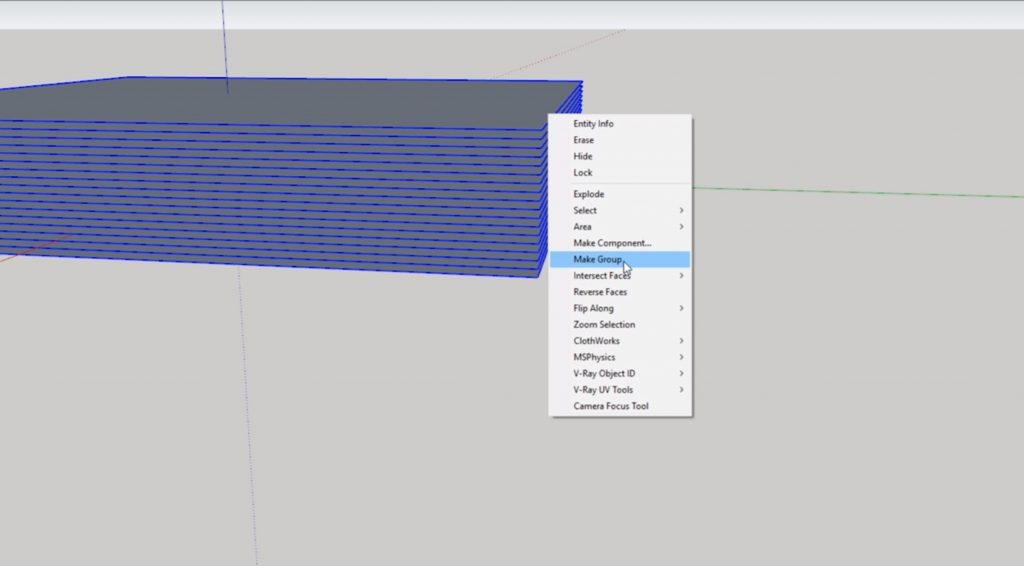
Make Group. Select all of the planes and right click to select “make group.” Then hit “ctrl” > “X” on your keyboard to cut the planes. At this point, you can go back to “view” > “hidden geometry” to deselect the hidden geometry lines to save loading time on your computer.
Unlock Terrain. Right click on your terrain and select “unlock.” Then, right click again and select “edit group.”
Edit > Paste in Place. Click on “edit” and select “paste in place” from the dropdown menu. This will place all of your planes that you just cut over the terrain.
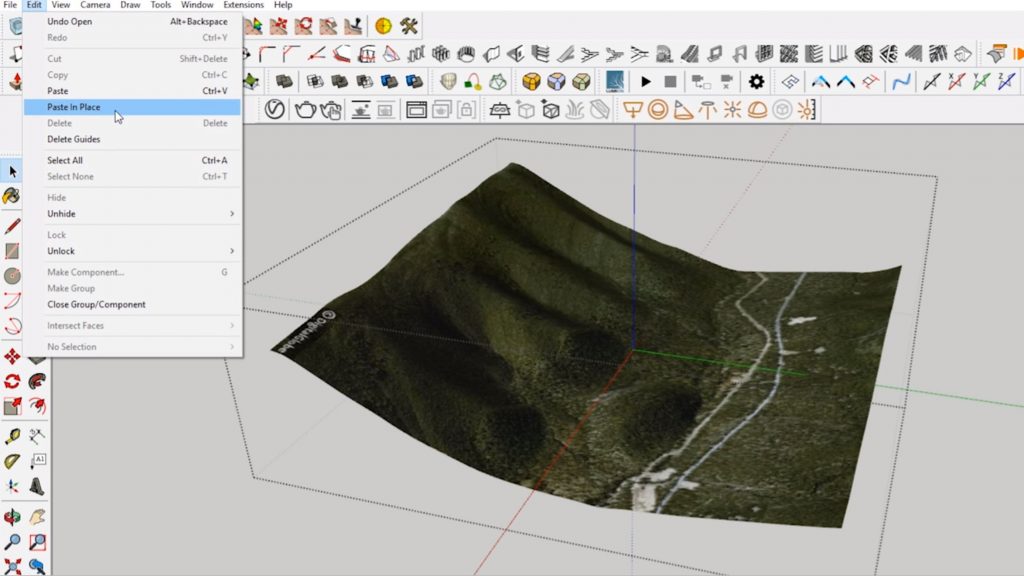
*Make sure you save before the next step!
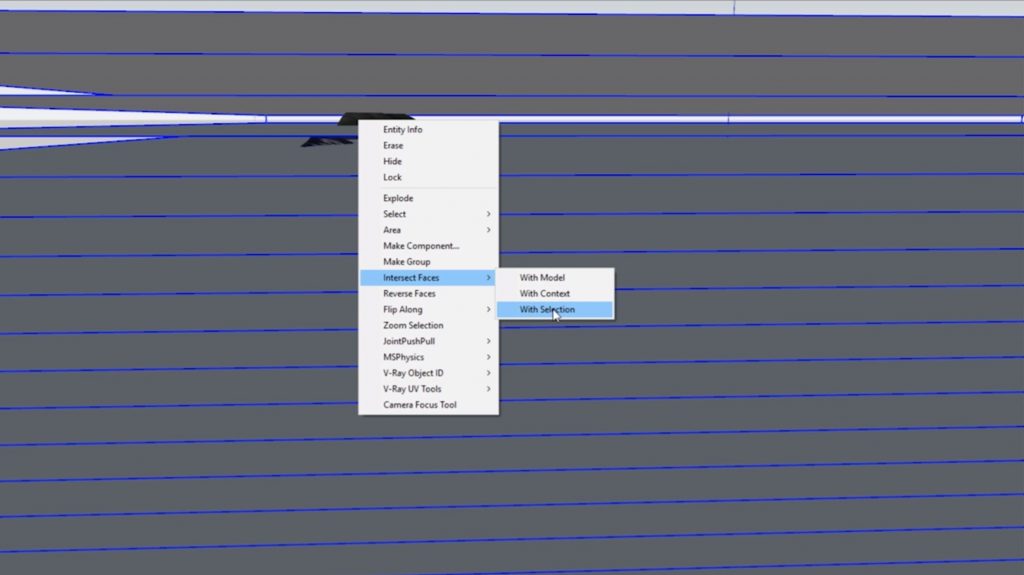
Intersect Faces. Next, click “ctrl” > “A” on your keyboard to select all. Right click and select “intersect faces” > “with selection.”
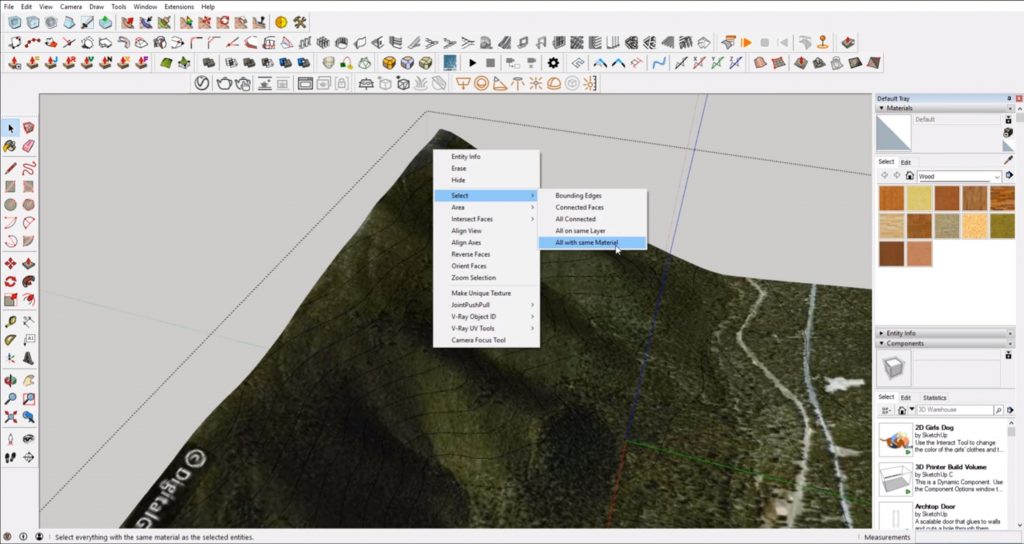
Select > All with same material. You may want to delete the original topography map if you just want to see the contour lines. To do this, right click on the terrain and click “select” > “all with same material” and then hit “delete.”
Now you have a completed 3D contour map! You can use a plugin to flatten the map if you wish. Just go to the Extension Warehouse and search for “flatten.” Most of the time when you get information from a surveyor it will be in three dimensions, so keeping the map in 3D may be better depending on what you need it for. If you have an existing survey document, check out our tutorial on how to turn 2D topography into 3D terrain here!

What sort of terrain will you make a contour map for? Let us know in the comments!
Happy Hacking!
No comments yet.