How to Get Area Calculations in Sketchup

If you are working with a model that has multiple rooms like a house, restaurant, or large suite, you probably want to record the area of each individual space. There are a few different ways to get area calculations in Sketchup, and in this tutorial, we’ll show you each way and the tricks to doing it right! With these tips, you’ll be able to quickly and accurately record the square footage for each room. We’ll also show you how to customize your text settings and change the measurement units. Without further adieu, let’s get started!
The Different Ways to Get Area Calculations in Sketchup
1. Entity Info
Select any face in your model and you can view the entity info in the default tray, located on the right side of your screen. Under the “layer” dropdown you can see the area of the space in square feet. However, if you don’t have any doors dividing the space, the measurement may be including multiple spaces.
Close Off Door Openings. Open the line tool by pressing “L.” Click and drag to close off any door openings that lead to a separate space. Delete the face that is created after drawing the line.
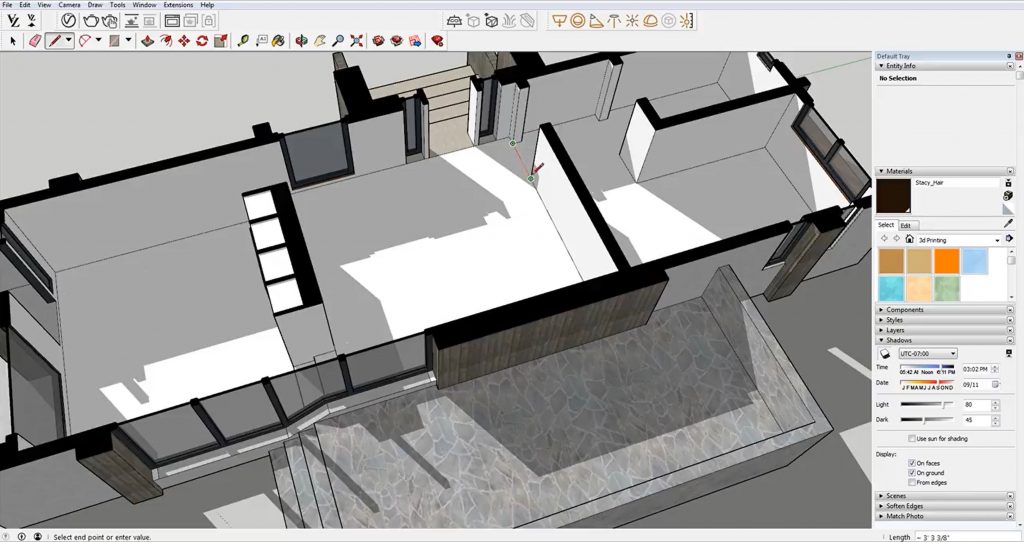
Hide. Right click on the line you just drew and click “hide.” Now when you click on the face it will only select the area you want to measure. Make sure you don’t include any doorways or stairs in your calculation because they are not features of the space.
2. Use the Text Tool
Another way to get area calculations in Sketchup is by using the text tool. Simply select the “text” tool in the top menu bar and click on the face you want to measure. It will automatically show you the area of that space.
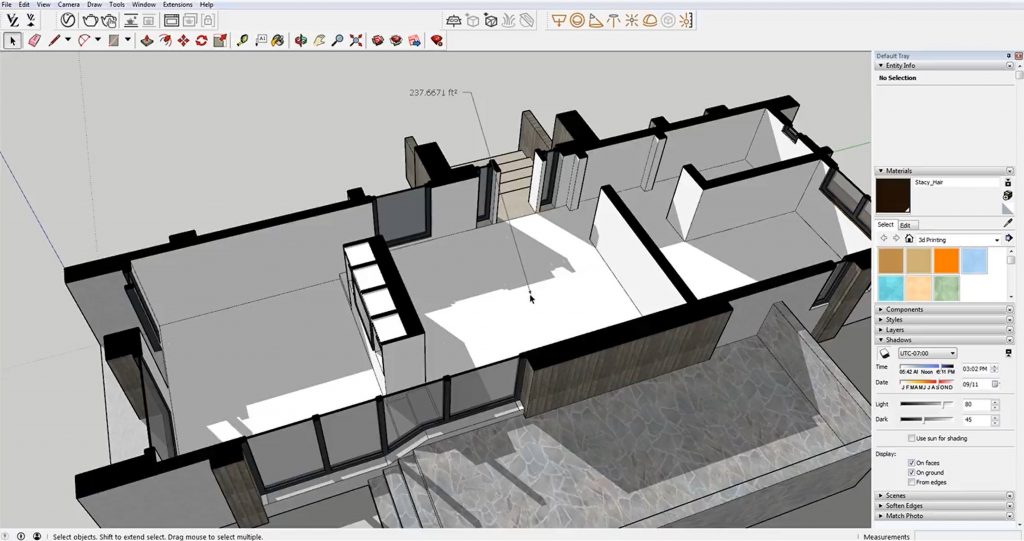
An important note to remember is that once you click off of the “text” tool, you will not be able to go back and add more lines to the text. For example, if you want to have a title above the square footage, you will have to type it in before you finish using the “text” tool.
Keep in mind the text is also not dynamically linked to the room. So if you alter the square footage of the room, the text will not change to reflect it.
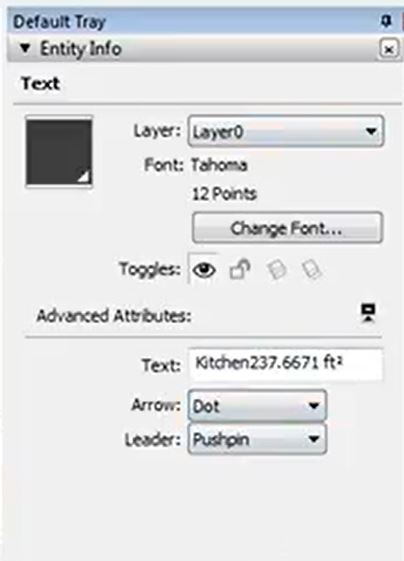
If you want to customize the text, click on the leader. Then use the settings in the “default tray” under “entity info” to change the font or arrow.
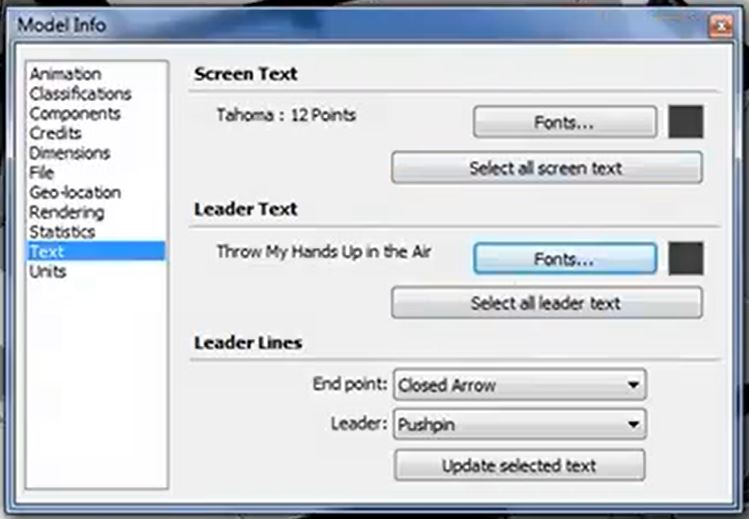
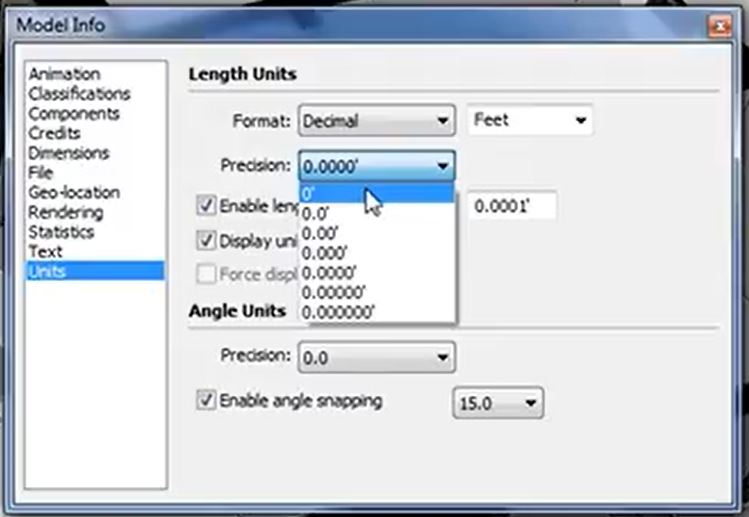
Window > Model Info > Text. If you want to save the settings for the next leader you draw, navigate to “window” > “model info” and click on “text.” Use the “leader text” section to change your text options. While you have the “model info” window open, go ahead and change the units so the area rounds to the nearest whole number.
Change Units. In the “length units” section, click on the “format” dropdown. Select “decimal” and change “inches” to “feet.” Then, in the “precision” dropdown, select “0.”
Move. If you want to move a leader, hit “M” to open the move command. Click on the end of a leader and move it to the desired location and use the arrow keys to lock to certain axes.
That’s it! What method do you use to get area calculations in Sketchup? Let us know in the comments! Before you go, be sure to check out the rest of our tutorials here.
Happy Hacking!

No comments yet.