
How to Snap in Sketchup Tutorial

Hey designers! In this tutorial, we’re going to go over how to snap in Sketchup. No, not like Snapchat. Snaps refer to points that you can lock to when drawing a line. For example, you can lock to the origin or a certain axis. You can also snap to endpoints or midpoints to ensure that your lines intersect at the correct point. This is definitely a useful tool to make sure that the shapes you draw are in the same plane. If you haven’t used the snap tool already, be sure to check out this tutorial to see how helpful it can be!
Snap in Sketchup to Things You Have Drawn
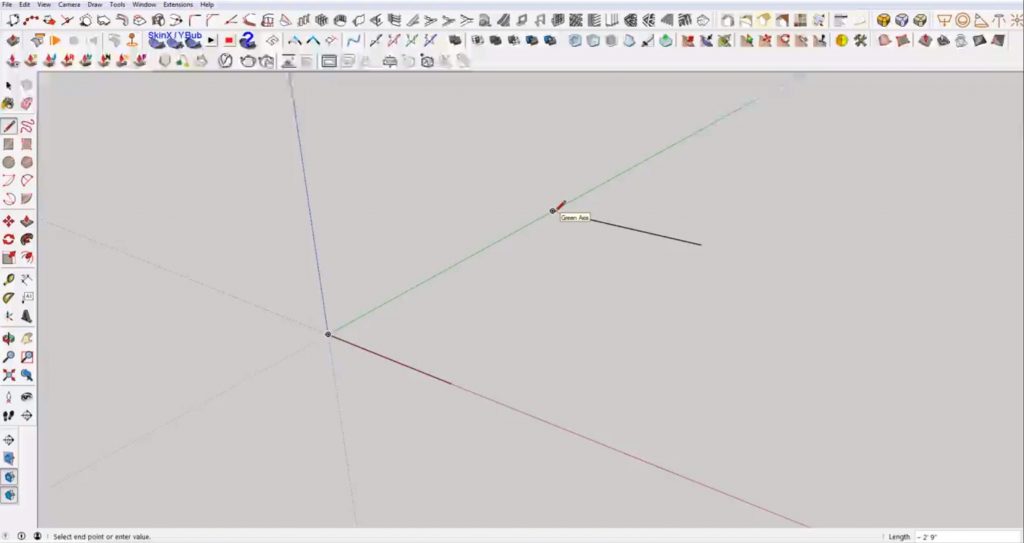
To start off, let’s go over the basics of what snapping means and a few different ways you can achieve this. First, open up Sketchup and go ahead and delete the scale figure. Press “L” to open the line tool. If you move your cursor over the origin, you will see a small circle appear. This indicates a point you can snap to. In other words, you will be able to draw another line that locks on to this point. You can snap onto endpoints, midpoints, and the center of circles.
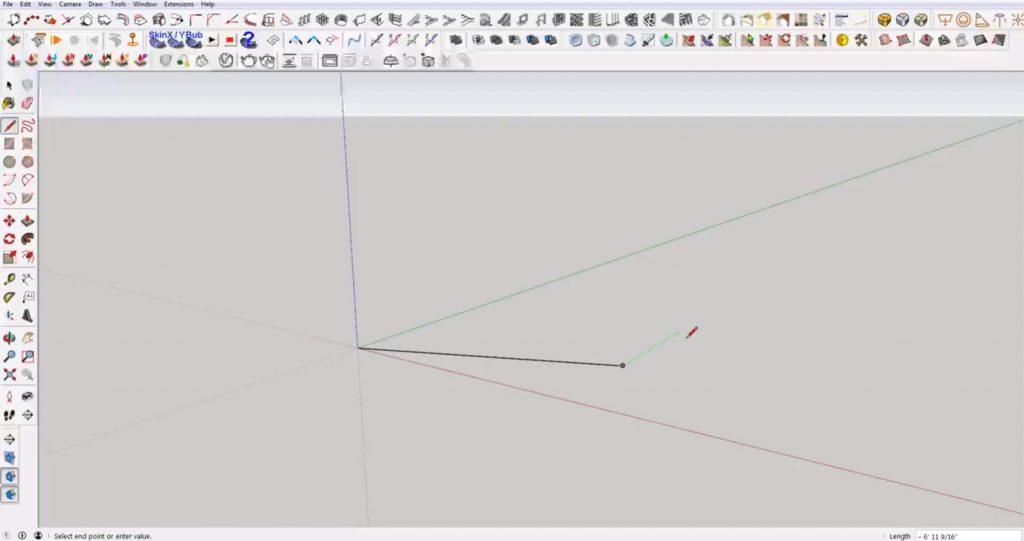
- Endpoints. To snap to an endpoint, simply draw a line. Then, open the line tool again and move your cursor to the end of the first line you drew. A small circle will appear if you hover over the end of the line. Click, and it will allow you to snap to the endpoint.
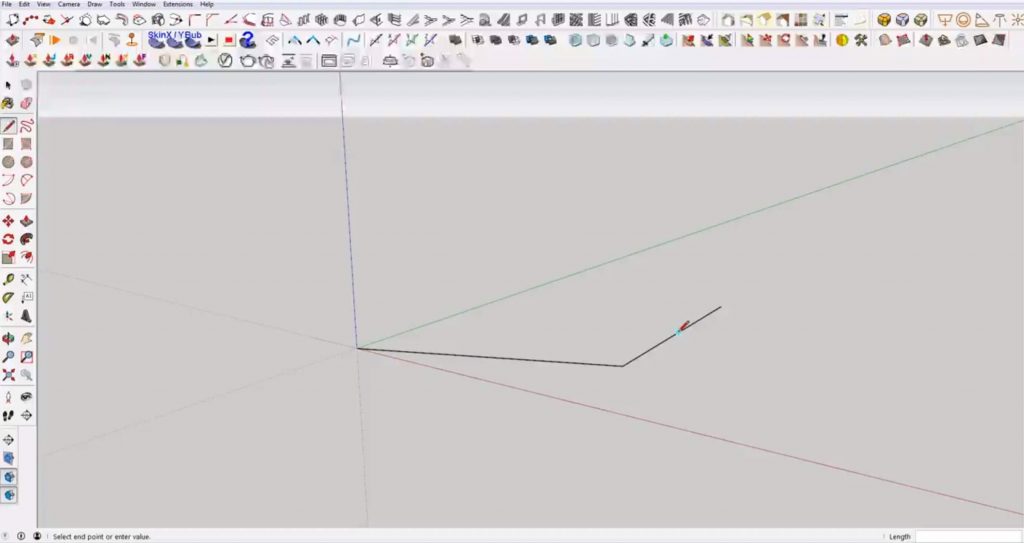
- Midpoints. Similarly, you can also snap lines to the midpoint of other lines. Open the line tool and draw a line. Hover over the center of the line and a small blue circle will appear. This circle will allow you to snap to the midpoint.
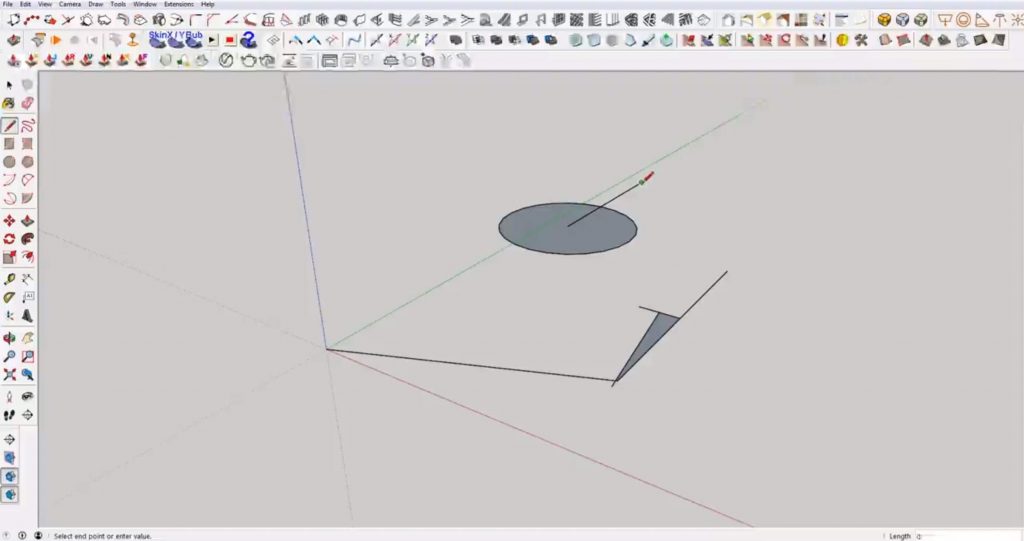
- Center. You can also snap lines to the center of circles. Simply draw a circle and hover over the center of the circle to find the center point.
Snap in Sketchup to a Grid
Window > Model Info > Units. Open the model info window by navigating to the “window” and selecting “model info” from the dropdown menu. Under the “units” tab you can adjust the length snapping to create a grid.
In the “precision” dropdown, change the measurement to “0 inches” (or whatever increment is appropriate for your case). Make sure “enable length snapping” is checked. Then, type “1 foot” into the length snapping box.

Now, if you open the line tool and hover along the red axis you will notice the length in the lower right corner increases by 1-foot increments. The difference between using a grid in Sketchup instead of another program is that it doesn’t set up a 3-dimensional grid throughout the model. For example, if you begin drawing a line in the middle of the model the distance from the origin may not be in 1-foot increments. However, once you start drawing the line, you will only be able to snap to 1 foot increments.
If you found this tutorial on how to snap in Sketchup helpful or you want to learn more tips, be sure to check out all of our tutorials here!
Happy Hacking!
No comments yet.