How to Use the Sketchup Follow Me Tool

In this tutorial, we’ll show you a few ways to easily use the follow me tool to enhance your designs with detail and cut your work time in half.
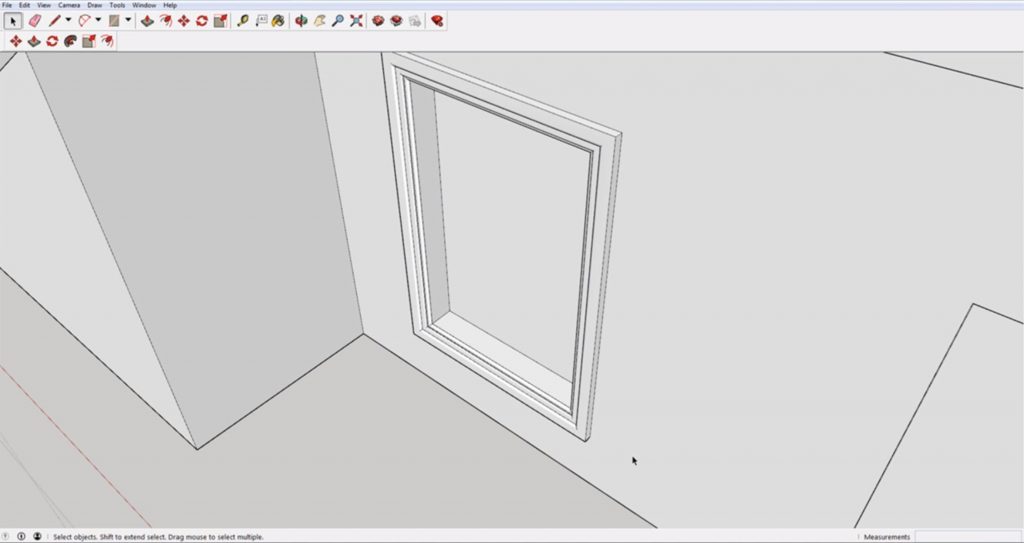
First, let’s take a look at how we can add molding around a window. You can use extrusions and chamfer the edge, but by using the Sketchup follow me tool instead, you can complete the same detail in a fraction of the time.
Using the Sketchup Follow Me Tool
Trace the edges. The first way to use the follow me tool is by selecting it from the toolbar and tracing it along the edge of your window frame to create an extrusion.

If you do not have the toolbar, right-click on the top menu and select “edit.” Then from the toolbar, select the follow me tool. Hold down the left mouse button and drag it along the edge of the window frame.
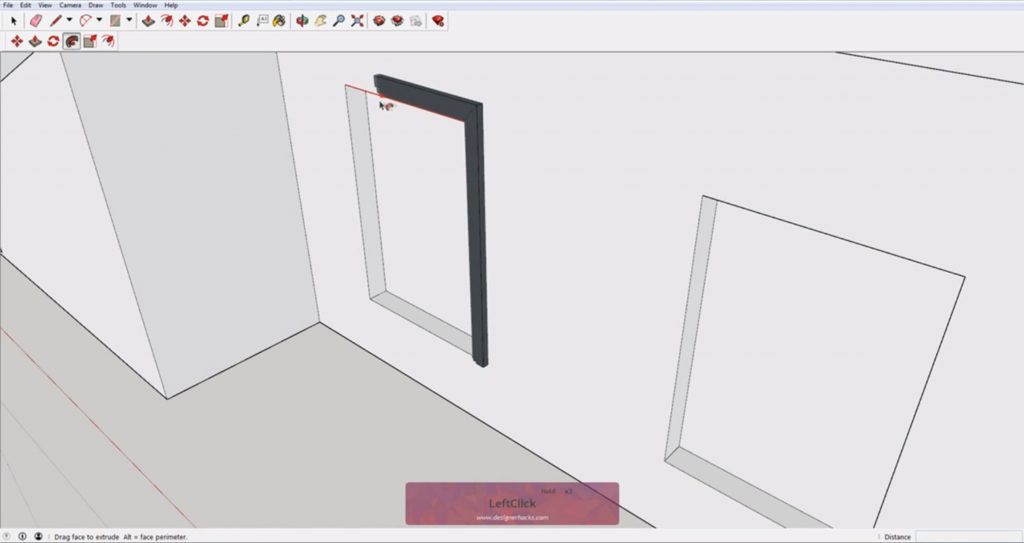
Select the lines. An alternative way to use tool is by selecting the lines instead of tracing them. Select all four lines that make up the window. Then, select the follow me tool from the toolbar and click on the trim profile.
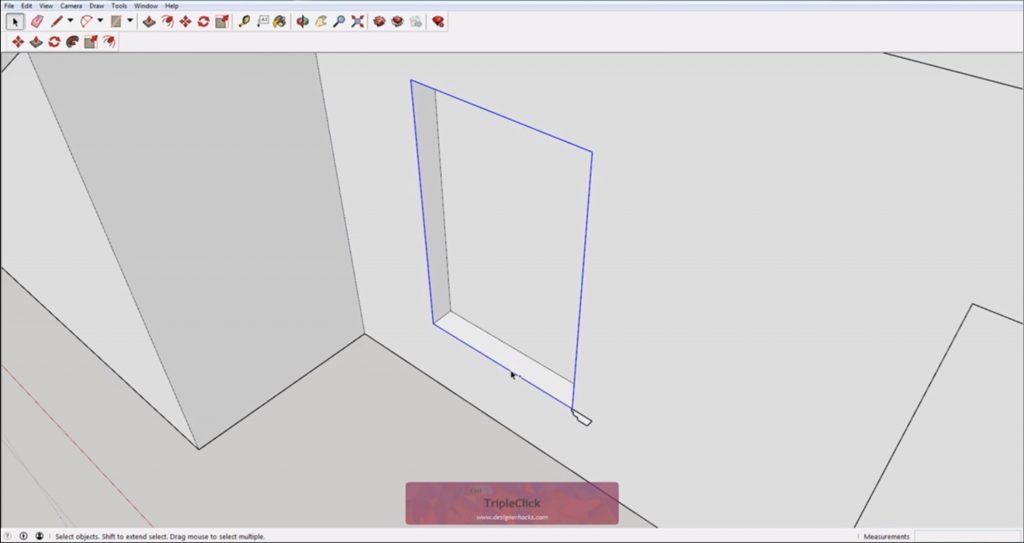
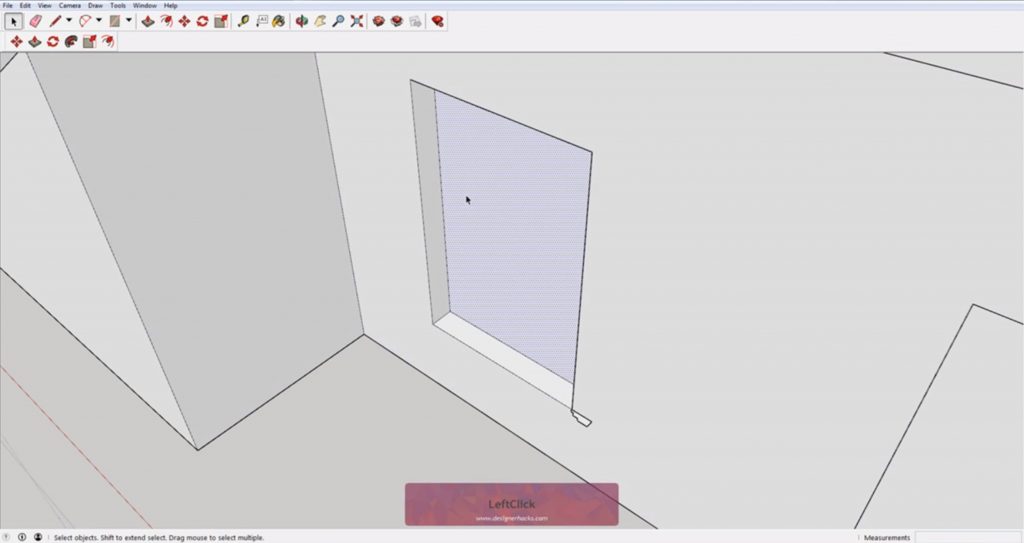
Select the face. The final way is our favorite method to use. First, select the face of the window. Then, select the follow me tool and click on the trim profile.
Adding a Rain Gutter
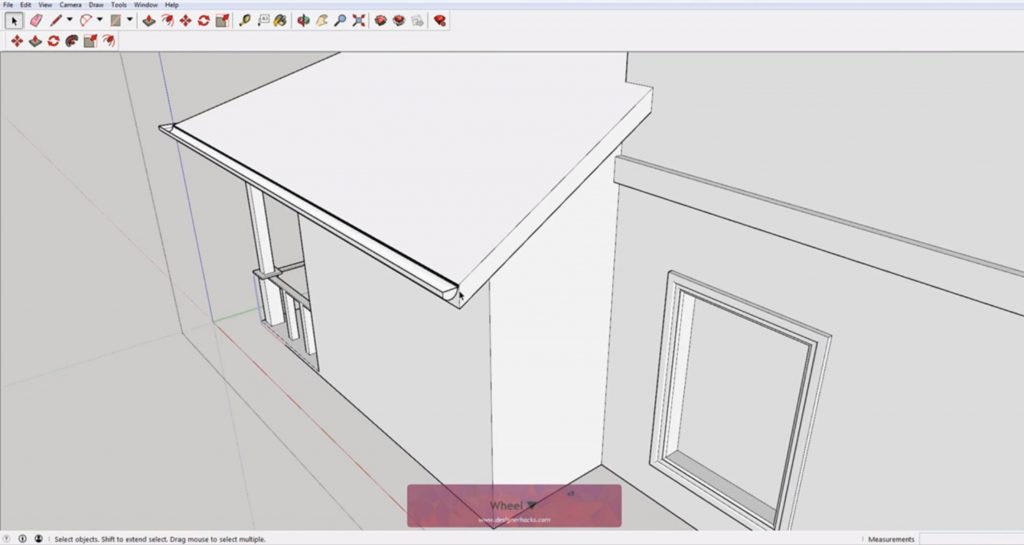
Another example to use the Sketchup follow me tool for is adding in a rain gutter. Select the line that runs along the edge of the roof. Click the follow me tool, and then select the profile for your rain gutter.
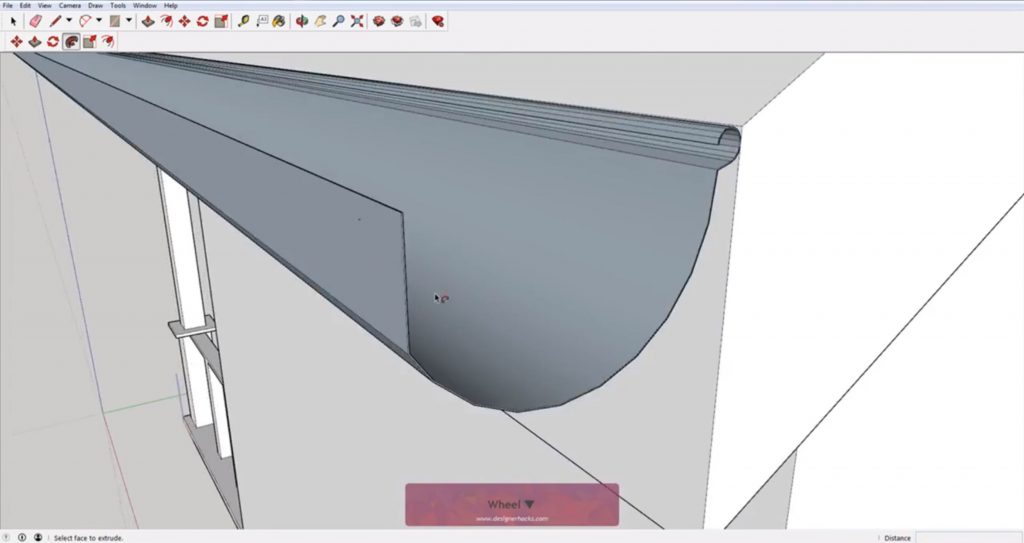
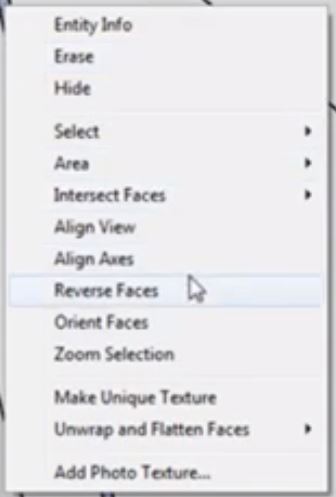
If it appears to be a gray-blue color, this may become a problem when rendering. To fix this, right click on the gutter faces and select “reverse faces.” Then proceed to select the roof lines and use the follow me tool.
Creating Radial Shapes
The follow me tool can also be used to create radial shapes such as a wine glass. For this example, select the circle base and make sure the center is deselected. Click on the follow me tool and then select the center profile.
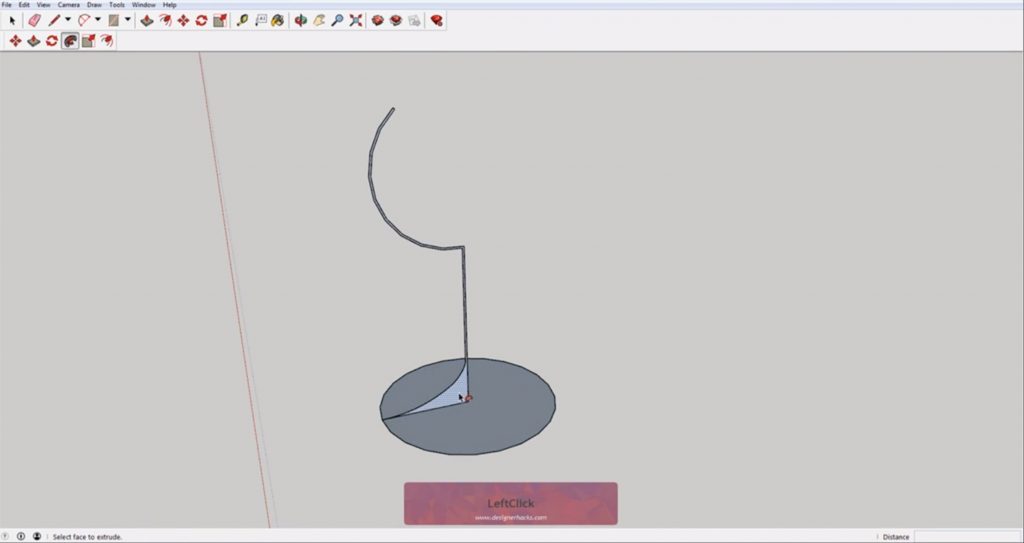
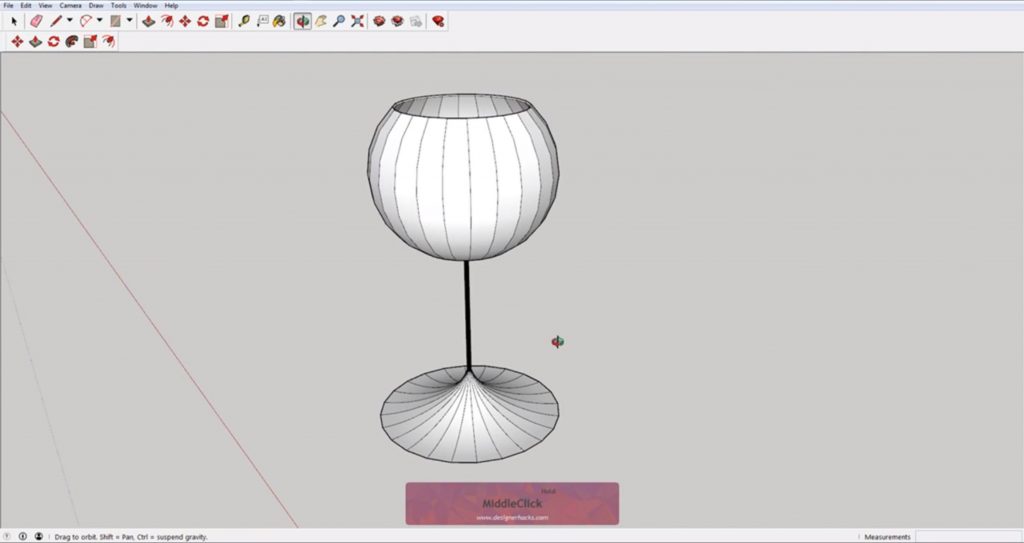
If you want to do any modifications like making a smaller base, simply select the base of the center profile and scale it down. You can delete the face of the base because all you need for the follow me tool is the outer line and center profile. Repeat the same steps you did before to create a wine glass shape.
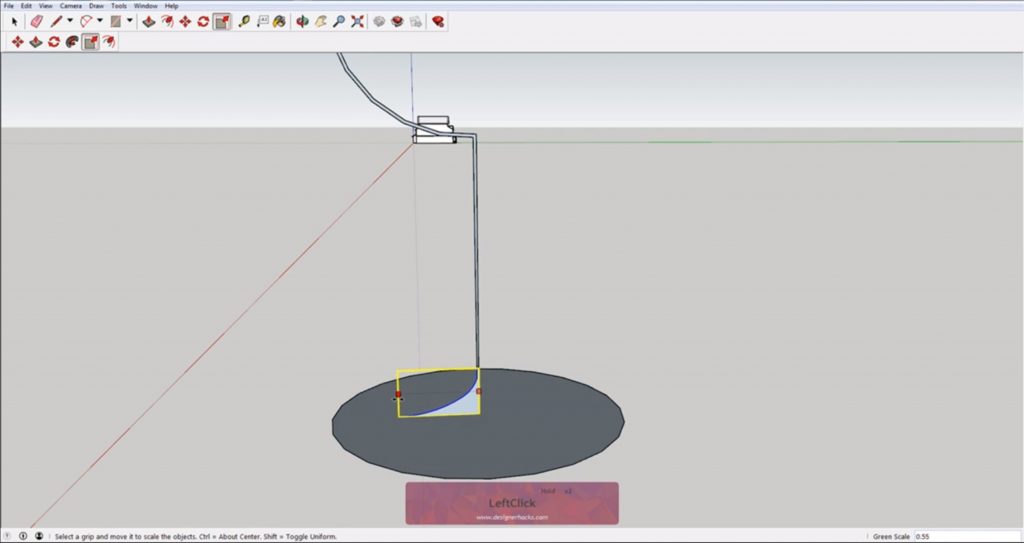
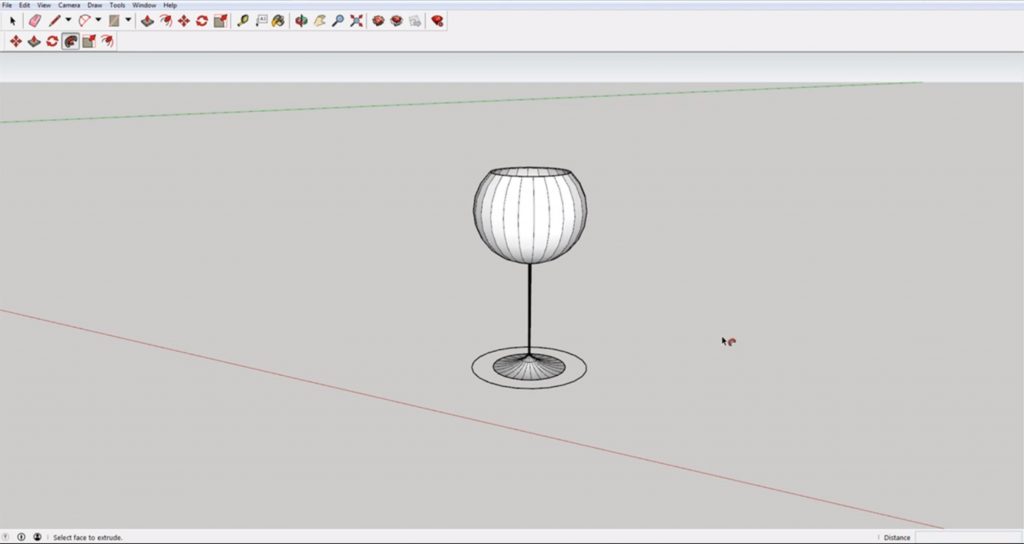
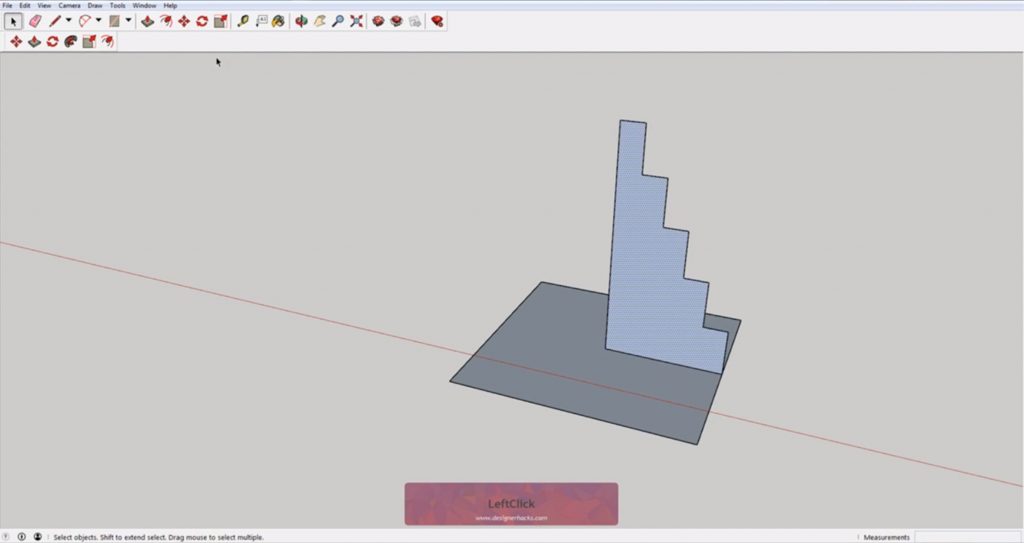
You can also use the same method to extrude a shape along a square base.
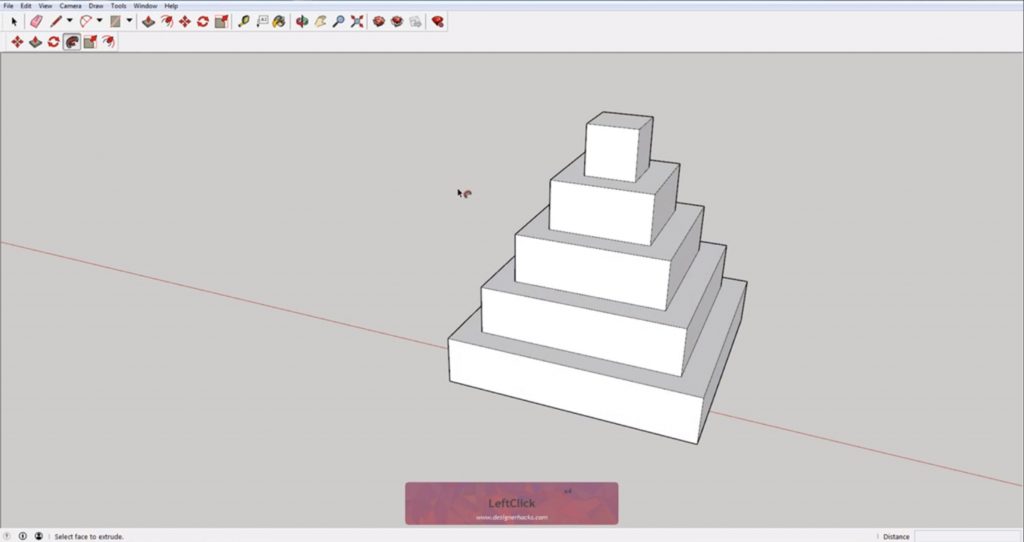
Cutting into Shapes
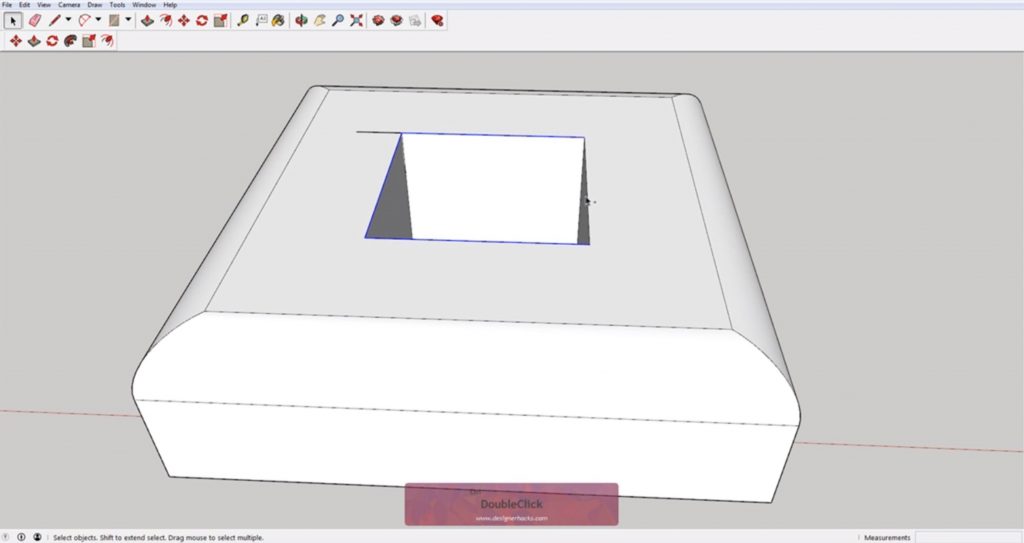
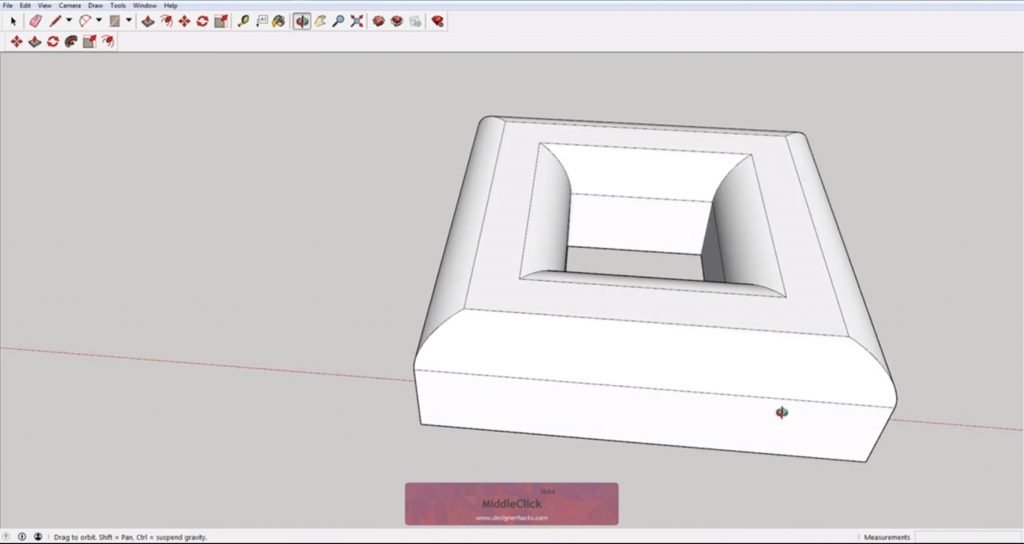
Outer edges. Finally, you can use the follow me tool to subtract from an existing shape. Simply select the lines of the outer edge that you want to cut into. Click on the follow me tool and then select the profile you are using to cut into the corner. You can also use the follow me tool to cut into the inner edge of a shape, but the steps are a bit different.
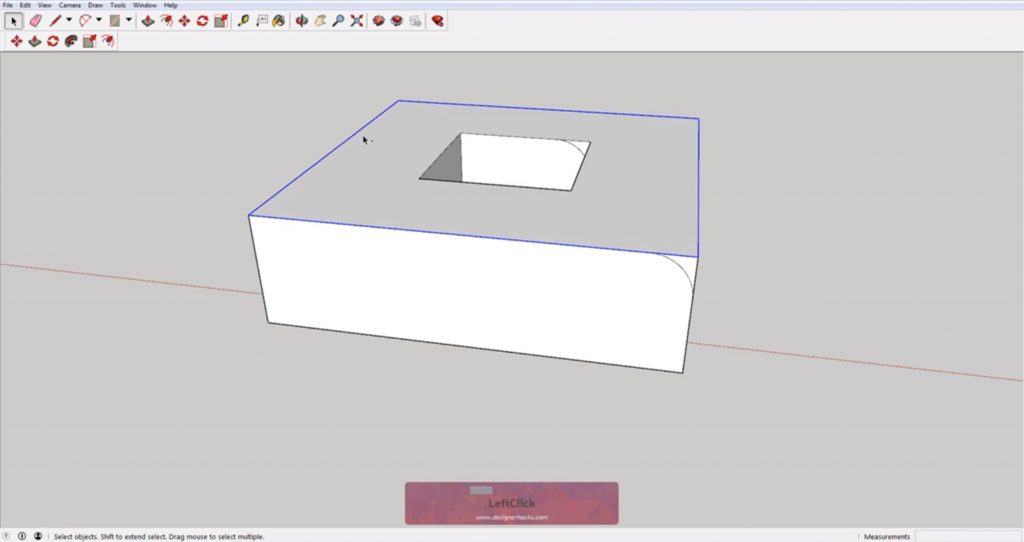
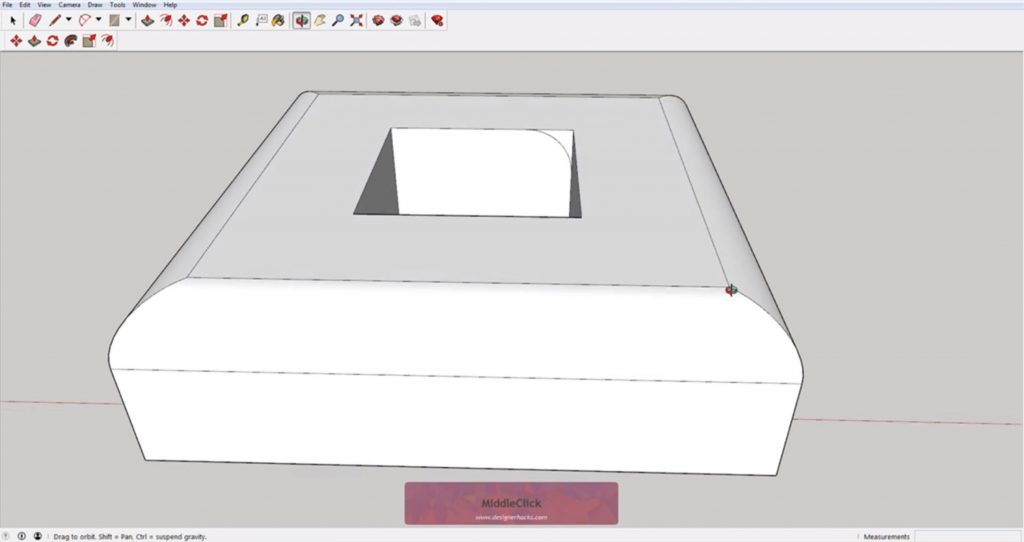
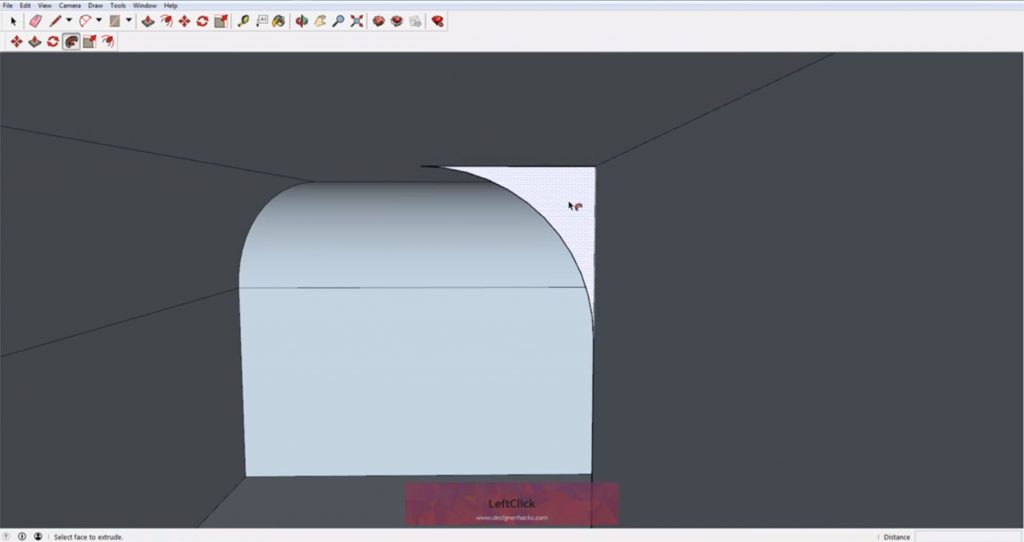
Inner edges. Select the profile face and copy it to the opposite edge so it is cutting into the shape. You won’t be able to see it anymore but that’s ok for now.
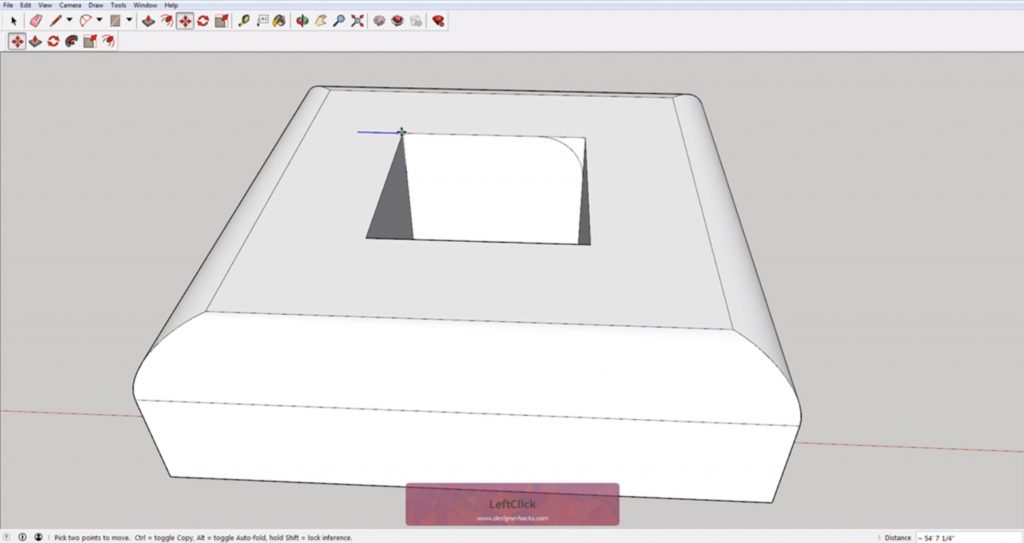
Select the lines you want to extrude along. You will have to zoom into your model until you see the profile that you copied over. Then you can select the follow me tool and click on the profile.
As you can see, there are many ways to use the Sketchup follow me tool, how will you use it in your next project? Let us know in the comments!
Want to learn more? Check out the full list of our Sketchup tutorials here.
Happy Hacking!

No comments yet.