
Using Sketchup for Architecture Design Workflow

This post is inspired by a request from one of our viewers! Mike asks, “what is your general workflow?” Today we’re going to give you a peek into what our workflow looks like when we use Sketchup for architecture. It typically depends on what the end product is going to be, but this will give you a general idea of how we transform a conceptual idea into a finished design.
Using Sketchup for Architecture
1. Get the program. When working with a client, the first step is to make sure you get a program from them. This will let you know what rooms they want done, the sizes and functions of the room, and the total square footage you will be working with. It is typically given to the architect or designer. For more information on programming check out Steven Parshall’s book Problem Seeking: An Architectural Programming Primer.
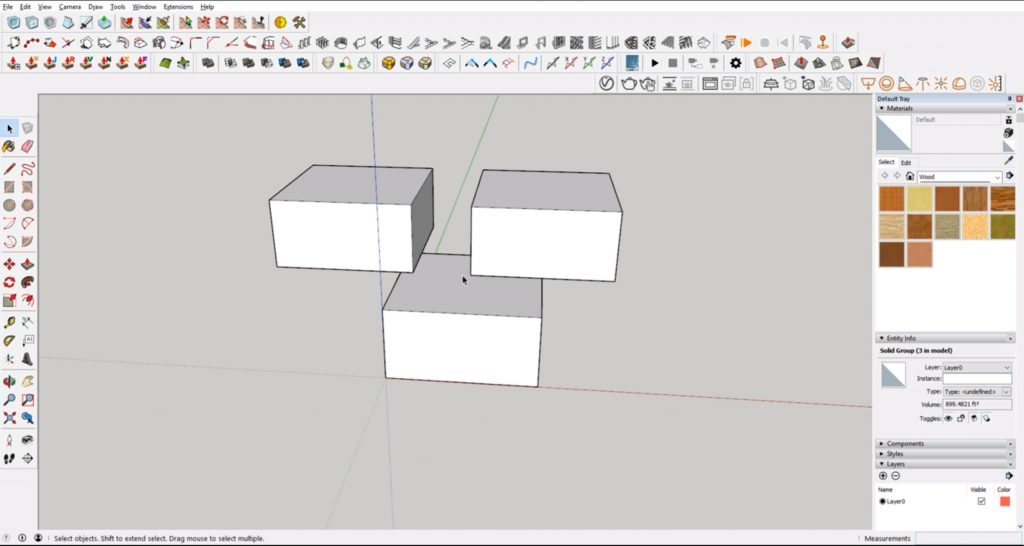
2. Begin massing. Start by making squares to represent each room and color code them based on function or size. Begin to stack the rooms in relation to each other. Try to stay abstract here. The tendency is to start thinking about the arrangement of these blocks as a building instead of simply a relationship of spaces to each other. Focus more on the flow of the spaces during this phase rather than architectural details, that part comes next.
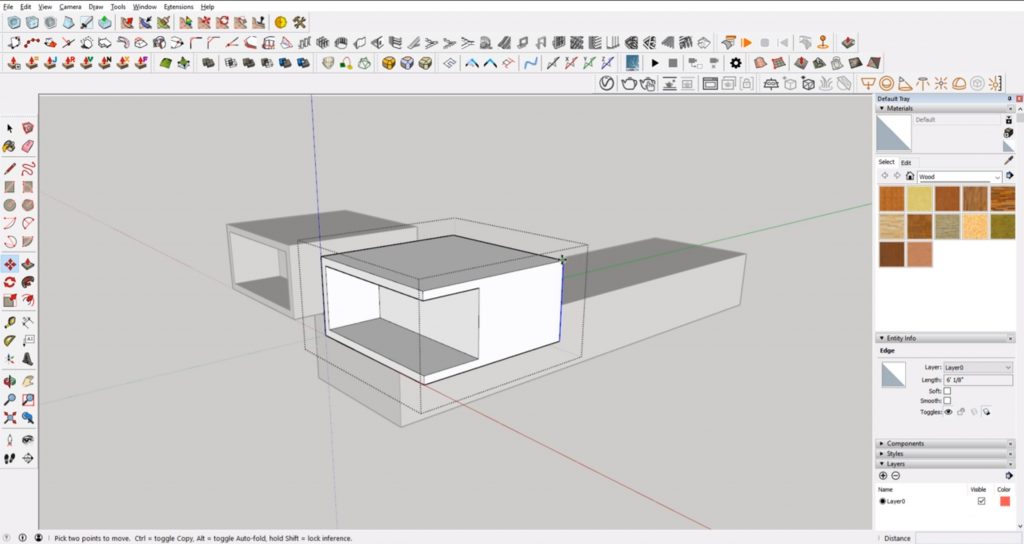
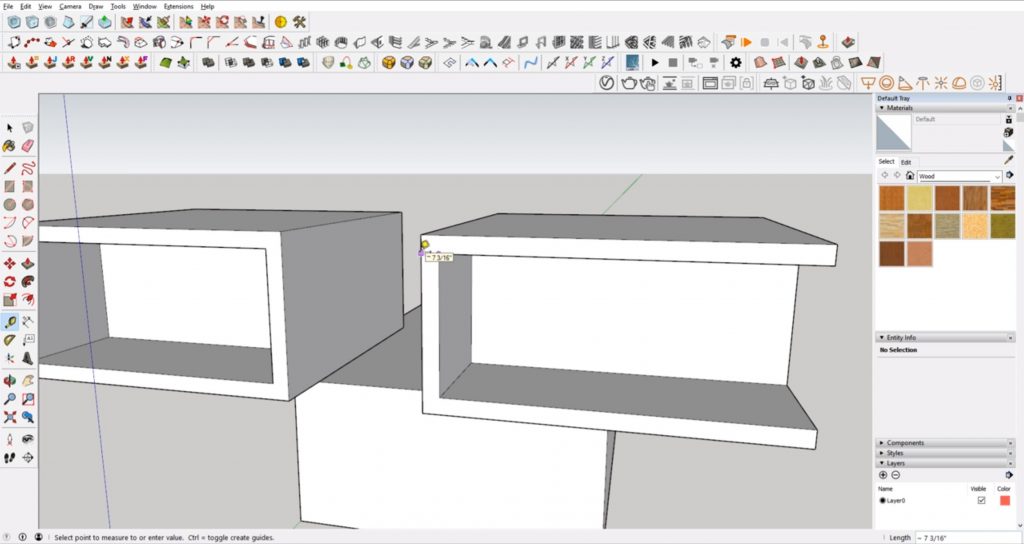
3. Begin to think architecturally. Save your massing studies as a separate file and use another file for adding your architectural details. This way you will always have your original massing studies to go back to. Start to consider how the shapes will translate into architectural features. You might want to start thinking about how each space shape gets adjusted (but maintains the same area). You may add cutouts for windows and doors, or space for balconies and railings. If you’re looking to add curved shapes, check out our tutorial on how to create curved objects in Sketchup!
4. Refine measurements. Once you have you general massing and architectural details done, go back and refine any measurements to make sure they are realistic.
5. Sketch details. You may want to print out your model and sketch over it to work through ideas and experiment with finishes or details. You can also do this digitally in Photoshop, it all depends on what works best for you. Maybe you want to take this time to do a quick hybrid rendering and present it to your client to see if you are on the right track.
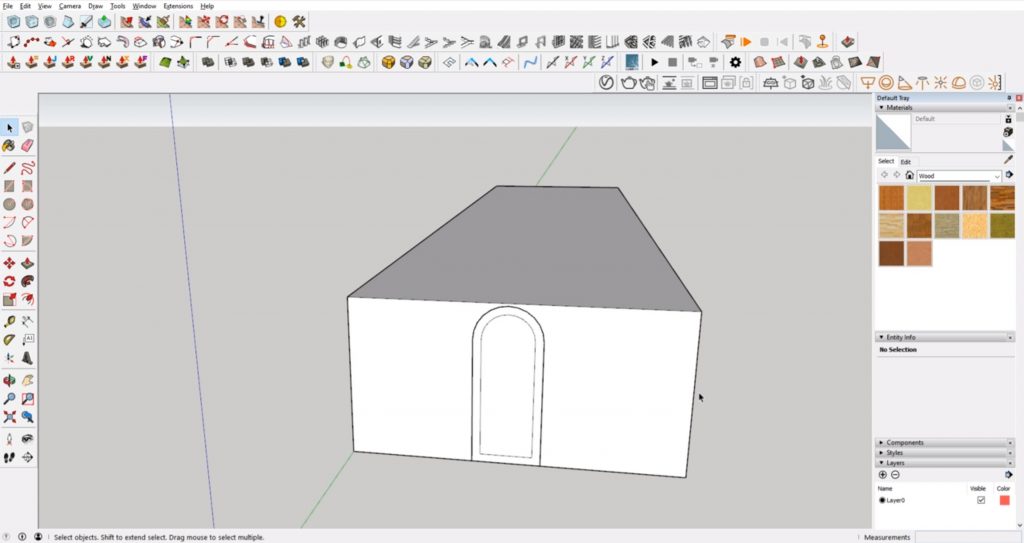
6. Add Doors and Windows. The final step is to go back and add even more refined details like door frames and windows, trim, and molding. You may do this as you go along, or you can wait until the end. The more you practice and gain experience, the easier it will be to do this step along the way.
When using Sketchup for architecture, it’s important to remember not to get caught up in the small details. You don’t want to focus so much on one detail that you lose sight of the end product. This part of the design process is meant to work on bigger ideas like the overall layout and how each room relates to another. Once you have that figured out, then you can move on to smaller details.
A Note on Using Sketchup for Architecture Drawings
When you are in the preliminary design phase, using Sketchup for architecture is a great way to get ideas out and experiment with different design elements. However, when it comes to construction documents, it can be difficult to use Sketchup to get 2D drawings (you’ll need to use LayOut). We personally prefer to use BIM software if you’d like to take a crack at creating 2D construction drawings from Layout make sure to check out Michael Brightman’s The SketchUp Workflow for Architecture.
What does your workflow look like when using Sketchup? Let us know in the comments!
Happy Hacking!
No comments yet.