
How to Export a DWG from Sketchup

Before we get started it’s important to remember that to export a DWG from Sketchup, you need the premium version of Sketchup. It’s a great feature to quickly get views that you can use for renderings, design presentations, or quick sketch ideas. Here’s how to easily export DWG’s and a few tips to keep in mind before you do.
Exporting the DWG
File > Export > 2D Graphic. First, to locate the export option, navigate to “file” > “export” and click on “2D graphic.” In the “save as type” drop down menu, select DWG. In the lower right corner there is an “options” button that allows you to further customize the export options.
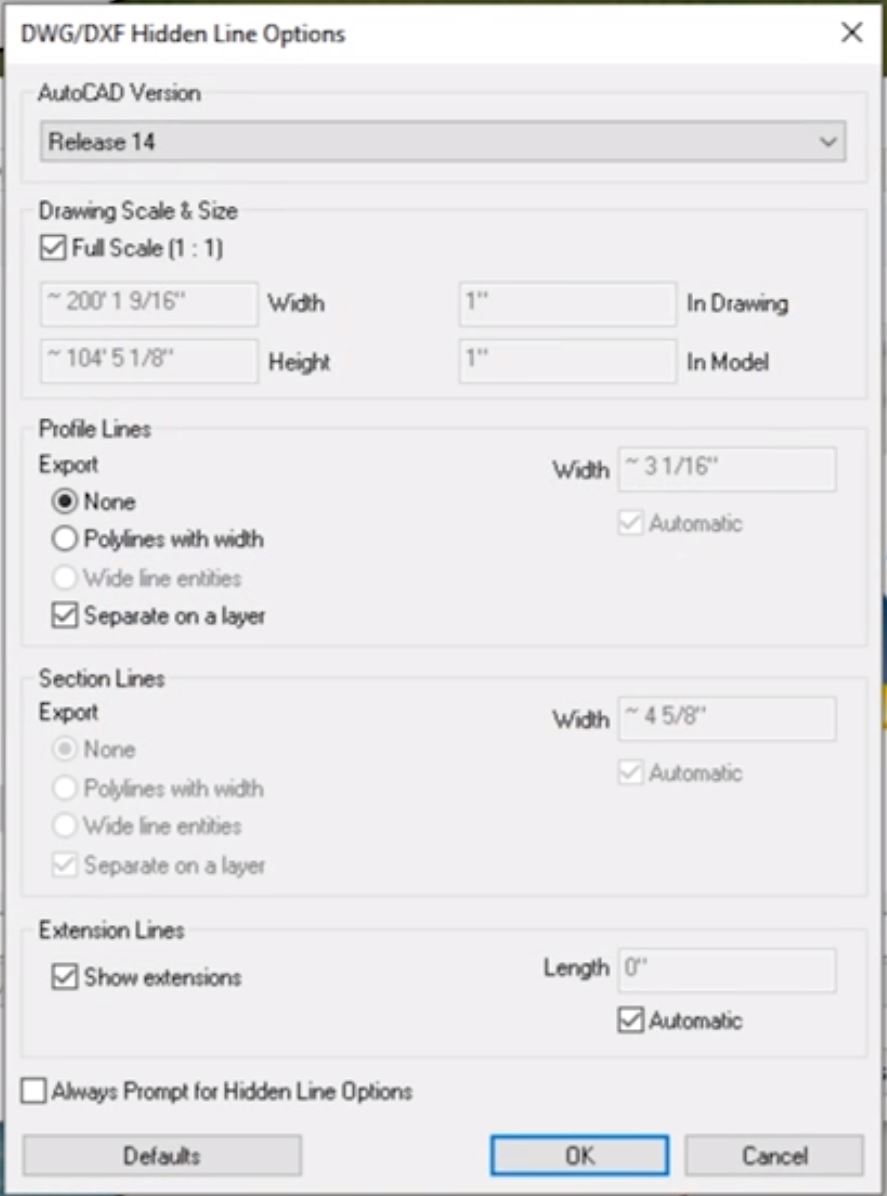
- There may be DWG version restrictions within the software you are trying to import your DWG file, so you may have to change the AutoCAD year version in the top dropdown menu of the options window.
- The drawing scale and size section allows you to change what scale the view will be exported at. A 1:1 drawing scale is the full scale. It will export as the same size that it was modeled at in Sketchup.
- The sections lines options do not apply to this model because there are no sections in the model, but there are options available to customize here if you need to.
- The extension lines are lines that go beyond the intersection point. You can choose to show or hide those lines.
The most important options for now are to change the AutoCAD version if needed and to export at full scale.
Important Things to Remember Before you Export a DWG
The DWG will not look exactly like what you see in Sketchup, so before you export a view, make sure you have these things in mind:
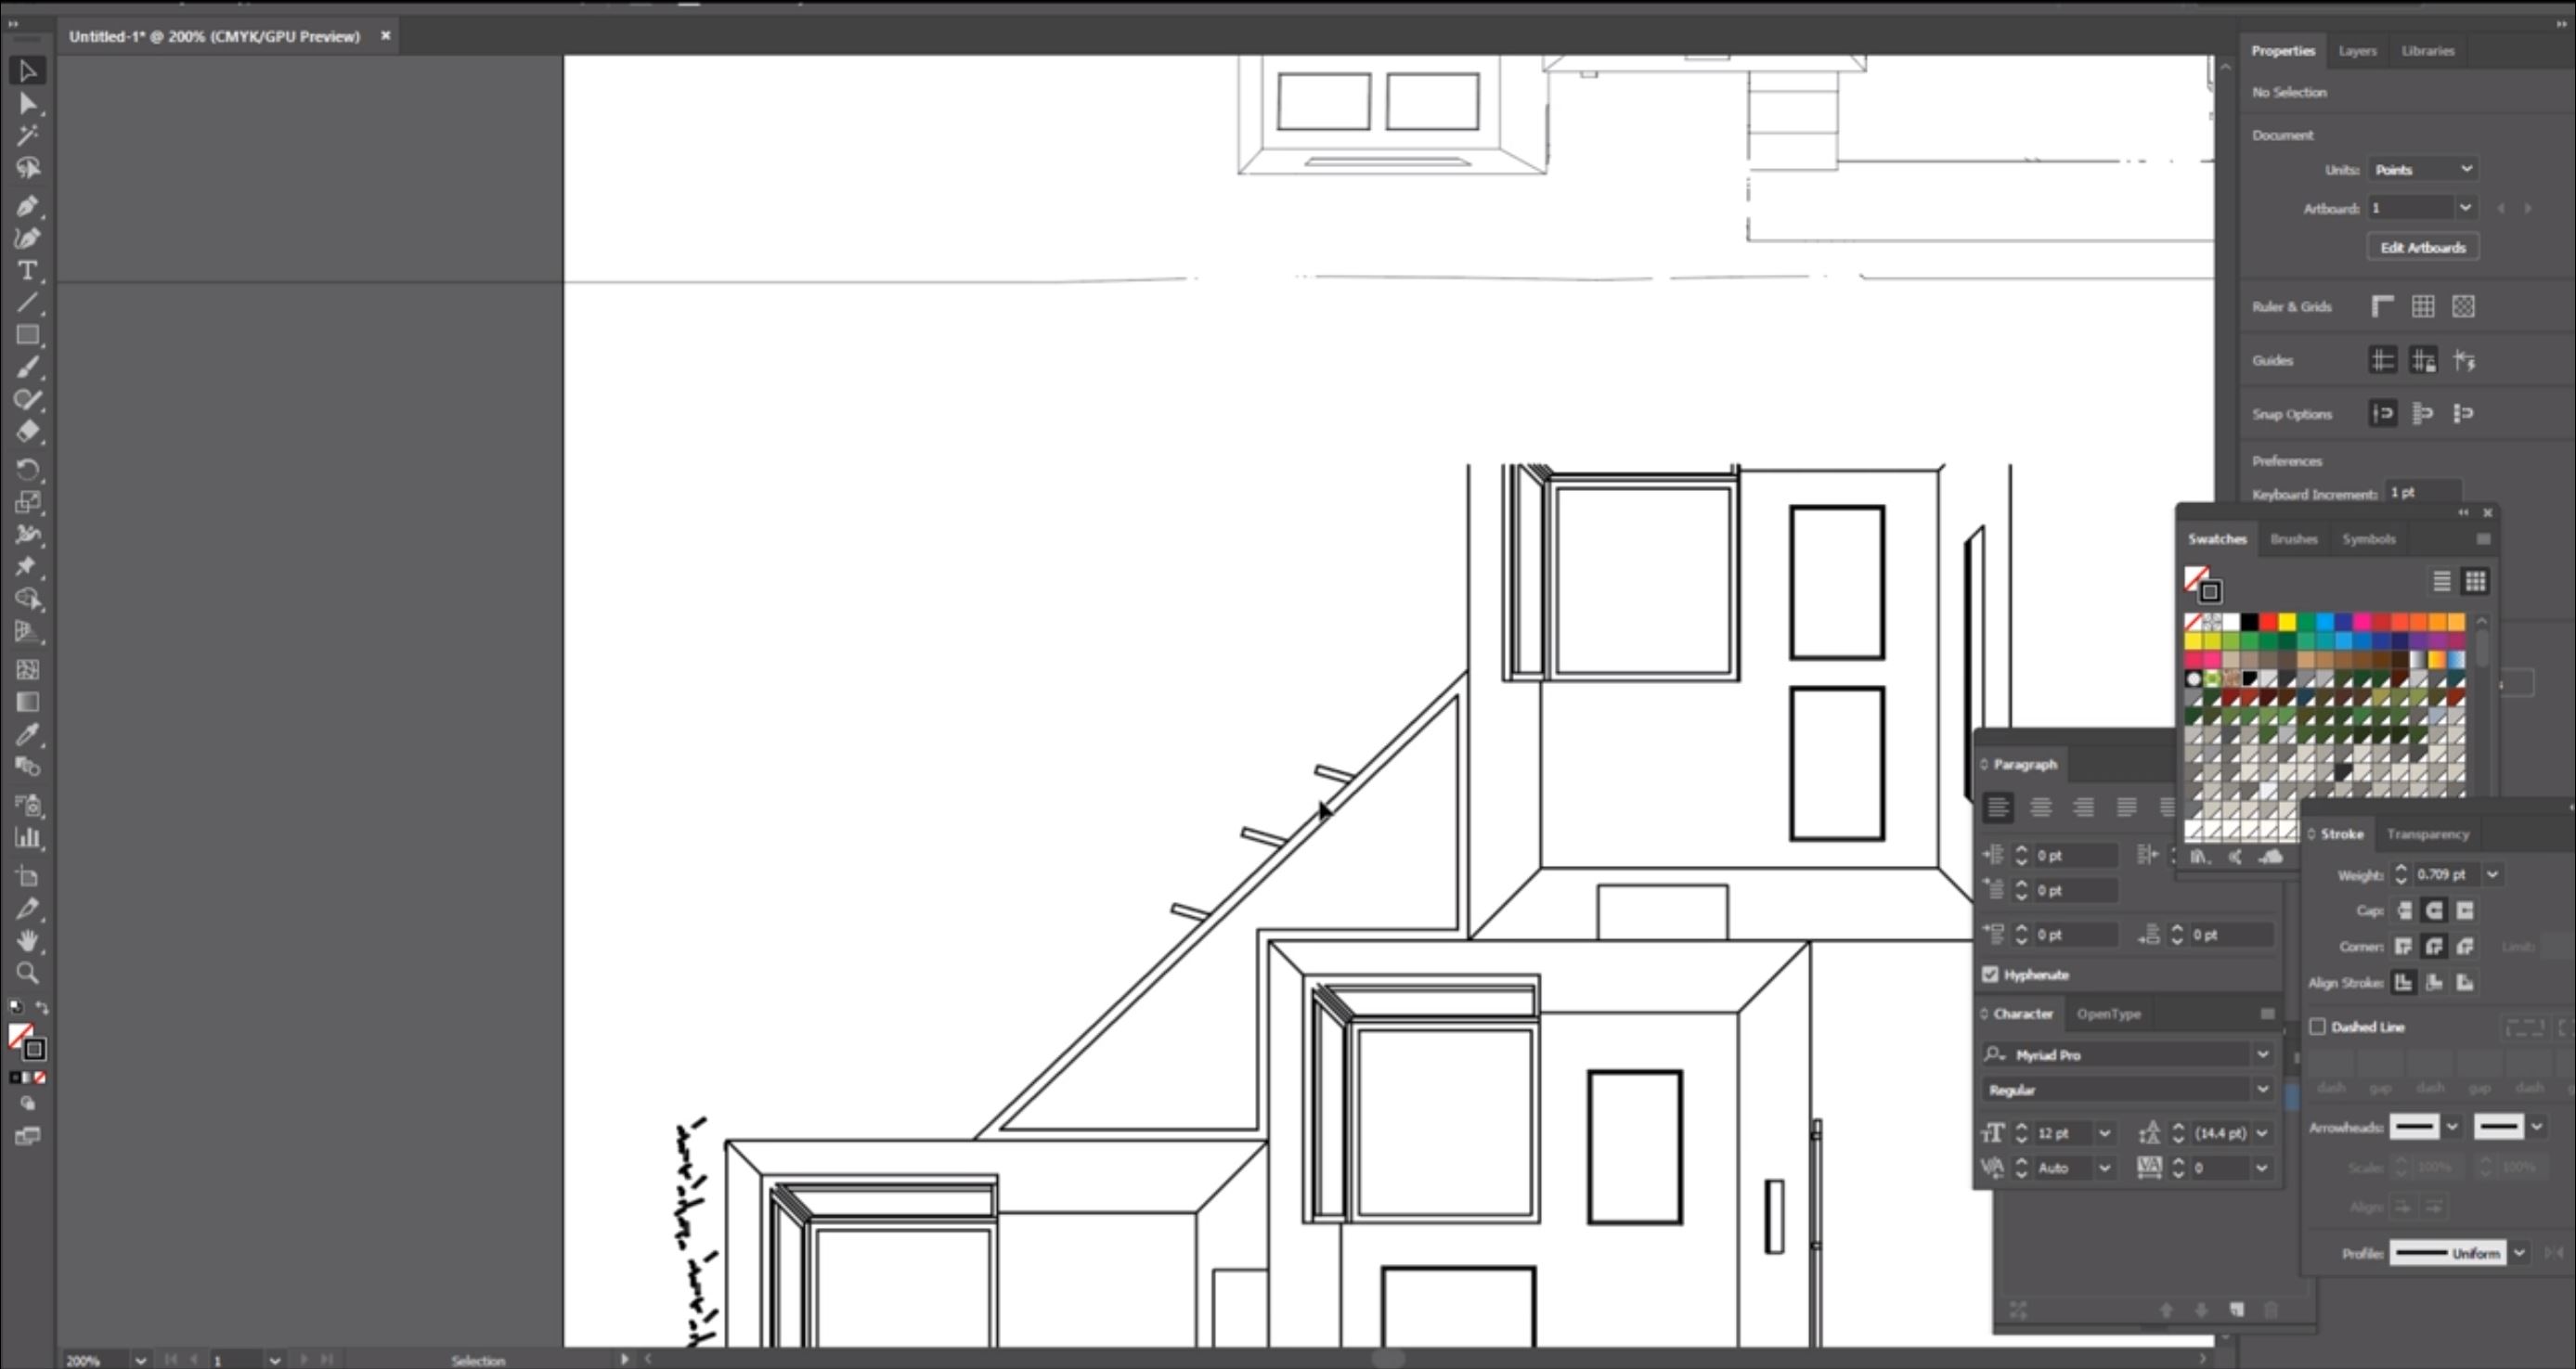
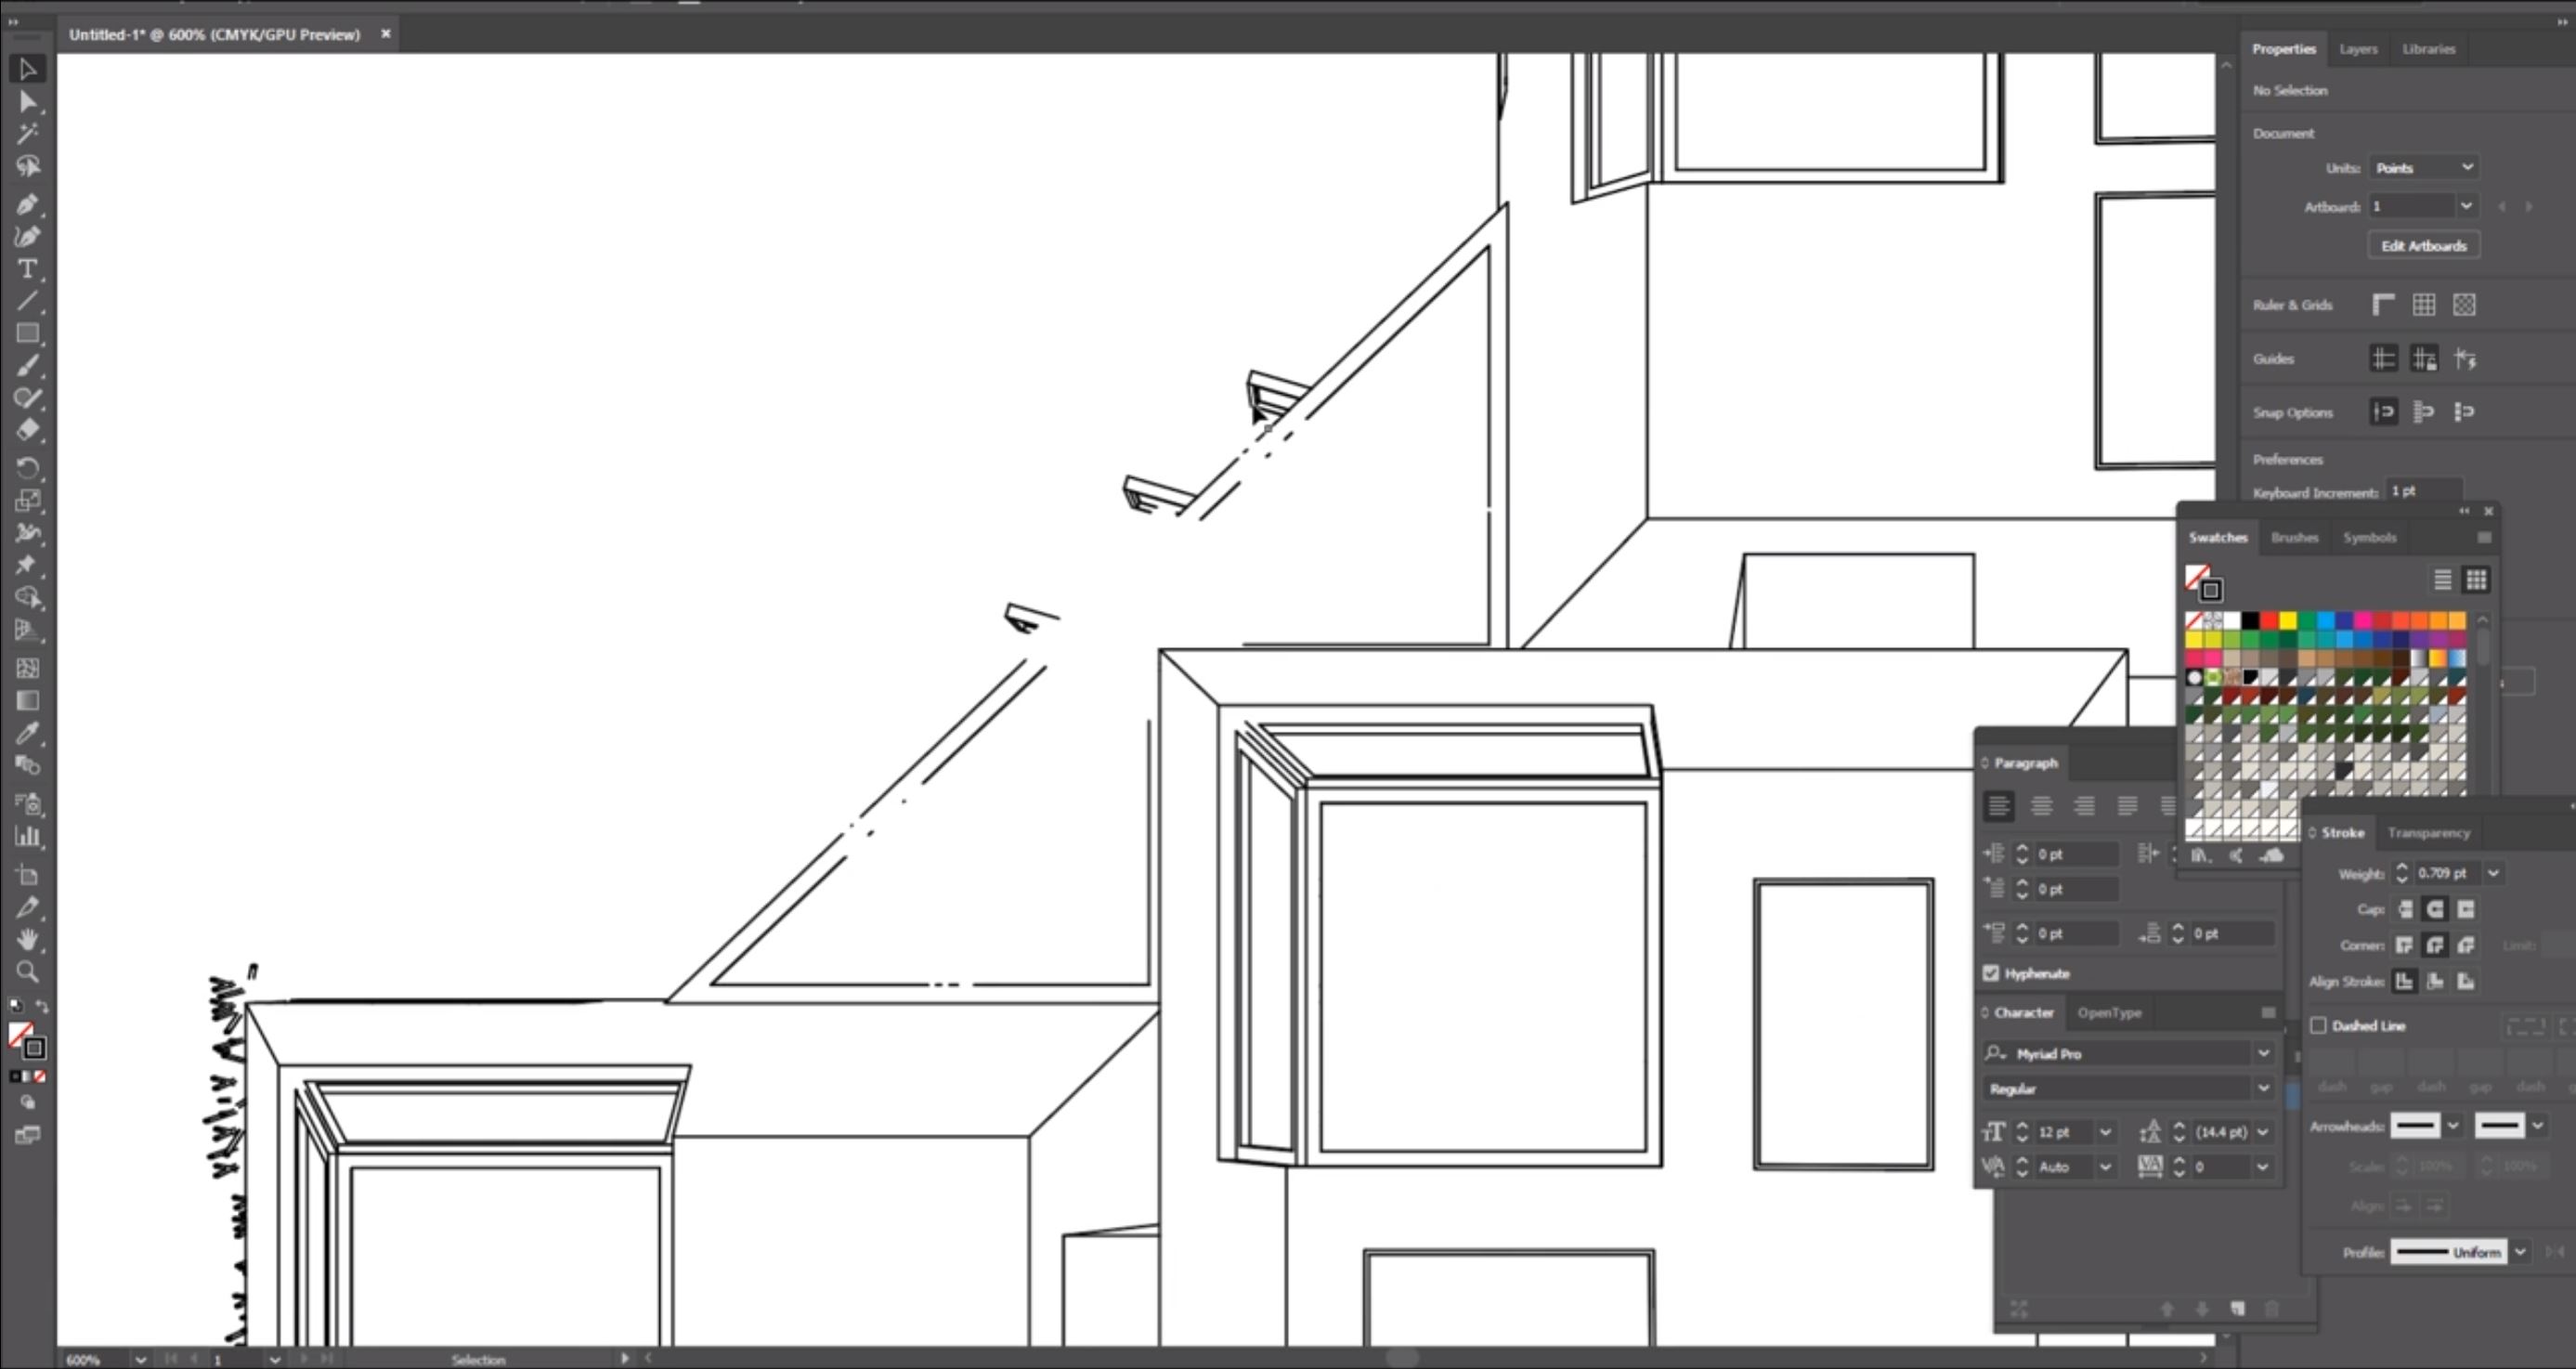
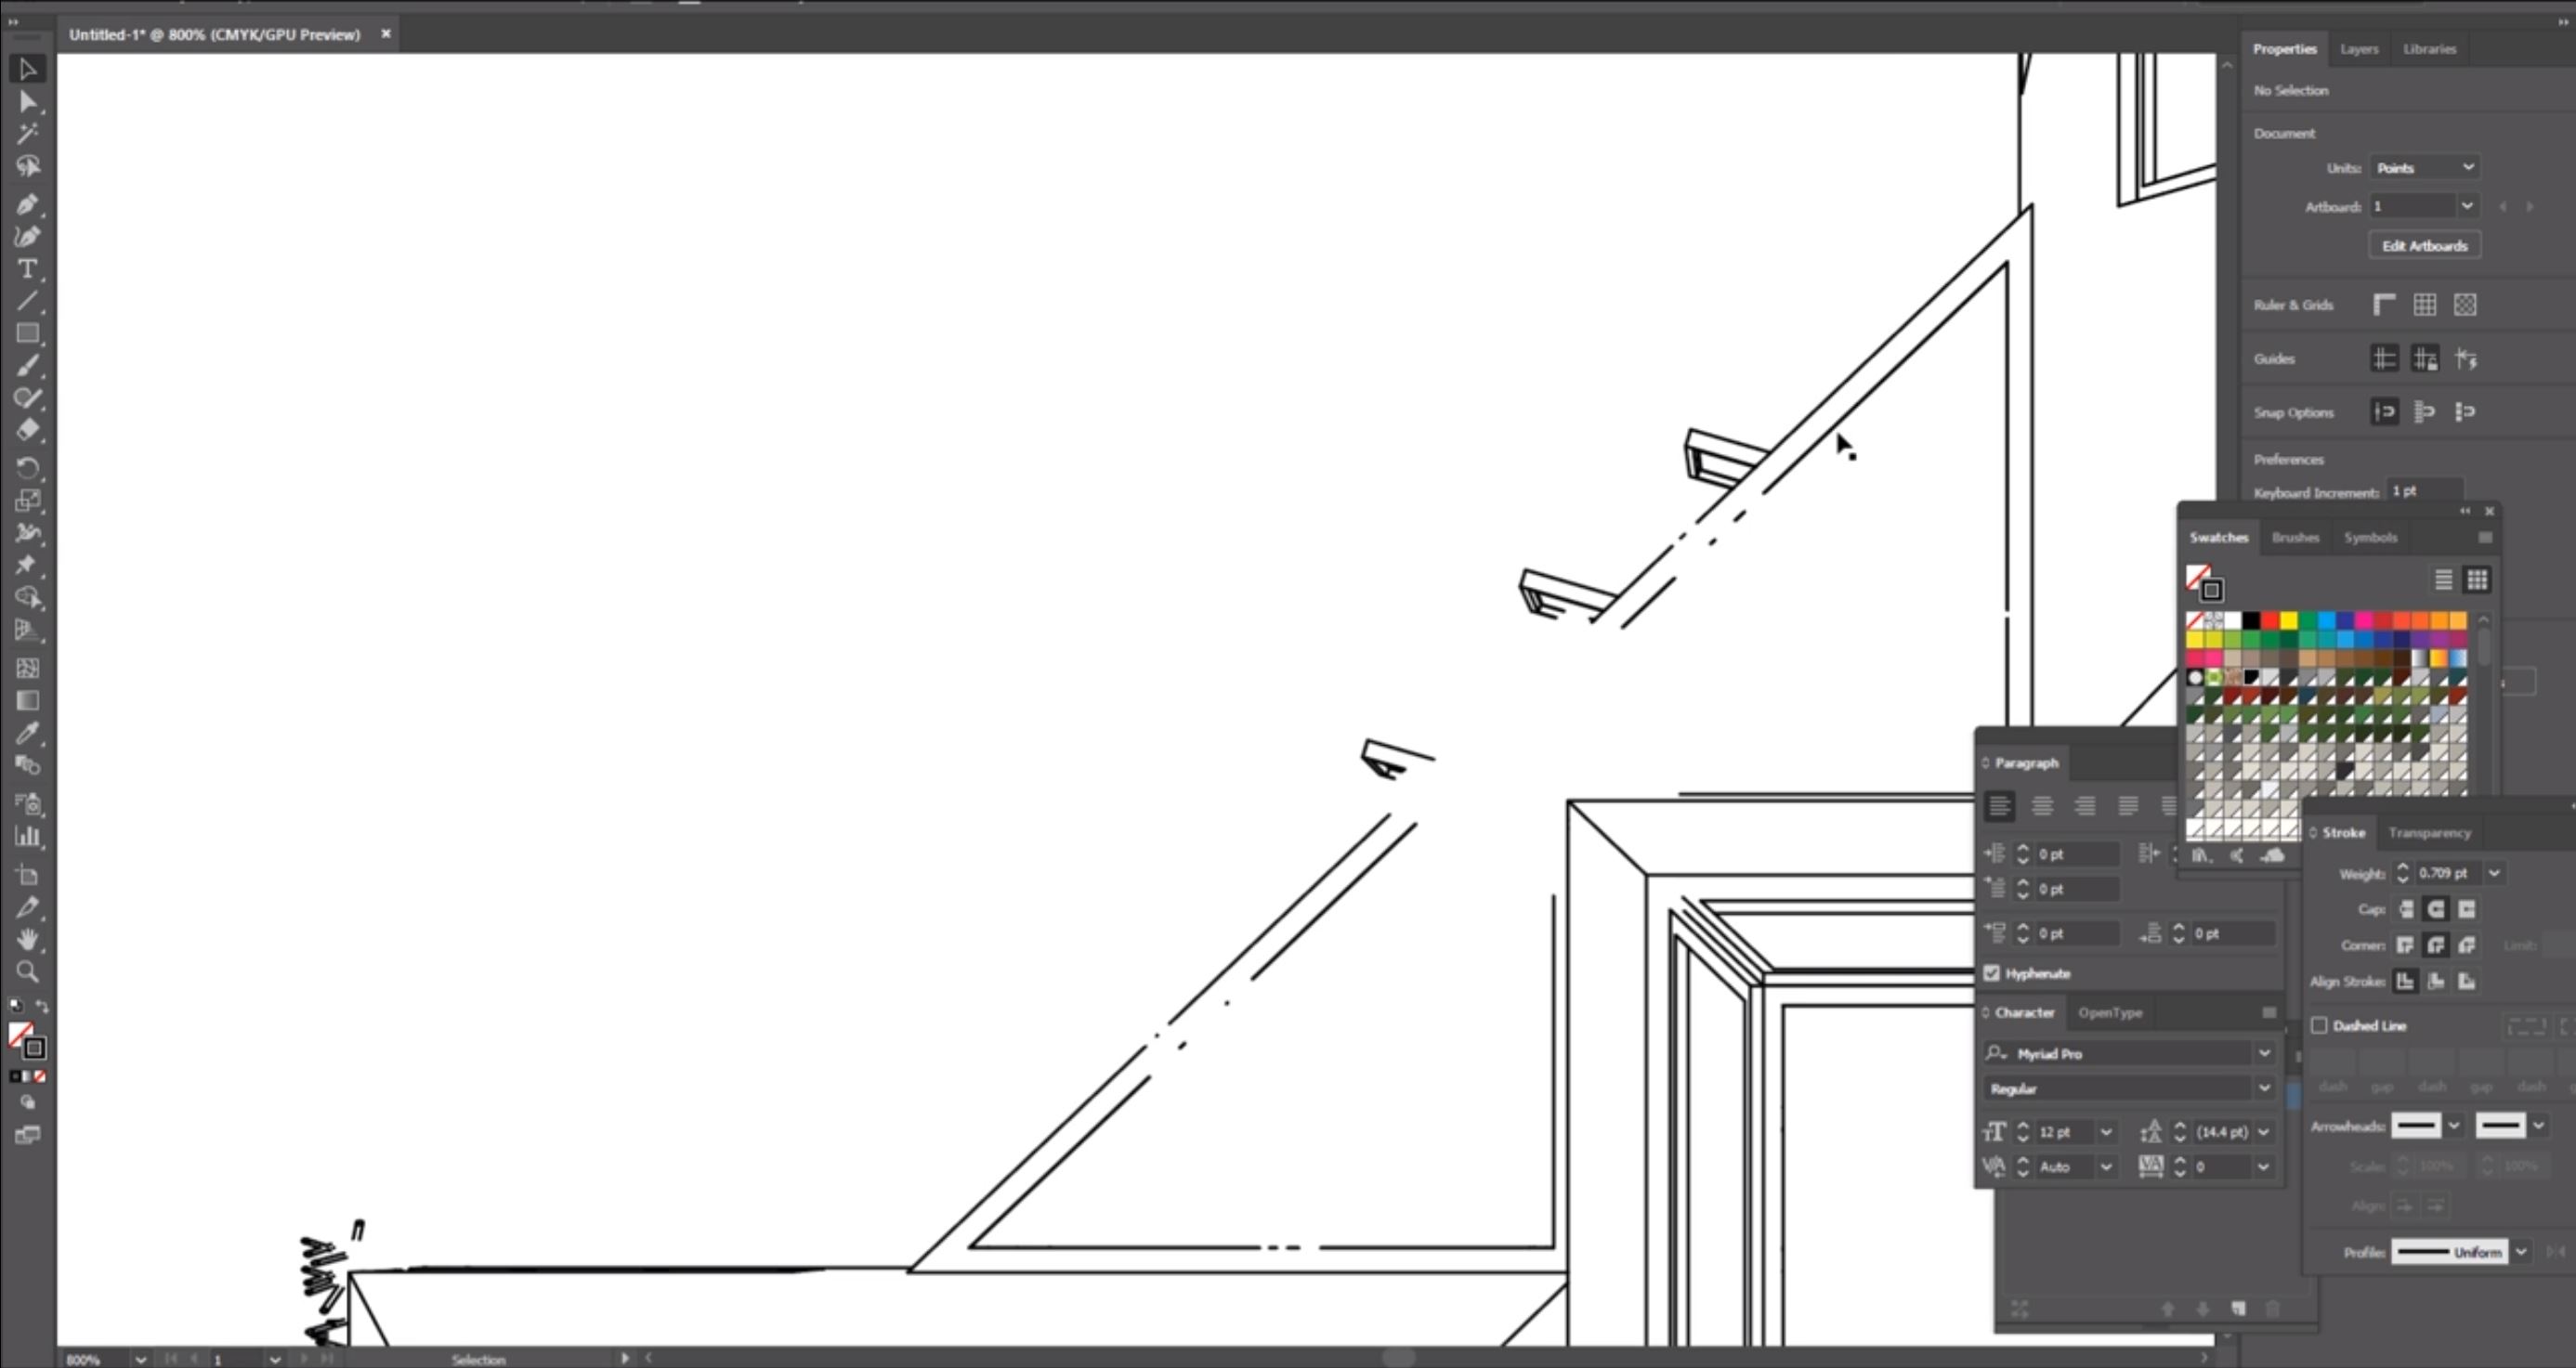
- The exported image will capture whatever is in your window. So if you are zoomed in to a certain part of a building, it will cut off the areas that are not in view.
- To get a flat, top-down view go to “camera” > “standard views” > “top” and set your “camera” to “parallel projection” before you export a DWG.
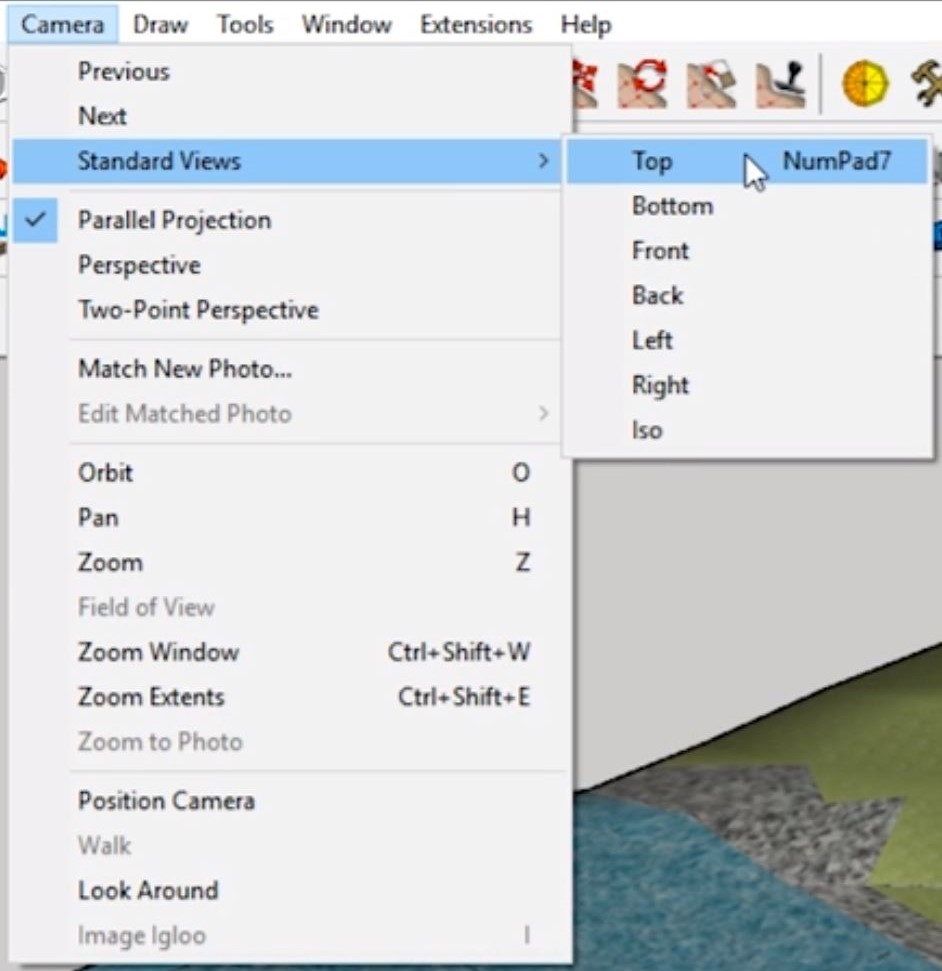
- If you change the top view to “perspective” the perspective will change based on where the view is. But if you select “parallel projection” the image will remain flat.
- You can export any view from Sketchup to a DWG, including perspectives and sections. Just find the view you want to have in Sketchup and follow the previous steps to export it as a DWG.
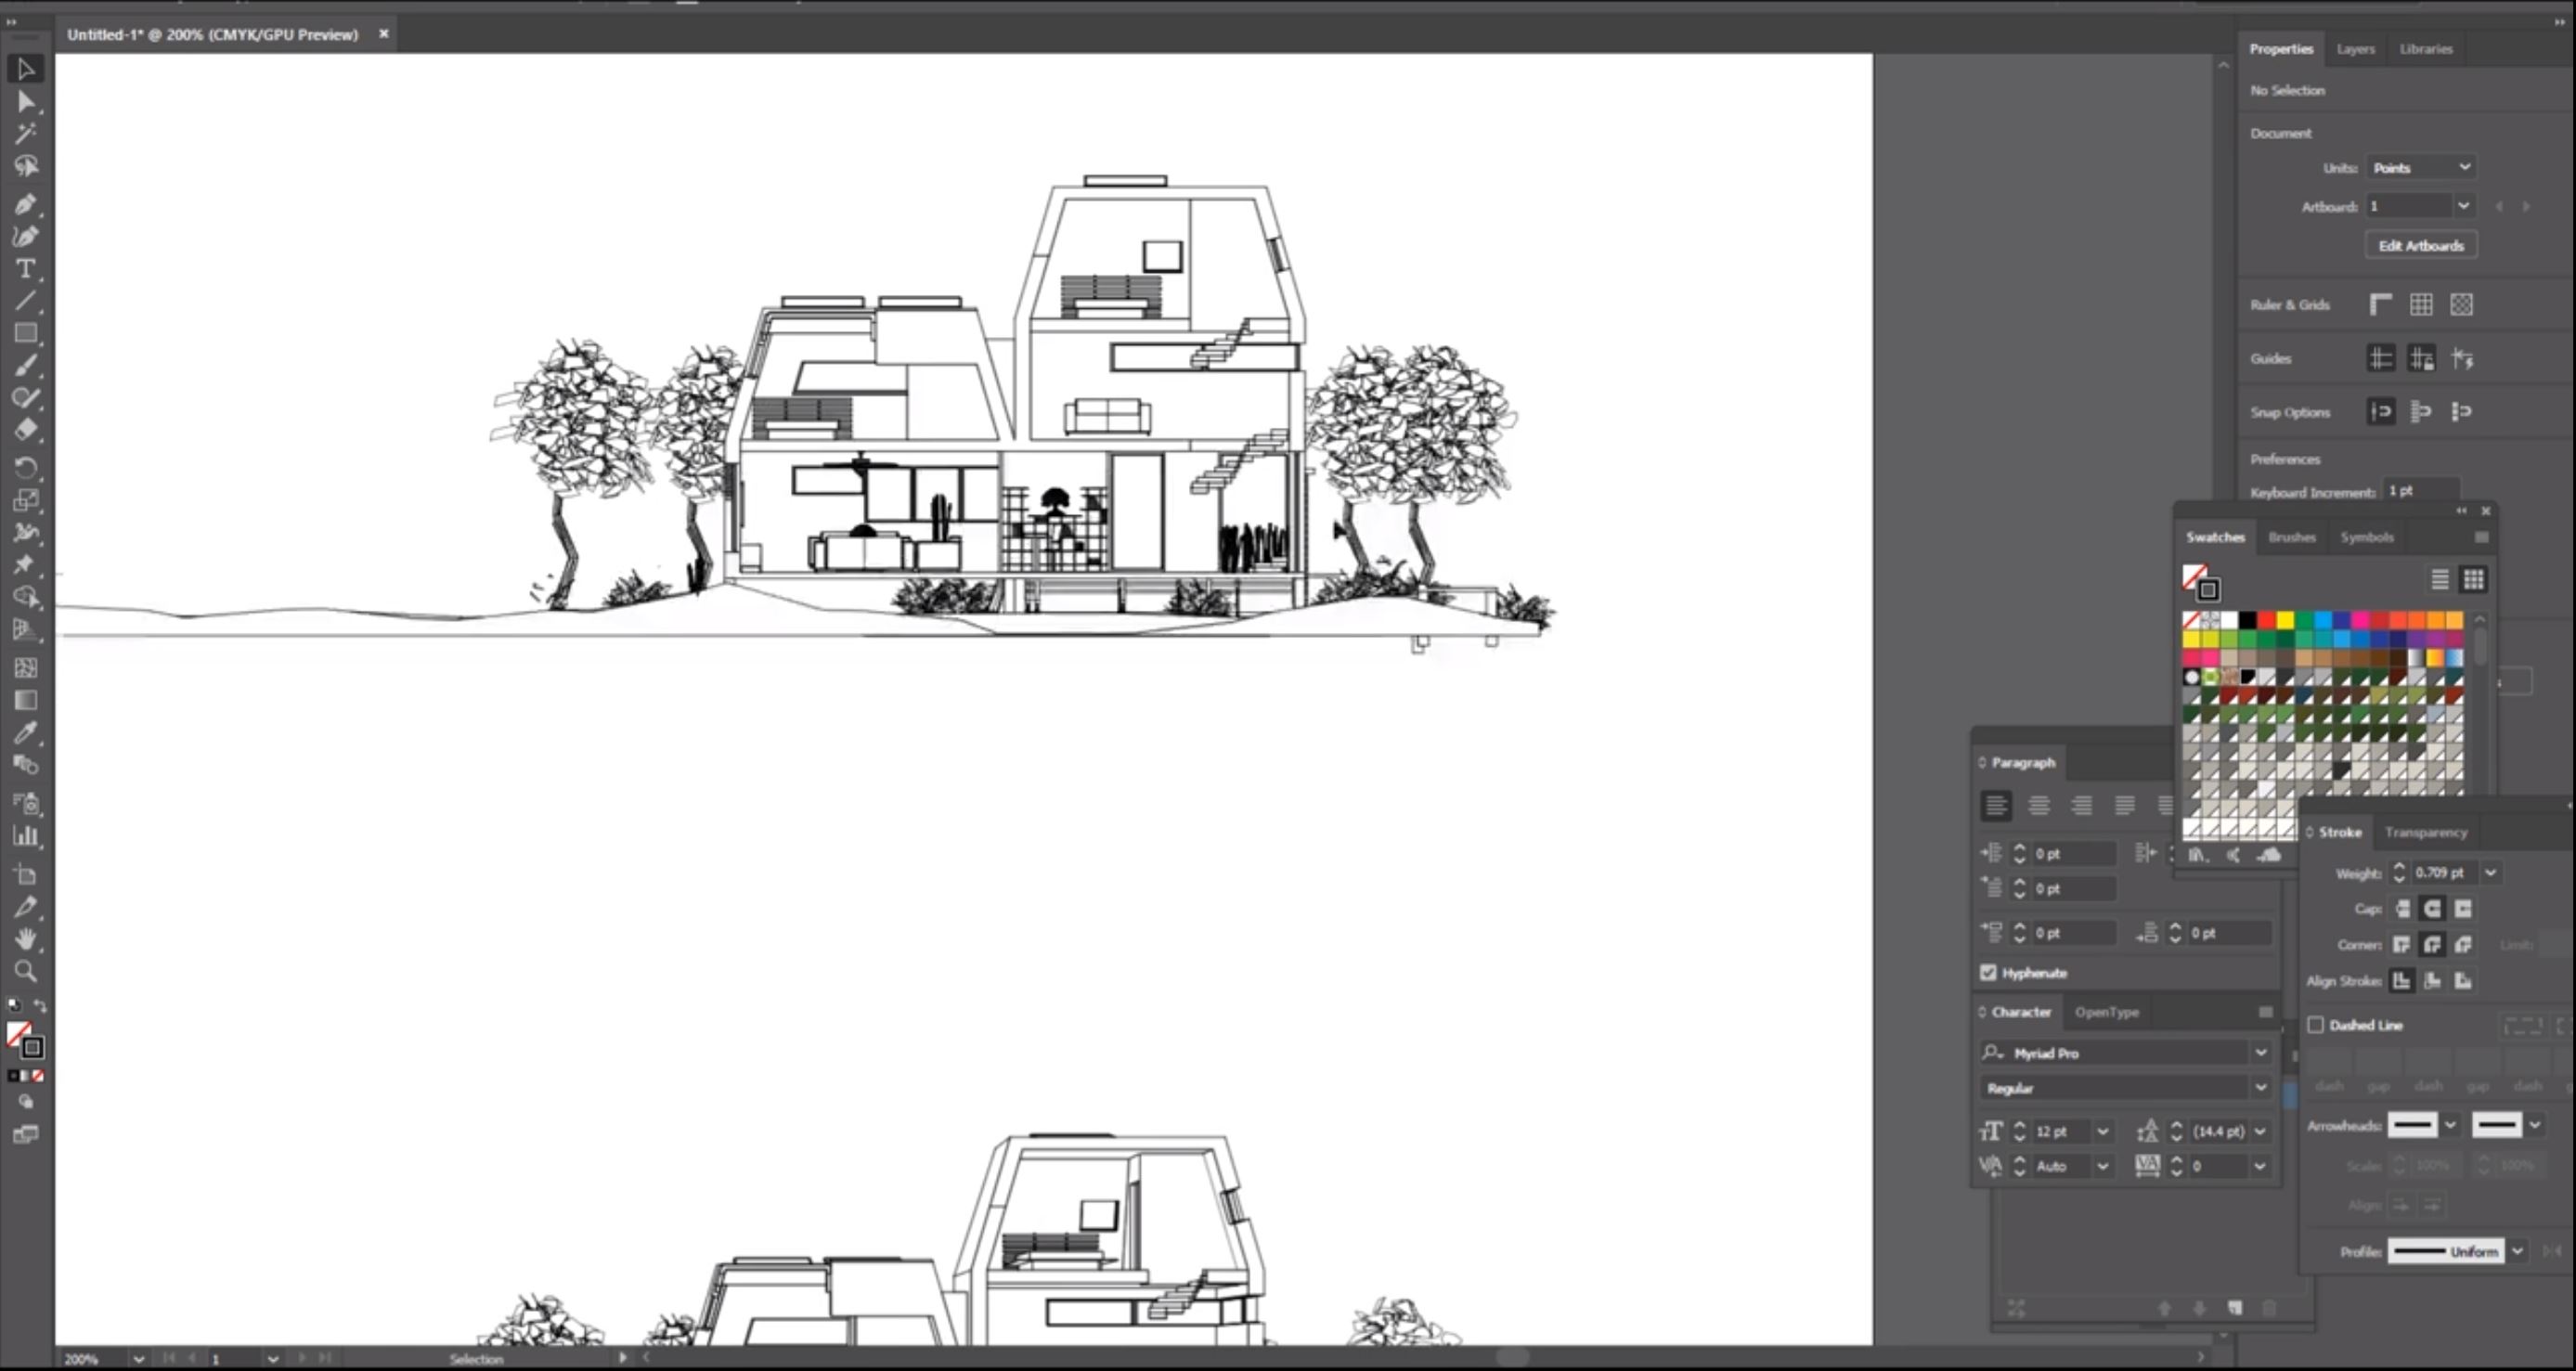
- Perspective views may add more depth to your image, but you can not accurately take measurements from those drawings.
- If there are other models like trees or landscaping in your Sketchup model that overlap the building, they will cut into the lines of your DWG file. You may want to put theses items in a different layer so that you can turn it off before you export the file.
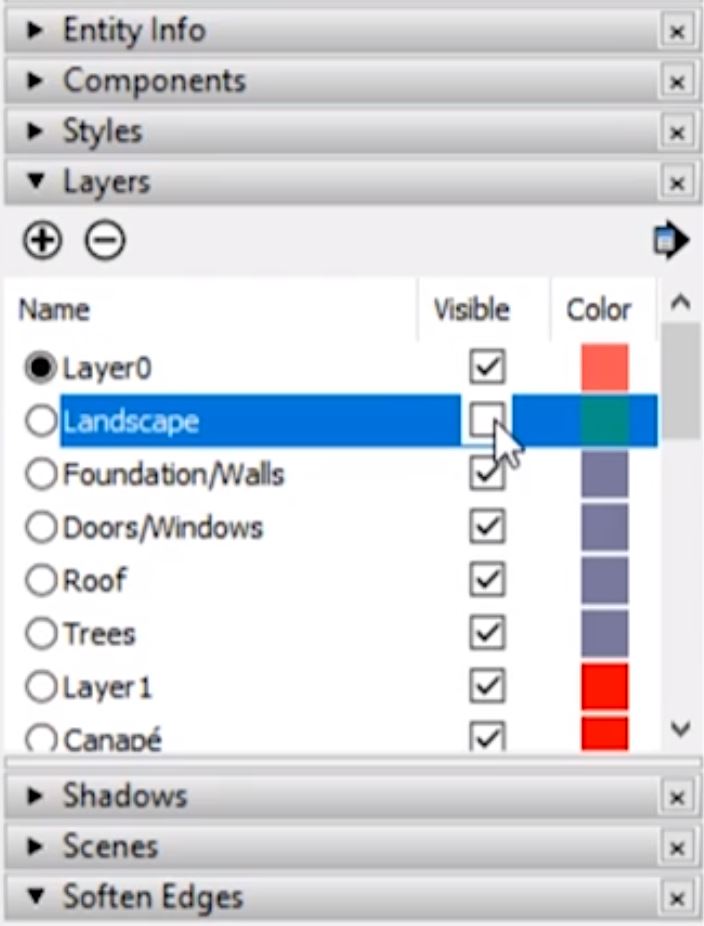
Putting Objects on a Separate Layer
To hide objects you’ve placed on a particular layer, go to the layers tab in the default tray and uncheck the box under “visible” to hide it. In this case we hide the landscape layer. To add an item to a different layer, right click on the item and hit “entity info.” Under the entity info in the default tray, select which layer you want to add it to from the layer drop down menu.
There are many other ways you can export Sketchup files. Check out our other tutorials on how to export as STL or PNG files.
How often to you export a DWG from Sketchup? What do you use your views for? Let us know in the comments!
Happy Hacking!
No comments yet.