
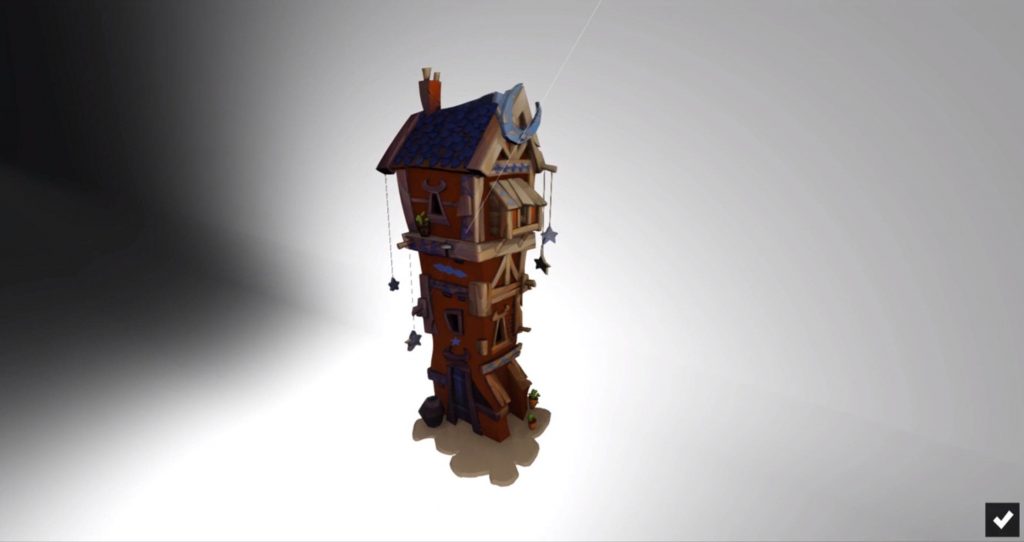
Making a 3D Clay Render Model in Lumion

Ever wondered how you can get a clay render look in Lumion? Follow along with this tutorial and we’ll show you how to get the same look with Lumion! We used the concept art for a Moon House by Catell-Ruz. If you want to see how we modeled this design in Sketchup, check out this tutorial. When you import your model into Lumion you can get a simple background by using the “white” preset, but it’s still not quite the look we’re going for. If you want a gray background, you’ll have to cheat a bit! Follow these steps to see how it’s done!
Creating the Clay Render
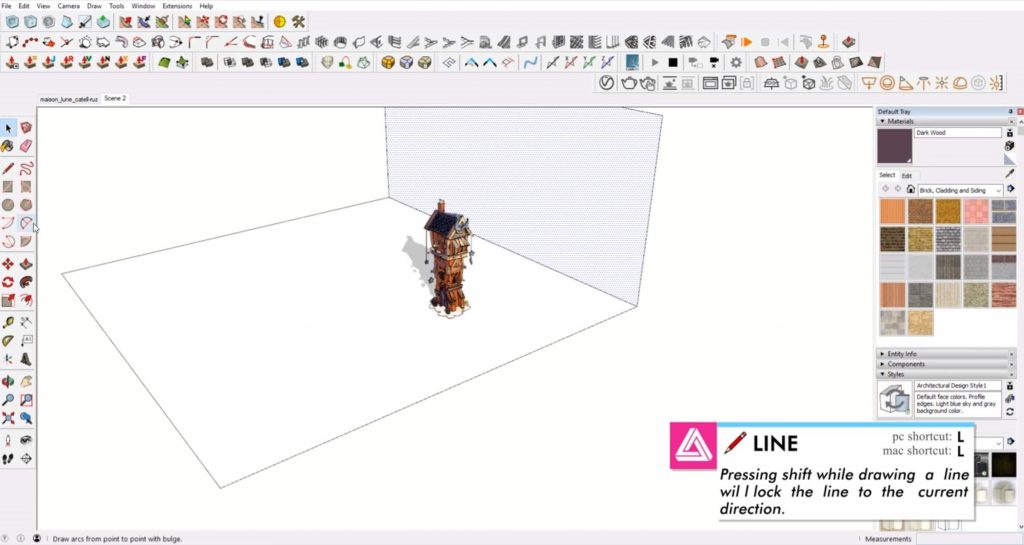
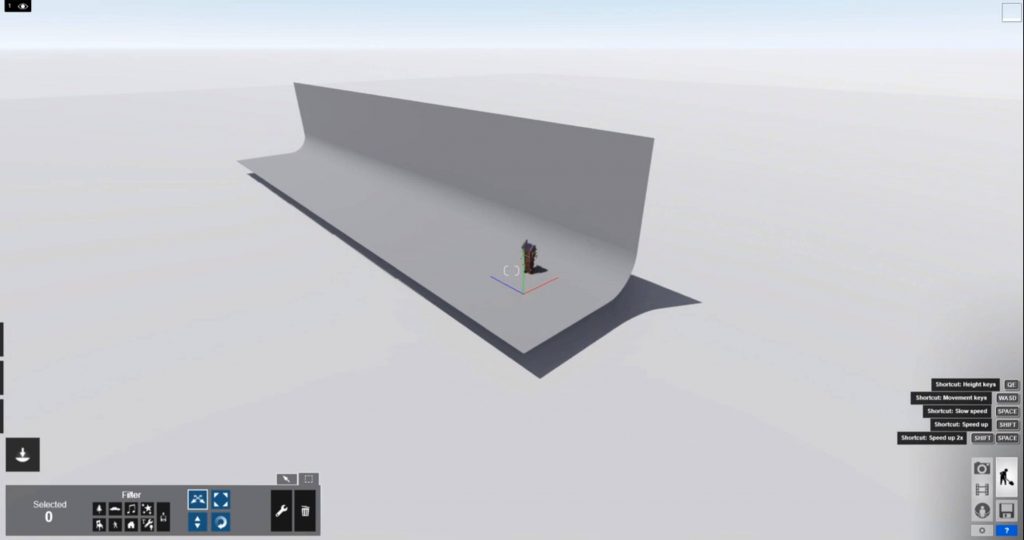
Draw a Plane. We have our model dynamically linked to the Sketchup file, so whatever changes we make will appear in Lumion. Use the rectangle tool to draw a plane underneath the model. Then, draw a vertical line on one of the front corners. If you hold the “shift” key while drawing, you can lock to the current direction you’re on. Connect the vertical line to the back corner to create a vertical plane.
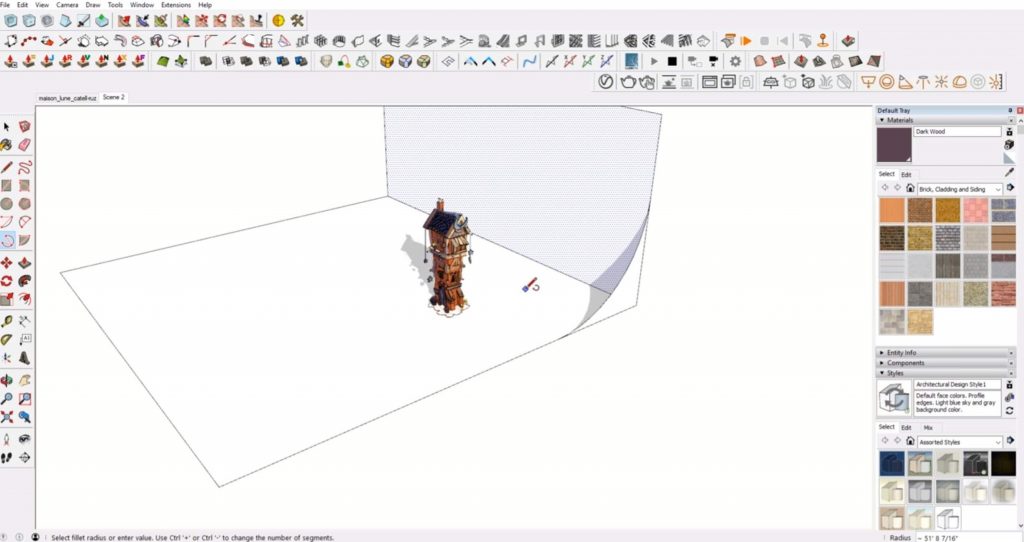
Draw an Arc. Use the arc tool to draw an arc connecting the vertical plane to the horizontal plane.
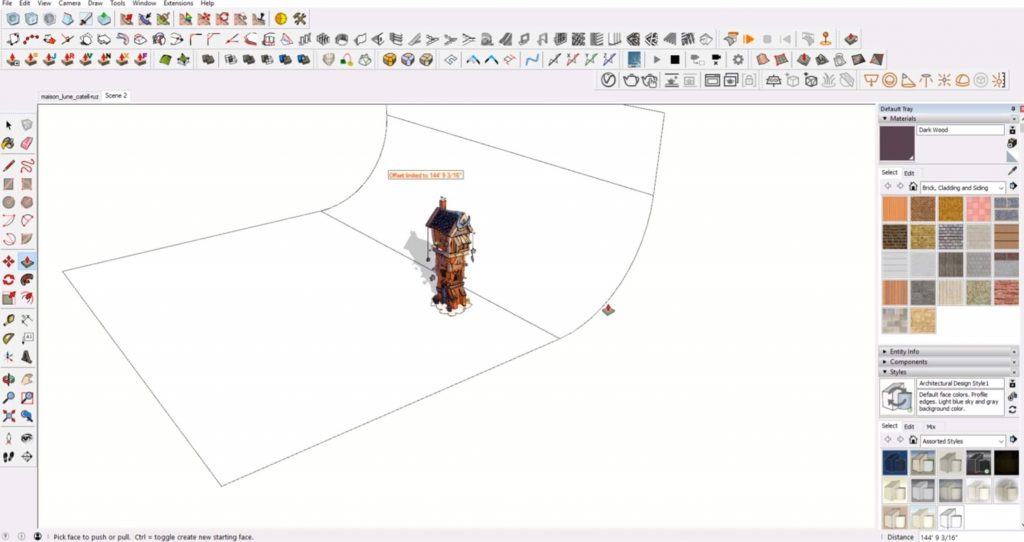
Push/Pull. Use the “push/pull” tool to push the arc along the planes you made. This will create a smooth transition between the horizontal and vertical surface. You may have to extend the vertical plane up so that you can’t see the edge when looking at your house model.
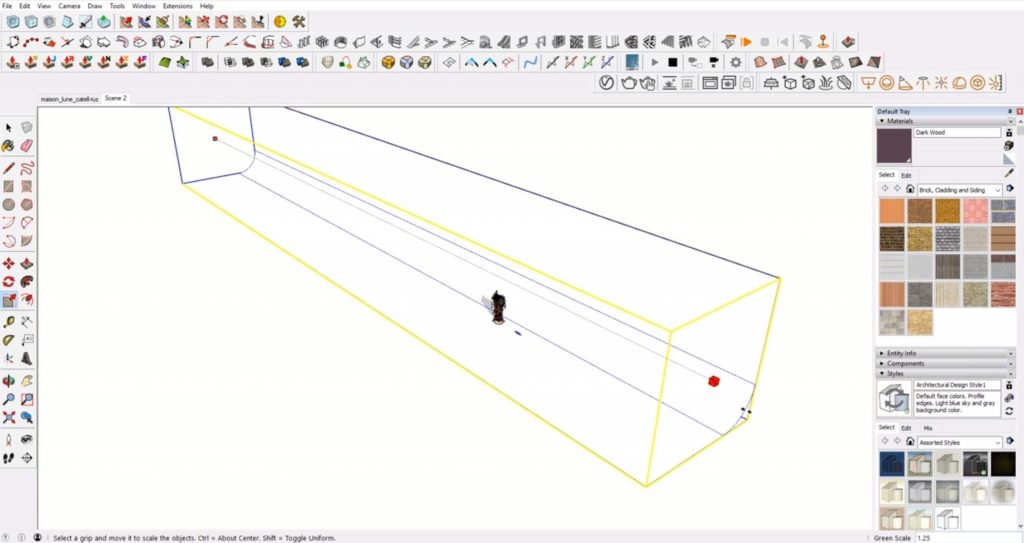
Make Group. Select both planes and the arc transition. Right-click and select “make group.” Use the box to extrude each end of the group far enough so that it covers all the area that you will see when looking at your model.
Open in Lumion. Make sure the bottom of the vertical plane is not below your ground plane. You can go back and adjust anything in your original Sketchup model until you get the background coverage you need.
Add Lighting. If you notice that you have an unnecessary shadow, you can add a light source in Lumion to hide it. Select the “area light” and place it below your model. Adjust the “length” and “width” to make it as large as possible. Adjust the “brightness” to be high. Use the rotate tool to align the light horizontally. You can place another light that shines on the vertical plane. Of course, you don’t want to forget to add light to your model! Simply add another area light and direct it towards your model. You may have to adjust the size and brightness, or you could even use the sun as the source of light.
Effects. Open the “photo” tool to adjust your rendering view. From here, you can adjust the camera and focal length to get the angle you want. Next, to get the clay render appearance you’ll have to use a custom effect. Click on the “add effects” button. Under the “various” tab, select “styrofoam.” Using the sliders on the left, you can adjust the diffusion or color of your material.
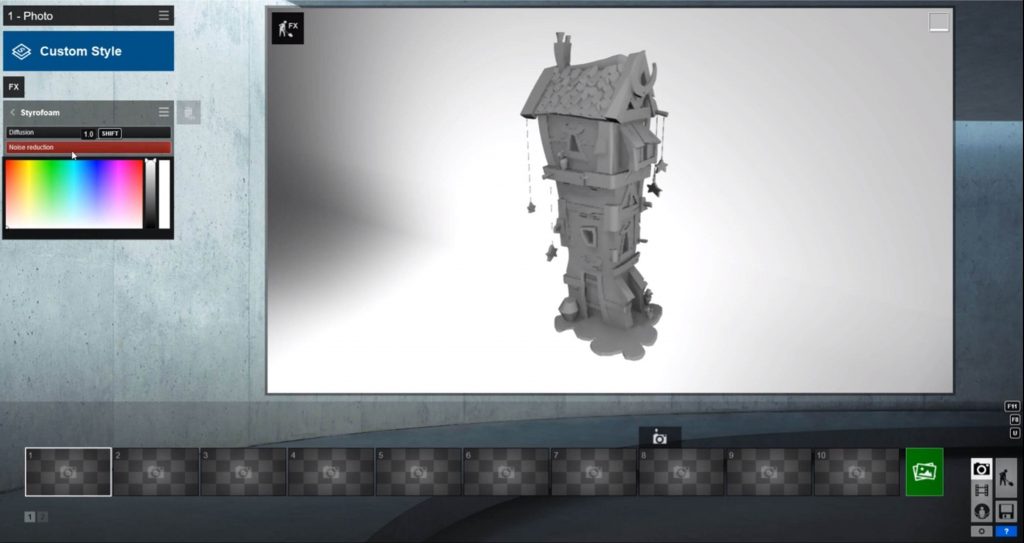
This effect gives you a great base for creating a concept art look! You can adjust the lighting so that the background is all white, make the backdrop a different color, or export the lightmap so you can easily Photoshop the background out and add a new one.
Do you like the look of a clay render? What rendering style is your favorite? Let us know in the comments!
Happy Hacking!
No comments yet.