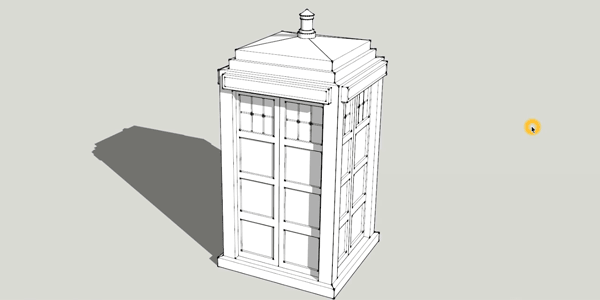
How to create a 3d Model from Photos Using Sketchup

I love photos, and when I discovered I could model in sketchup from photos (and get fairly accurate results), I was all in. In this tutorial learn how to create a 3d model from photos using sketchup.
This is part two in the series, so if you missed part one where I explained how to import a photo into sketchup and set your axes, go check it out.
This one really takes a watch to get the full effect, but here are a few quick tips from the video.
- When you start modeling with photo match always make sure that you start from the origin. Otherwise your lines could get pretty wacky.
- As always, to lock to axes when moving or rotating hold shift
- For identical sides (or identical anything) use components
- To duplicate a push/pull distance on a different face, double click the new face while your push/pull tool is activated
- Scale an item about it’s center by clicking a scale grabber and holding ctrl while you drag
Find this helpful? Share it and checkout our entire library of sketchup tutorials!
What would you like to model from photos? Do you want this series to continue to a part 3 where you”ll learn how to texture a model from the match photo? Leave a comment below and let me know!
As always, happy hacking.


I’ll have to bump that up in the content schedule then! :)
I would love to see the next part of this.
I love your blog. Ive been searching for people just like me all over the internet and Ive found Designer Hacks. Im also working towards becoming a licensed architect and I also share what I know about architectural presentations using Sketchup, Vray and Photoshop. =)
i really need to make a view from a photograph..can u help..?? [email protected]