
How to Add Materials in Sketchup

In this article, we’re going to go over how to add materials in Sketchup. Sketchup comes with a variety of preloaded materials, but sometimes they may not be exactly what you’re looking for. By using this method, you can customize your model and add unique materials that can’t be found in the standard Sketchup library.
Edit Existing Materials
Before we get into how to add a new material, let’s take a look at how to edit an existing one. If you’ve never edited a material, this section will familiarize you with how it works!
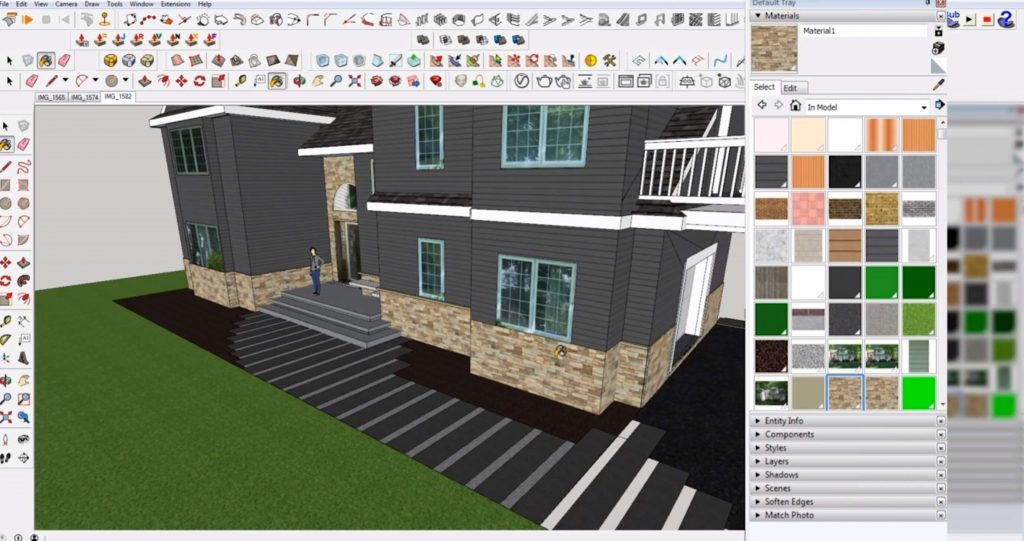
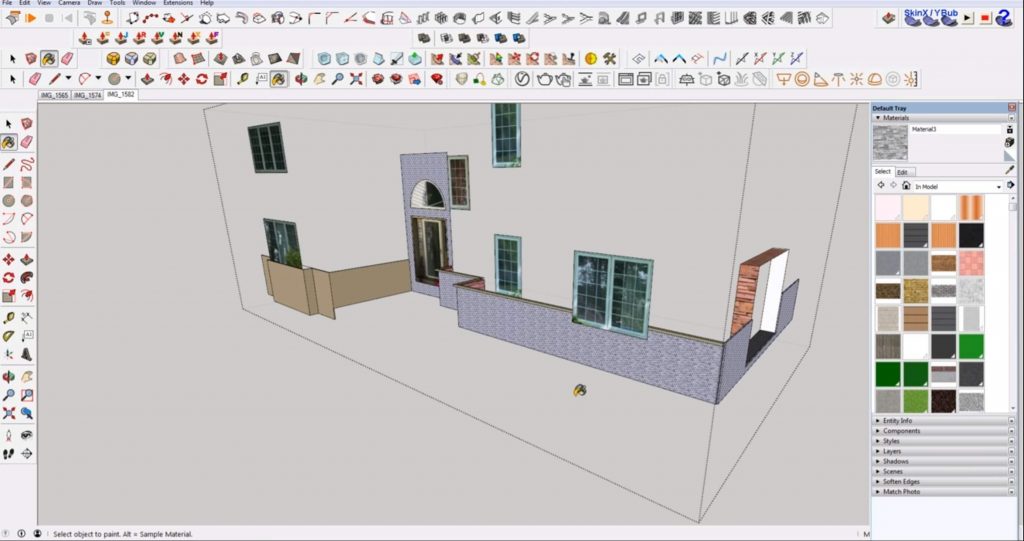
Window > Default Tray > Show Tray. Open the default tray by navigating to “window” > “default tray” and select “show tray.” Once the tray is open, go to the “materials” tab. If you click on the dropdown menu and select “in model,” only the materials that are currently being used in your model will show up.
Select Material. Click on the eyedropper tool in the default tray and select one of the materials in Sketchup. Now it will appear in the “materials” tab of the default tray.
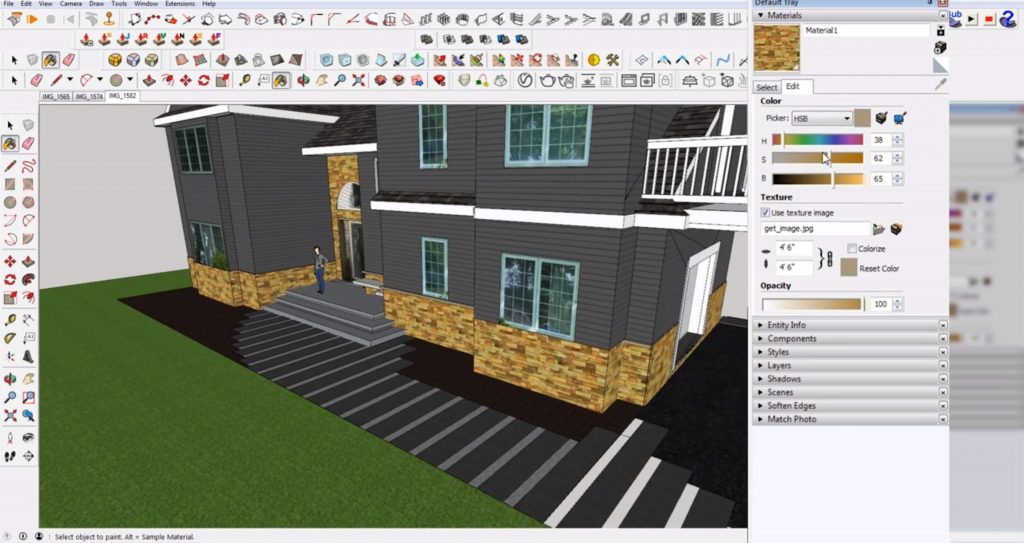
Edit. There is also an “edit” tab where you can change the color, hue, saturation, and brightness of the material. The color thumbnail next to the “picker” dropdown allows you to undo any changes. If you check the “colorizer” box, it will act as a monochromatic application of the color over whatever you do. If you uncheck the “use texture image” box, the material will just show up as a solid color. You can also edit the scale of your material from this tab.
Add New Materials in Sketchup
Create Material. In the “materials” tab of the default tray, click on the “create material” icon. This will duplicate whatever material you currently have selected.
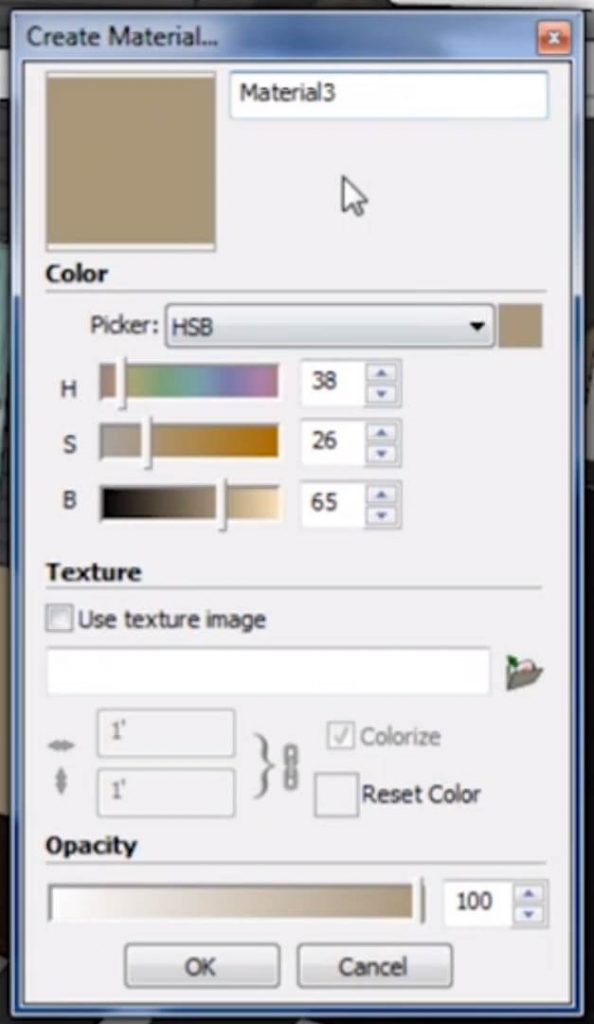
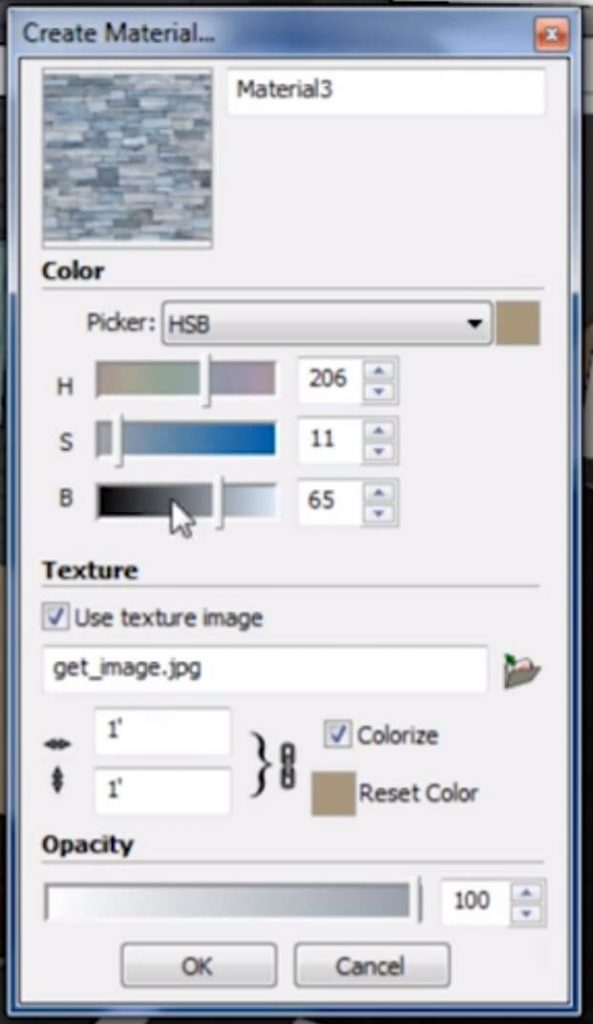
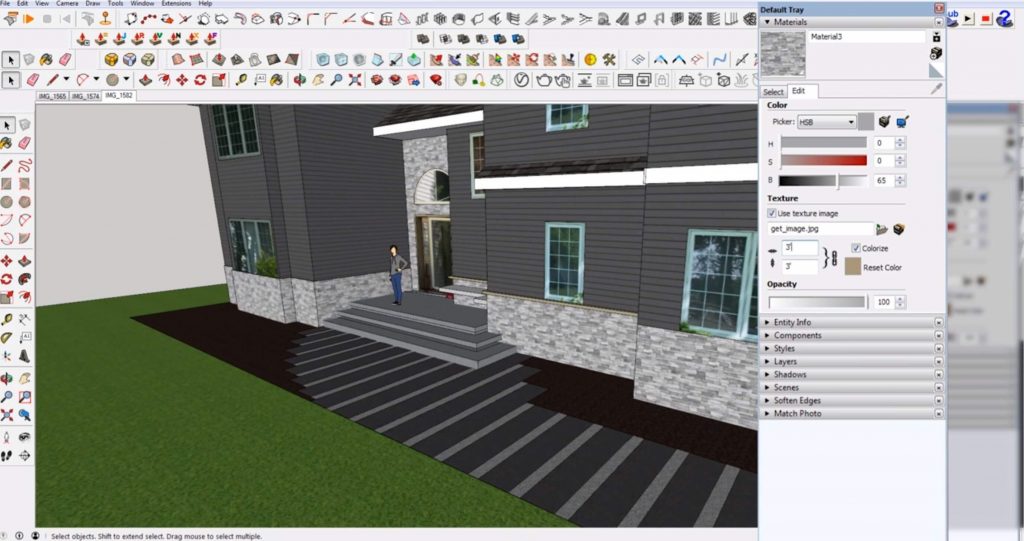
Upload Image. Select the “use texture image” box under the “texture” section. Select the image you want to use from your files and click “open.”
Adjust the Color. Use the sliders in the “color” section to adjust the hue, saturation, and brightness. Click “ok” when you are happy with how the material looks.
Apply Material. Double click on the object you want to paint and use the paint bucket tool to paint the faces with the new material. If objects in your model are in separate groups, selecting faces one by one may get a bit tedious. If all of the faces you want to paint are already the same material, you can use a trick to make this process faster.
Select > All with Same Material. Right-click one of the faces you want to paint. Click on “select” > “all with same material.” Then use the paint bucket tool to apply the new material to all of the selected faces.
Scale. After you apply the new material you may notice the scale is not right. You can always go back to the “edit” tab of the material and adjust the image to a more appropriate scale.
Next time you want to add new materials in Sketchup, just use these simple steps!
If you’re looking for more Sketchup tips, check out the rest of our tutorials. What types of custom materials have you made in Sketchup? Let us know in the comments!
Happy Hacking!
No comments yet.