
Getting Started with Sketchup for Beginners

New to Sketchup? This article is for you! We’re going to go over some tips for Sketchup for beginners and show you how you can start modeling right away. If you’re more advanced but still want to learn some new tips, go to our tutorials page to find tutorials for every level! Otherwise, go ahead and open up Sketchup and let’s dive in!
When you first open Sketchup you’ll notice a bunch of toolbars at the top. Those are just plugins that we’ve downloaded into Sketchup. Yours may have less-and that’s ok! For now, we’re going to focus mainly on the left-hand toolbar. If you don’t see the toolbar, just right-click in an open space on the left side of the screen and make sure “Large Tool Set” is selected.
Keyboard Shortcuts
When using Sketchup for beginners, a helpful hint to remember is that keyboard shortcuts are vital to make your modeling efficient!
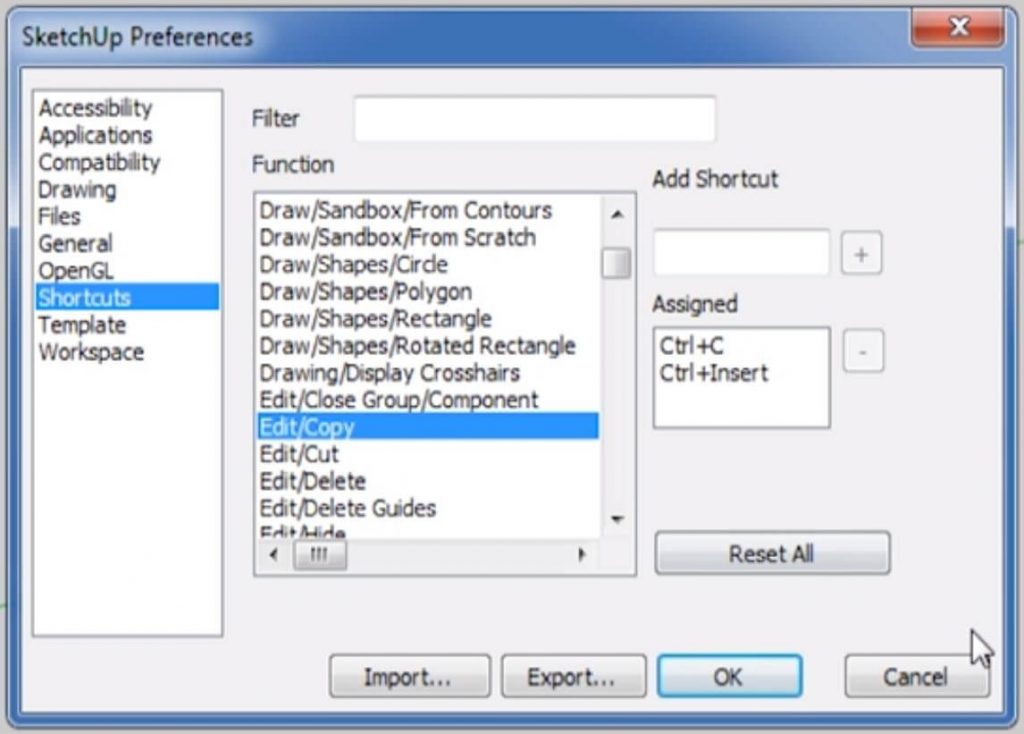
To view a list of shortcuts, you can navigate to “window” > “preferences” and select “shortcuts” from the list. From this window you can create your own shortcuts or view the existing ones.
Starting Sketchup
One important thing to remember is that Sketchup is based on faces and lines. Any geometry that you make is hollow inside, rather than being a solid object. Let’s start by drawing a simple square.
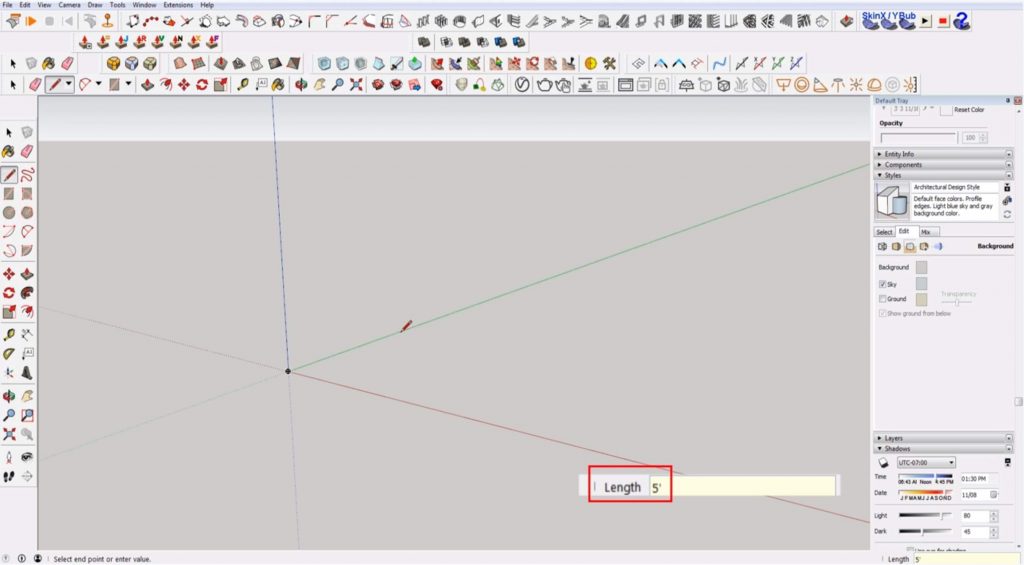
Draw a Line. Press “L” to open the “line” tool. Click on the origin point and drag the line along the green axis. Type 5’ and hit “enter.” If you look in the bottom right corner in the “length” box, you will see that your line is 5 feet long.
Use the Tape Measure Tool. To double-check the length of your line, click on the tape measure tool, to hit T on the keyboard. Click and drag over the line you just drew. The length should measure 5 feet. Hit “ESC” to exit the tool.
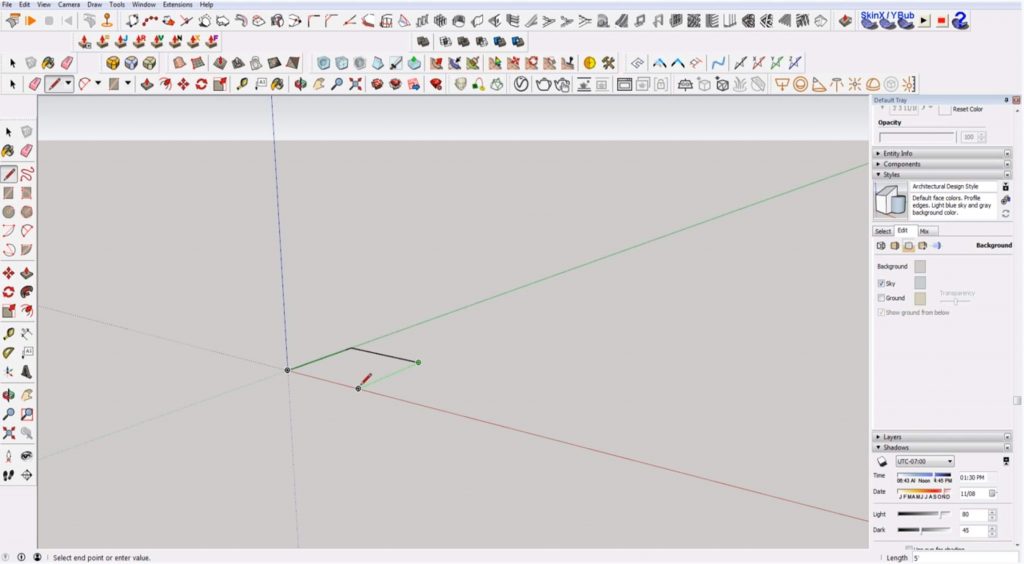
Finish the Square. Repeat the same process to draw the rest of the lines for the square. You can use the arrow keys to lock to a certain axis to make sure the lines are parallel with each other. Use the right arrow key to lock to the red axis. The left arrow key locks to the green axis, and the up arrow key locks to the blue axis.
Navigating Sketchup for Beginners
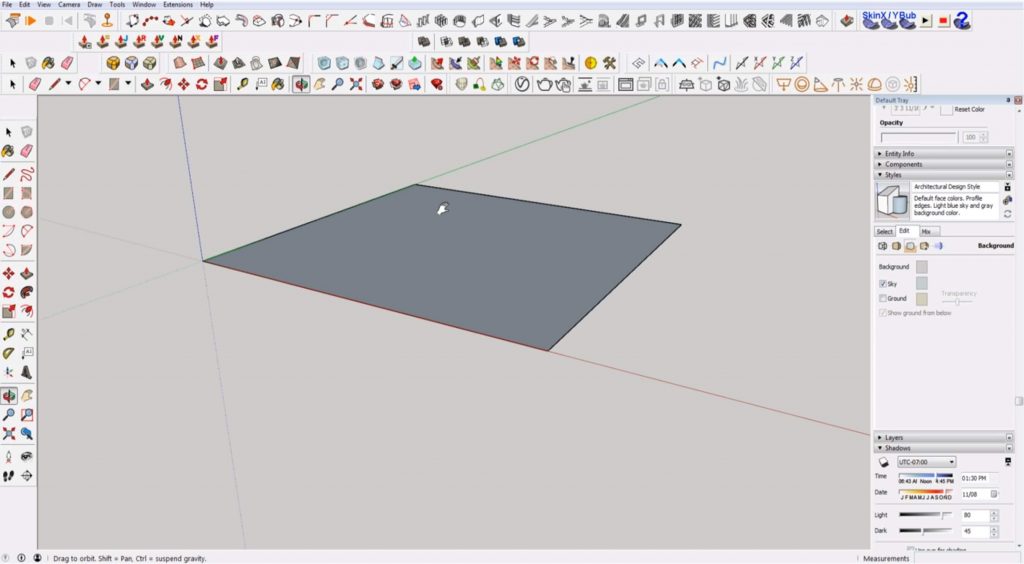
Orbit. Moving around Sketchup can take some getting used to. Let’s move around the square we just drew to get some practice. Click on the “orbit” tool to rotate around the square.
Pan. Click on the “pan” tool to move the model vertically or horizontally.
Zoom Extents. If you ever get lost in your model, click on the “zoom extents” tool to zoom directly to whatever is modeled in your file.
If you click the center of your mouse you can use the “orbit” tool. Scrolling up or down will allow you to zoom in and out. If you hold “shift” while orbiting, you can then use the “pan” tool.
Add Details
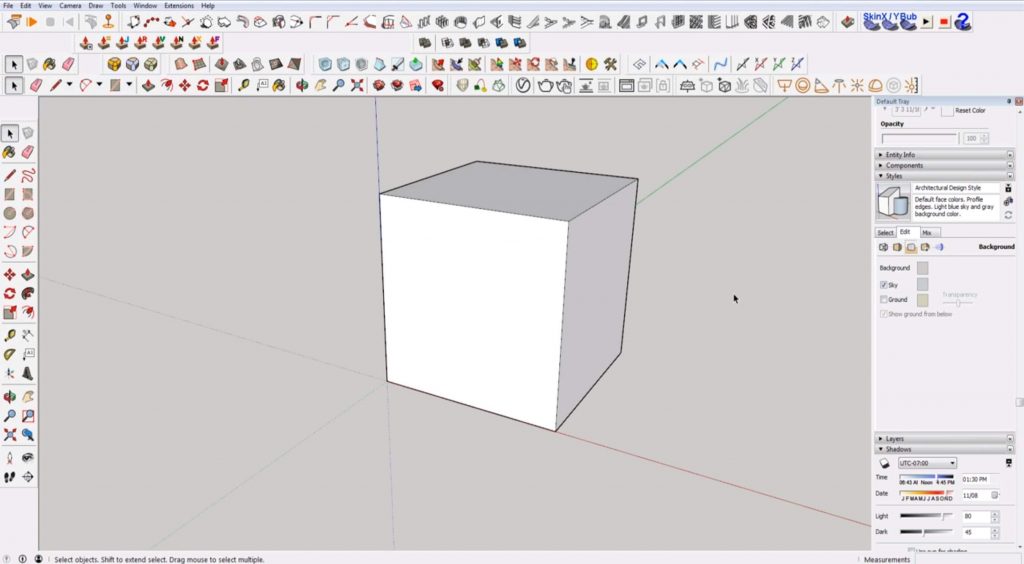
Push/Pull. Select the “push/pull” tool. Click on your square and drag it up to extrude the shape. Type 5’ to create a perfect cube.
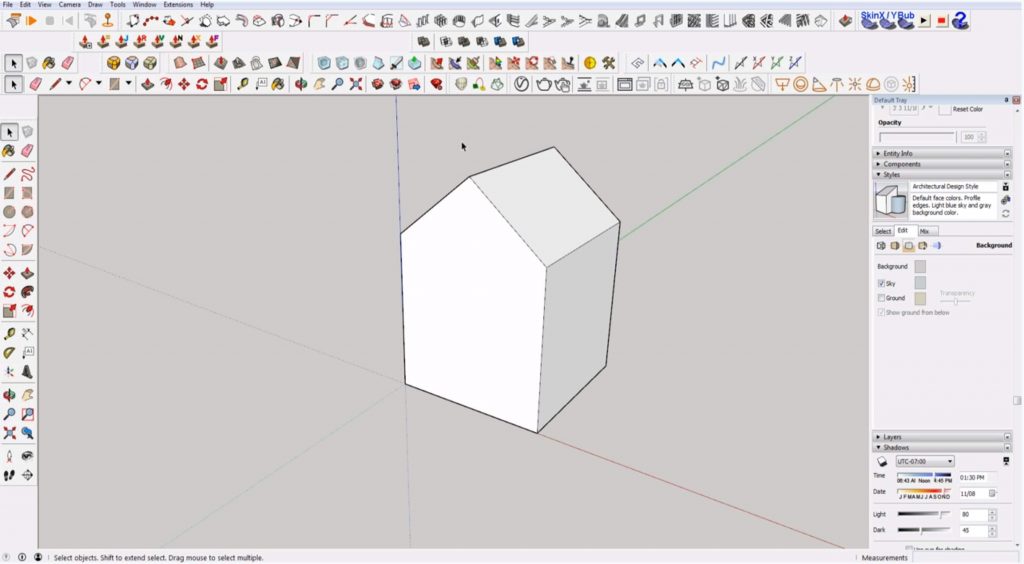
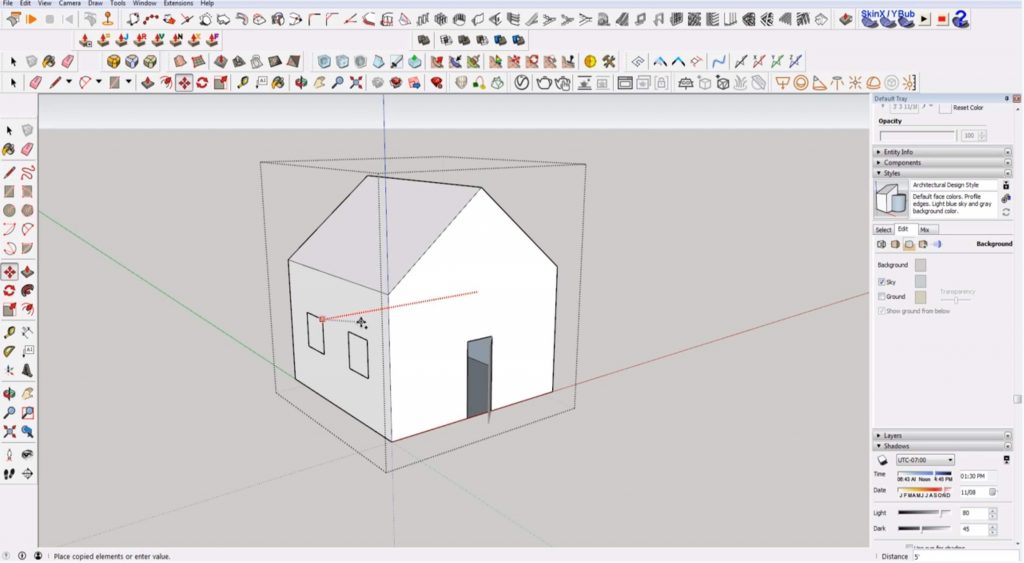
Add a Roof. Open the “line” tool and find the midpoint of the cube. It should automatically snap to that location when you get there. Draw a vertical line and draw another line connecting it to each corner. Select the center line and hit “delete.”
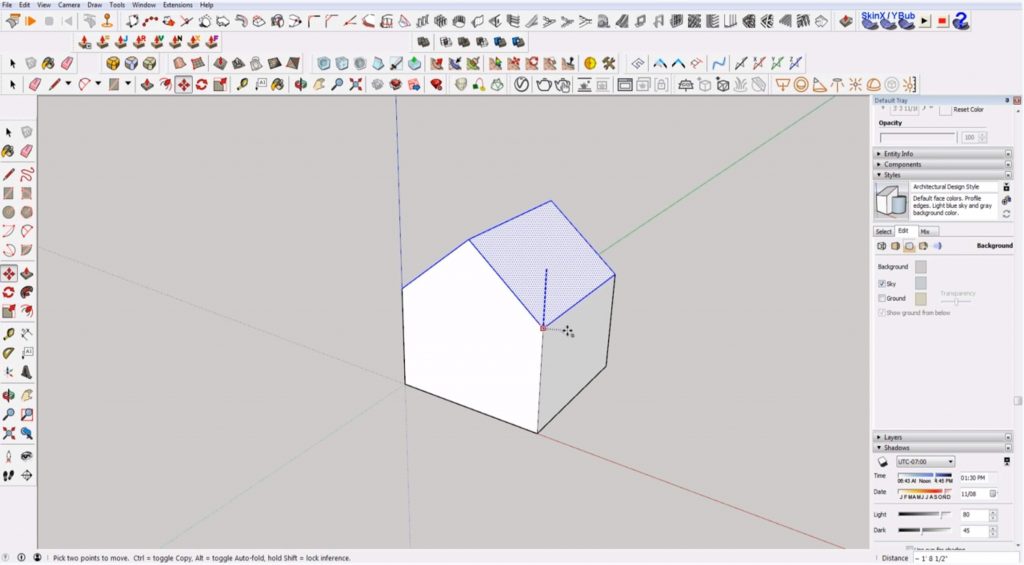
Push/Pull. Hit “P” to open the “push/pull” tool and push the shape all the way to the back edge of the cube.
Erase. If you don’t want to delete a line, you can hold “ctrl” while using the “erase” tool and select a line to hide it.
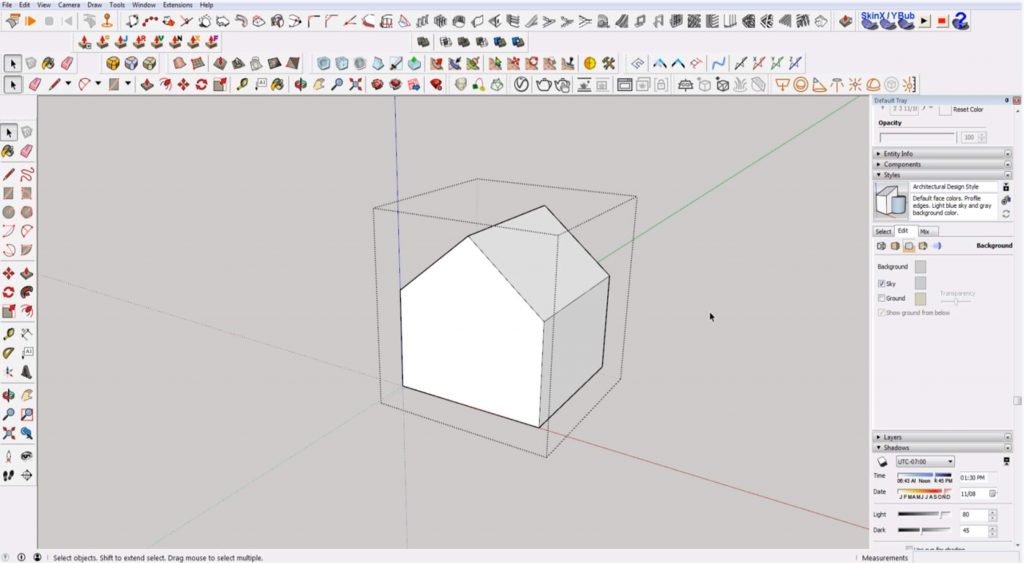
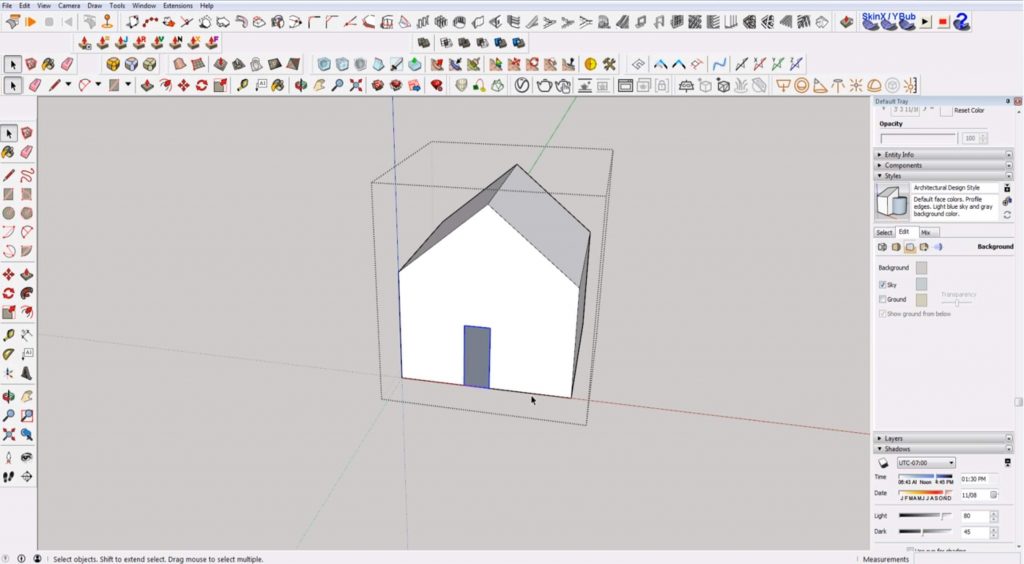
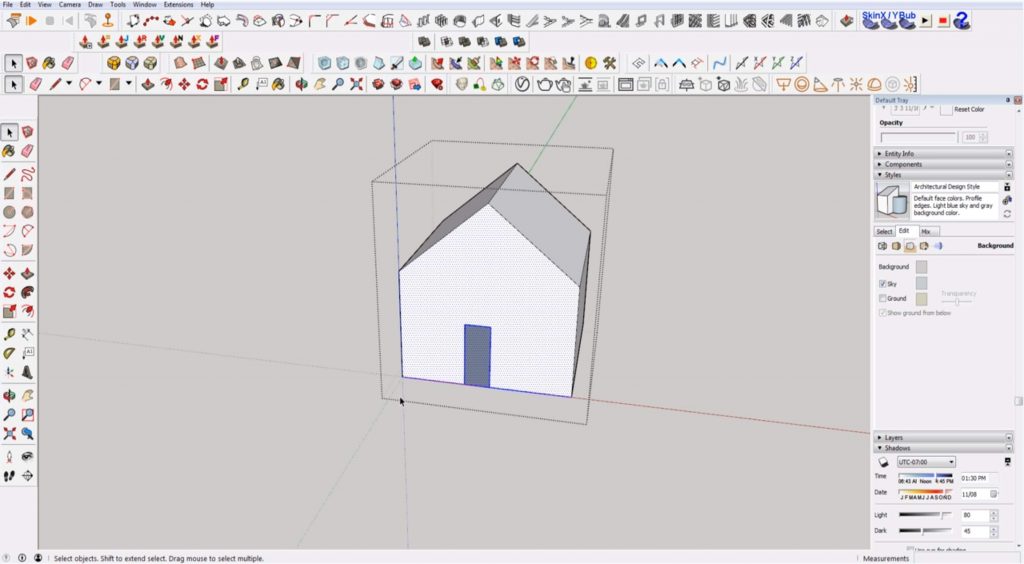
Change Height. Click on the “select” tool. Select the point of the roof (the ridge). Hit “M” to open the “move tool. Click on the front corner of the roof to move the house shape. Press the “up” arrow key to lock to the blue axis and move the shape down.
Creating Groups and Components
When modeling, you want to make sure you are making your objects into groups or components. This way you can edit parts of your object without it affecting the entire shape. To make your model a group, select the object. Then right-click and select “make group.”
Groups and components are similar, but it’s important to know the difference so you know when to use each one in your model. Components are copies of the same thing, so when you change one component it will change all of them. Groups are a single instance of certain geometry. To edit a group, simply double click on the object.
Tips on Selecting
When using Sketchup for beginners, it’s important to know how to select objects. If you use the “select” tool and drag from the top left to the bottom right, it will only select instances that are fully within the box. If you select from the bottom right to the top left, it will select everything the box touches.
Adding Doors and Windows
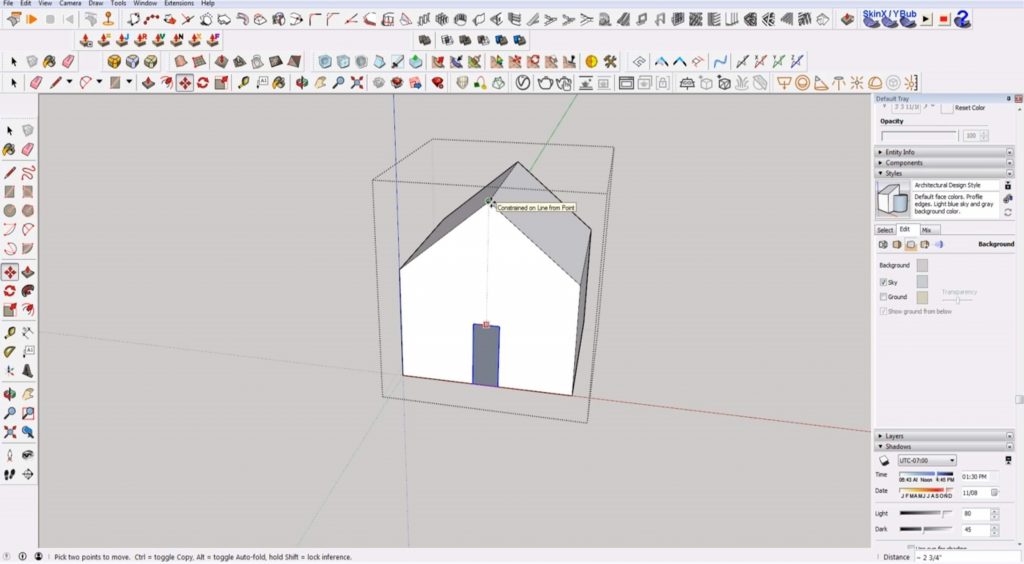
Draw the Door. Use the rectangle tool to draw a door on the front of the house. Delete the face.
Align the Door to Center. Select the door. Click on the midpoint of the door. Hold the “shift” key to lock to the direction you’re moving and select the midpoint of the pitched roof.
Draw Rectangle. Use the “rectangle” tool to draw the face of the door. Right-click and select “reverse faces.” Switching faces to the correct side is a good habit to get into if you ever plan on rendering.
Make Group. Right-click on the door and select “make group.”
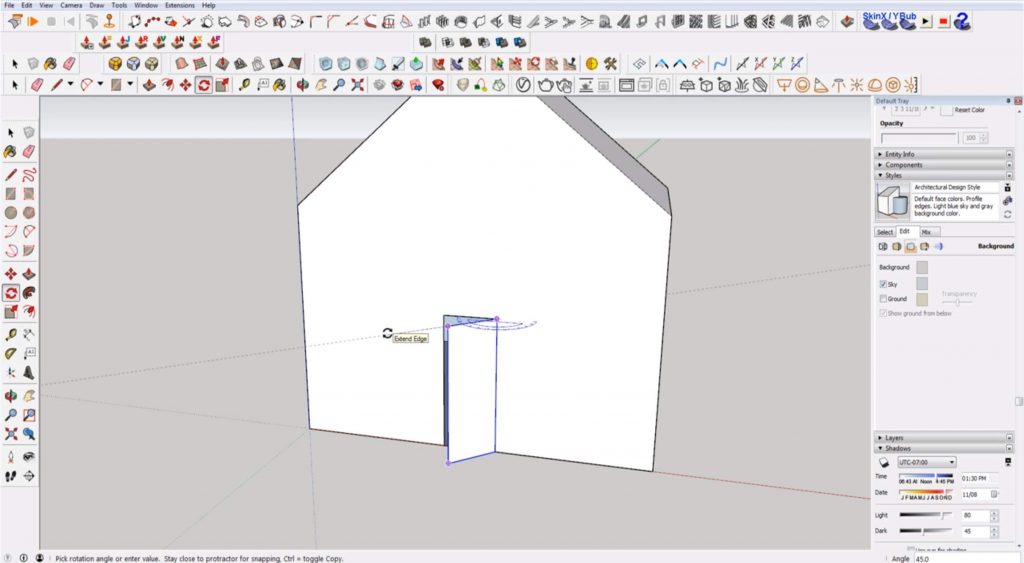
Rotate. Hit “Q” to open the rotate tool. Hit the “up” arrow to lock to the blue axis. Select the top two corners of the door. Rotate it open 45 degrees.
Draw Window. Use the “rectangle” tool to draw a square on one side of the house.
Make a Copy. Select the window. Hit “M” to open the move tool. Select a corner of the window and hold “ctrl” to make a copy. Place the copy so that it is symmetrical with the first window. Delete the faces of the windows.
Copy Windows. Select both windows. Hit “M” to open the move tool. Hold “ctrl” to make a copy and use the right arrow key to lock to the red axis. Drag the window copies to the opposite side of the house and click on the face you want the windows to be placed on.
Scaling in Sketchup
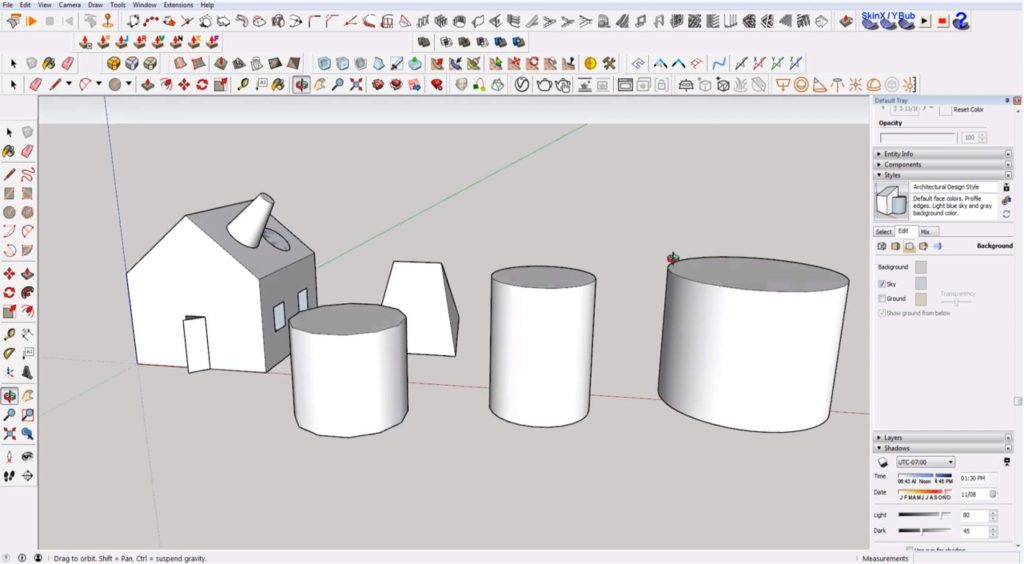
Draw a Cylinder. Hit “C” to open the circle tool. Draw a circle on the roof. Hit “P” and push/pull the shape up.
Scale. Select the circle face. Hit “S” to open the “scale” tool. Use the green points to scale the shape down and create a more conical shape.

Hidden Geometry
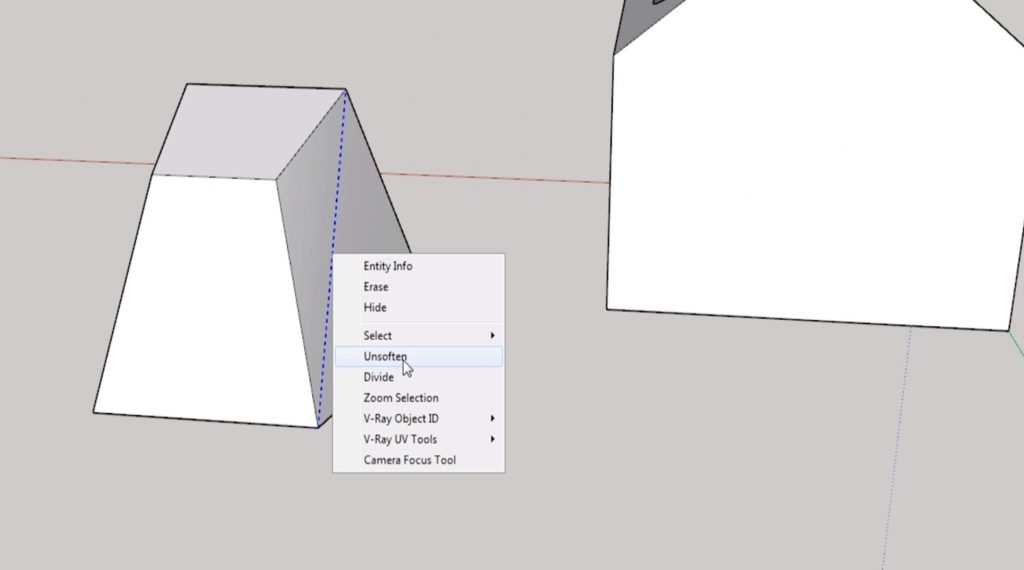
To hide a line, open the “eraser” tool and hold “ctrl” while you select the line. Sometimes this is a better alternative to deleting a line because deleting a line may delete the entire face.
If you ever want to view the lines you have hidden, simply navigate to “view” and select “hidden geometry.” The hidden lines will show up as dashed lines.
To unhide a line, right-click on the hidden line and select “unsoften.”
Creating a Perfect Circle
Earlier we mentioned that Sketchup is face based. It is also line based which means there are no perfect circles. If you open the “circle” tool you will notice there is a box in the lower right corner that says “sides.” If you type a number before drawing the circle you can change the number of sides. The more sides there are, the more round the circle will appear.
Check out our tutorials page for even more videos on Sketchup for beginners! What other questions do you have for starting out in Sketchup? Let us know in the comments, we would love to help!
Happy Hacking!
No comments yet.