
How to Draw Lines on Terrain | Sketchup Tutorial

In this Sketchup tutorial, we’re going to go over how to draw lines on terrain in Sketchup, even if it’s sloped! It may sound a bit difficult to draw lines on sloped terrain, but once you understand how Sketchup works, it’s actually pretty easy. We have some more tutorials that may be helpful to take a look at before you start. Click here to see how you can import terrain in Sketchup. Once you have your terrain imported, you can get started. Just follow these simple steps!
Method 1: Draw Lines on Terrain
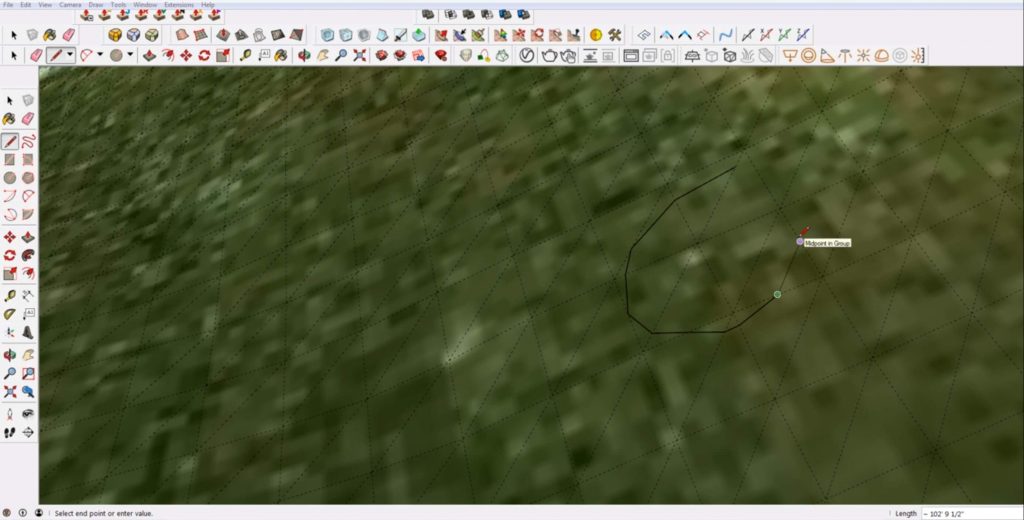
View > Hidden Geometry. The first thing you’ll want to do is go to “view” and select “hidden geometry” from the dropdown menu. If you look at your model, you will notice a bunch of faces that make up your terrain. If you ever want to draw lines on sloped terrain or any kind of curved surface, you want to make sure “hidden geometry” is turned on so you can see all of the individual faces that make up the curves.

Draw a Circle. Use the line tool to draw a circular shape that connects some of the triangular faces. Make sure you’re drawing on the faces. You can do this by drawing a line between edges of faces or making sure there is a dialog box that says “on face” as you draw. It won’t be a perfect circle, but we’ll show you how to do that in a bit.
Unlock. If your terrain is locked, select the terrain. Right-click and select “unlock.”
Explode. Right-click again on your terrain and click on “explode.” Now you can edit the individual pieces within the lines you drew.
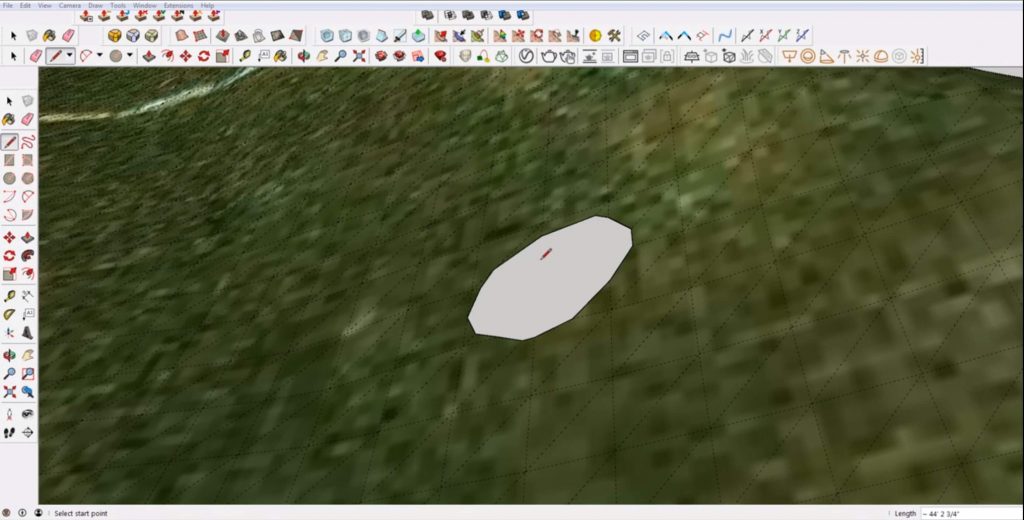
Erase. Hit “E” to open the eraser tool. Click and drag it over the lines within your circle to create a hole.
Method 2: Freedo6 Plugin
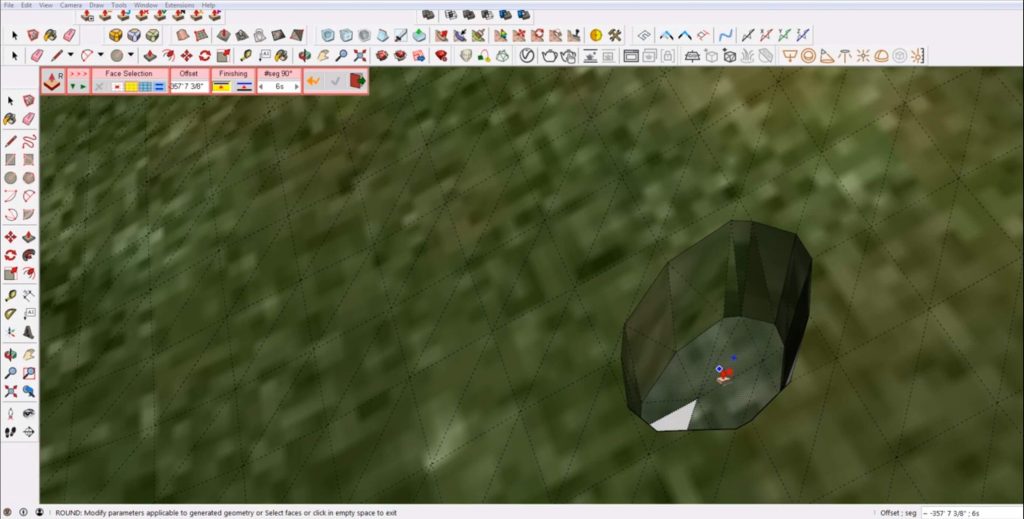
Alternatively, you could create a crater shape by using the Freedo “push/pull” tool.
Select Lines. Select all of the line segments within the circle that you drew.
Push/Pull. Click on the Freedo “push/pull” plugin and drag the face where you want it. Hit enter. Click on the “exit tool” button in the plugin menu.
Method 3: Geometric shapes over terrain
If you want to create a perfect circle (or any geometry for that matter), you can use another method.
Draw Circle. Choose an area off to the side and draw a circle. In this example, we use the “offset” tool to create a smaller circle within the first one. But that’s not necessary to use this method.

Make Group. Select the ring shape. Right-click and select “make group.”
Move. Move the ring to where you want it over your terrain. Use the arrow keys when you move the object to make sure you lock to the correct axis. Turn off “hidden geometry.”
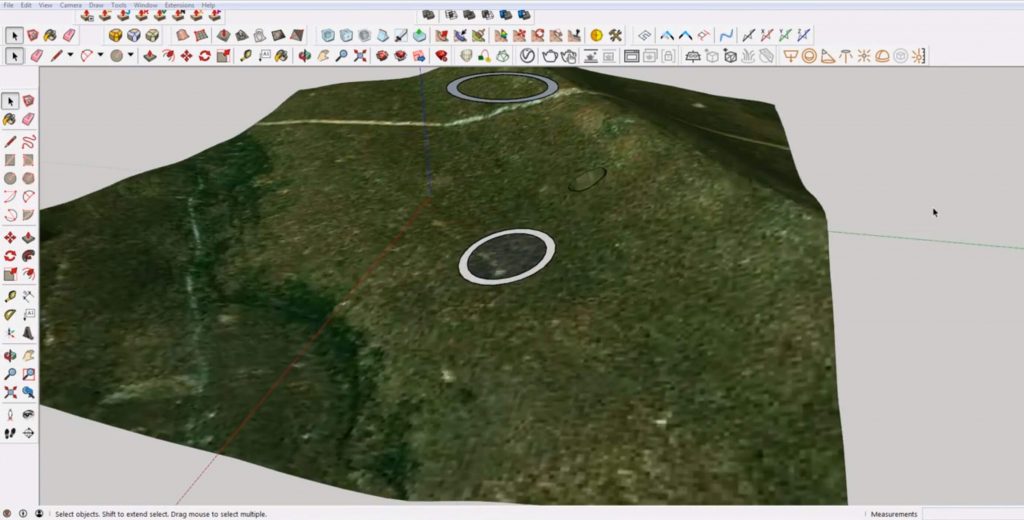
Drape. Click on the “drape” tool in the sandbox toolbar or selected Tools>Sandbox>Drape. Select the ring and then the terrain to project the shape onto it. You should now have lines on terrain. From here, you can delete the ring, so that you’re just left with the shape you want. It may be helpful at this point to also take a look at the hidden geometry. This will just give you a sense for how SketchUp works with edges.
I also just want to reiterate here how this method can be used for any geometry. We used a circle in this example but you could use something even as complex as a site plan.
Drawing lines on terrain is just one example of how to manipulate terrain in Sketchup. You can also create topography or use it as a reference for building your model. Be sure to check out the rest of our tutorials for more Sketchup tips. What ways do you use terrain in your Sketchup models? Let us know in the comments!
Happy Hacking!
No comments yet.