
How to Create Interlocking Shapes in Sketchup

In this tutorial we’ll be showing you how to create interlocking shapes in Sketchup! Modeling these types of shapes can be useful for detailed things like joinery and furniture or larger items like domes and archways. For this example, we are going to show you how to create two arcs and interlock them in the center point. First, you’ll have to create each arc. Then, you will add notches to each arc so that they can interlock. Let’s get started!
Begin Modeling Interlocking Shapes
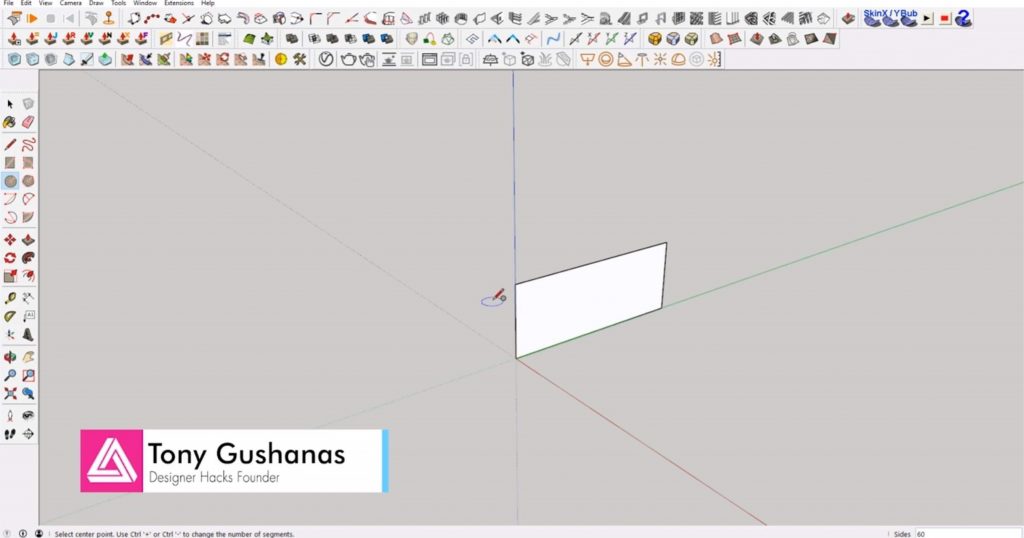
Draw a rectangle. Hit “R” to open the rectangle tool. Draw a rectangle on the blue axis.
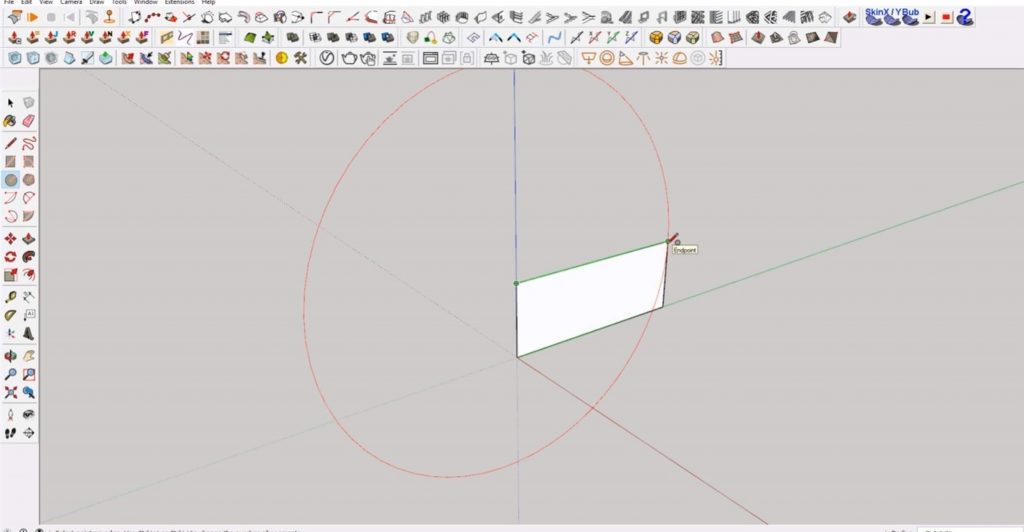
Draw Circle. Hit “C” to open the circle tool. The default number of sides is 24. You may want to increase that number to get a smoother-looking circle. Draw a circle using the top left corner of the rectangle as the center point and the top right corner as the endpoint.
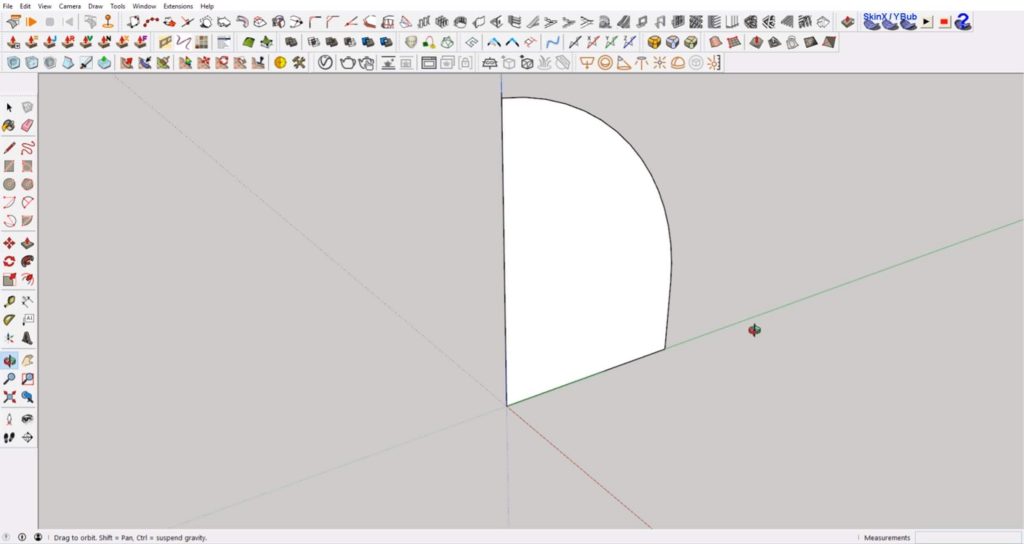
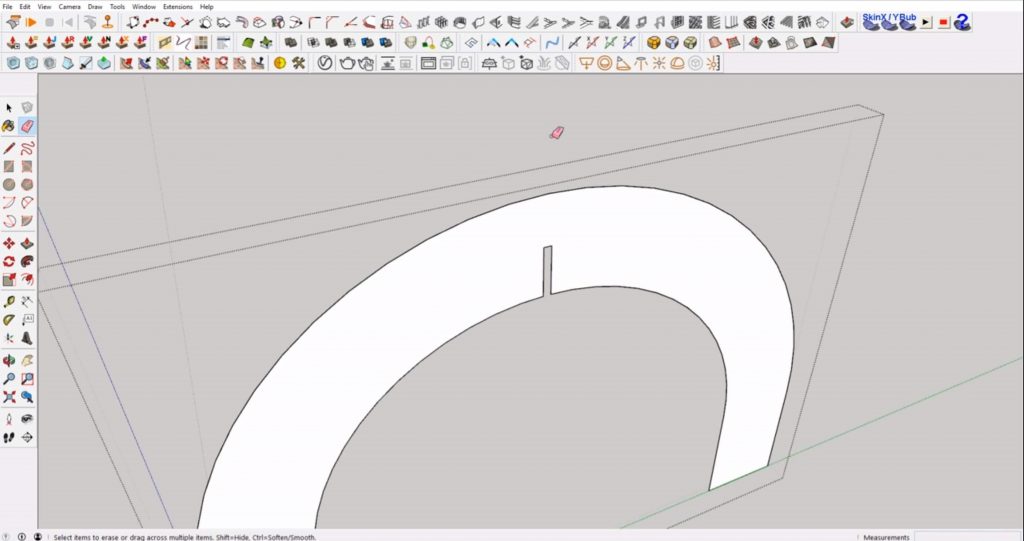
Draw Line. Use the line tool to draw a vertical line from the center of the circle to the top of the circle.
Erase. Use the eraser tool to erase any excess lines from around the arc shape.
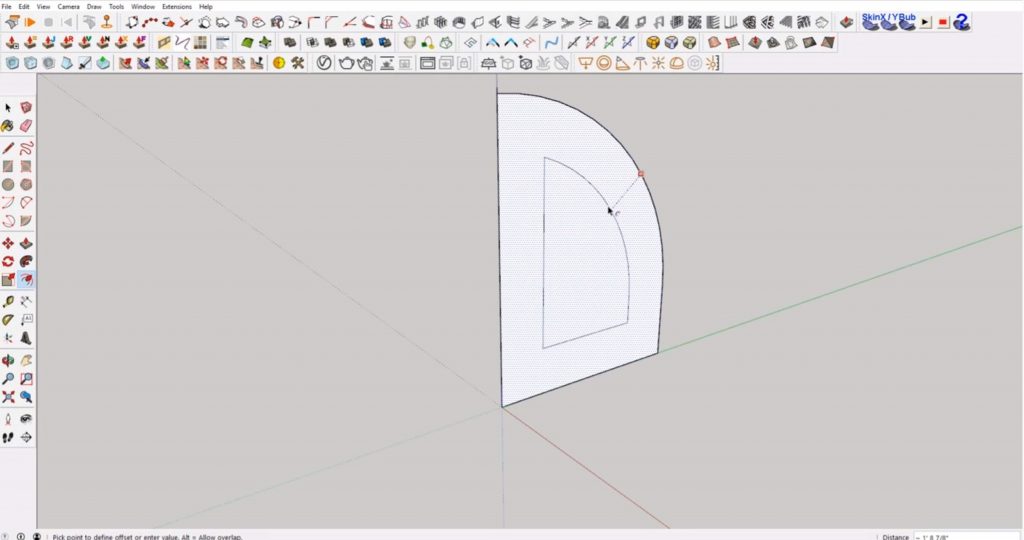
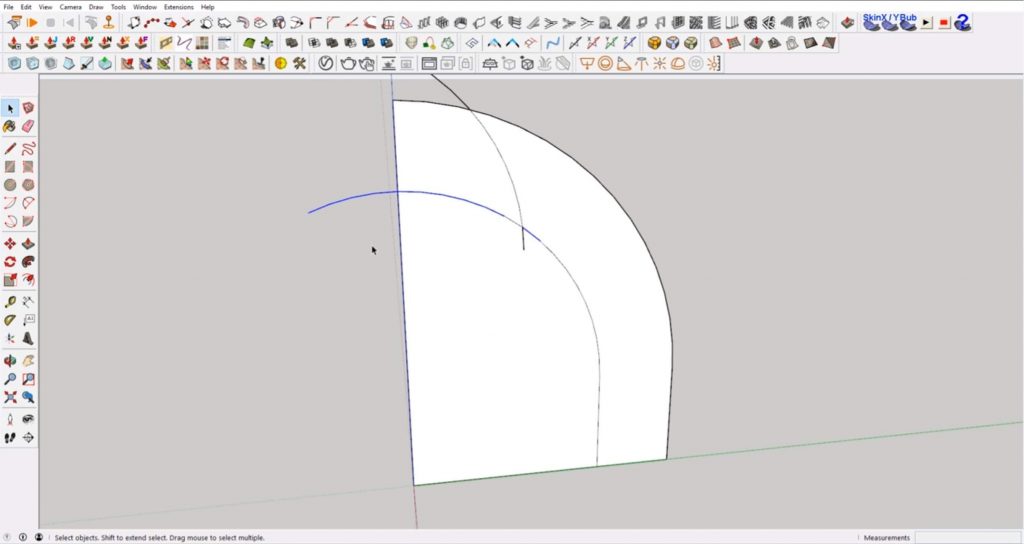
Offset. Select the offset tool. Click on your arch and drag the mouse inward to offset the shape.
Complete the Curve. Draw a line straight down from the bottom right corner of the offset shape. Use the eraser tool to delete the straight lines of the offset shape.

Select the inner arch. Hold “ctrl” while using the move tool to make a copy. Place the copied arch so that it intersects near the top of the inner arch. Select the copied arch. Hit “Q” to open the rotate tool. Hold “ctrl” again to make a copy and rotate the new copy so that it aligns with the original curve.
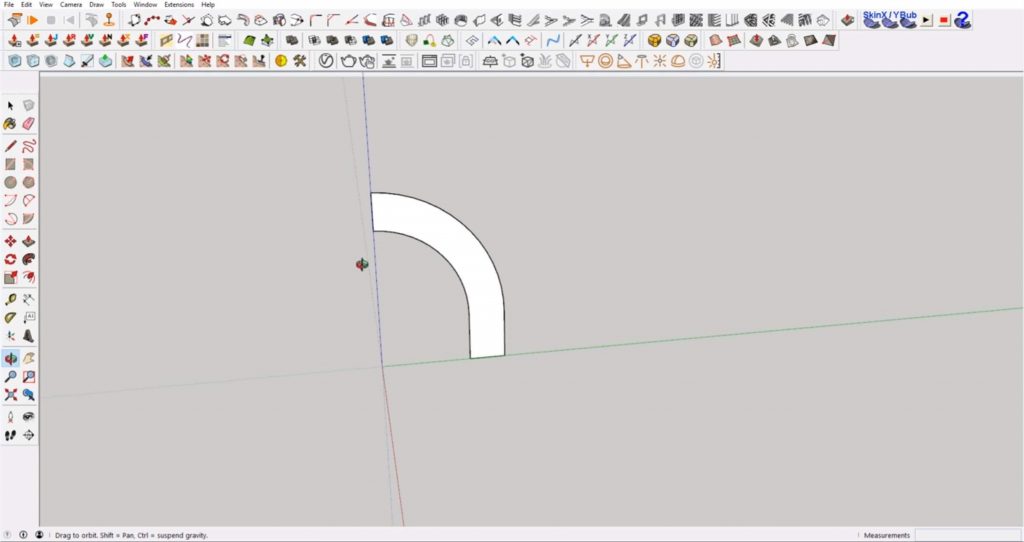
Delete any extra lines until you have half of the arc.
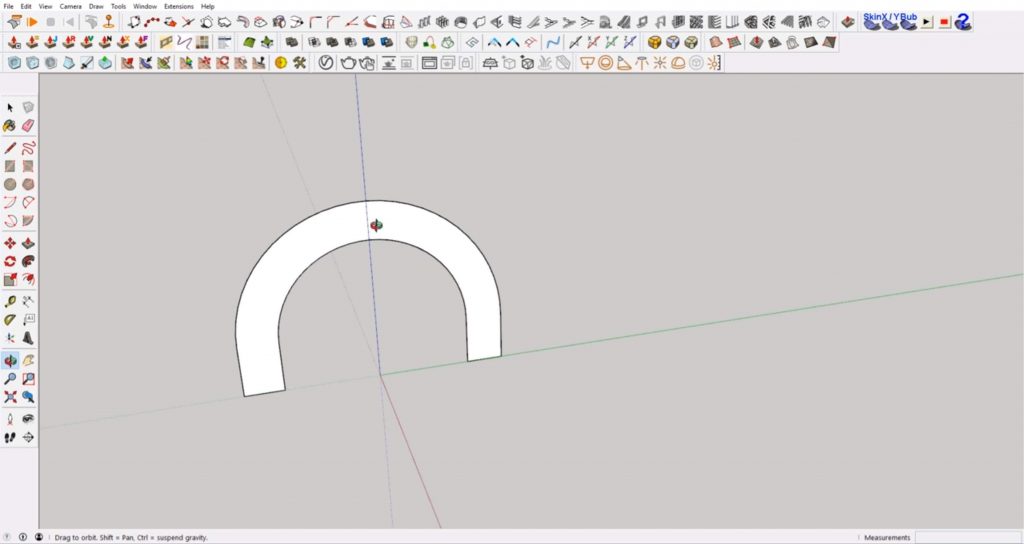
Copy. Hit “M” to open the move tool. Hold “ctrl” to make a copy and move the copy over to the side. Right-click on the copy. Select “flip along” > “green axis.” Move the arch so that the top corners of each half meet.
Draw Notch for Interlocking Shapes
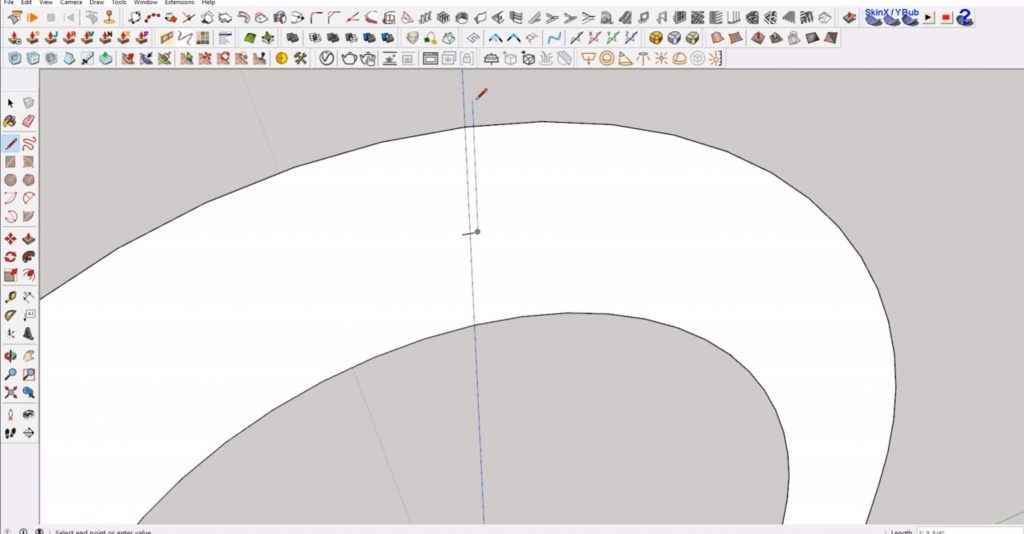
The next step is to create the notch that will join both pieces together. To do this, draw a vertical line down the center of the arc. Find the midpoint. Draw a horizontal line that extends 1” past the center line on each side.
Draw Line. Draw a vertical line extending past the arc on each endpoint of the 2” line you just drew.
Erase. Use the eraser tool to erase the lines that extend past the arc.
Make Group. Select all pieces of the arc. Right-click and select “make group.”
Make Copy. Copy and paste the shape over to the side. Double-click on the arc copy so that you are within the group. Extend the vertical lines of the notch down and erase the top lines. Now you have a notch facing downwards.
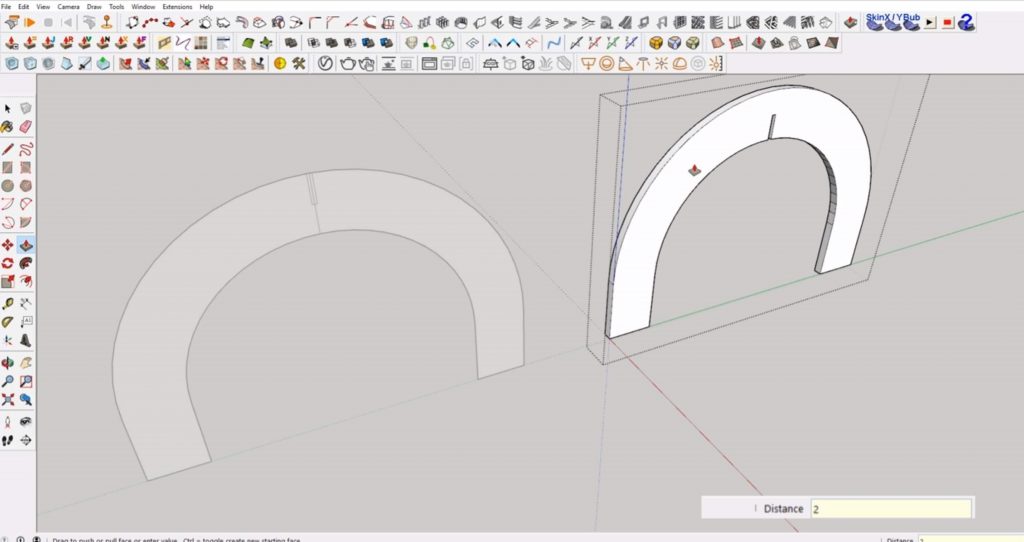
Push/Pull. Use the “push/pull” tool to extrude each arc back 2 inches.
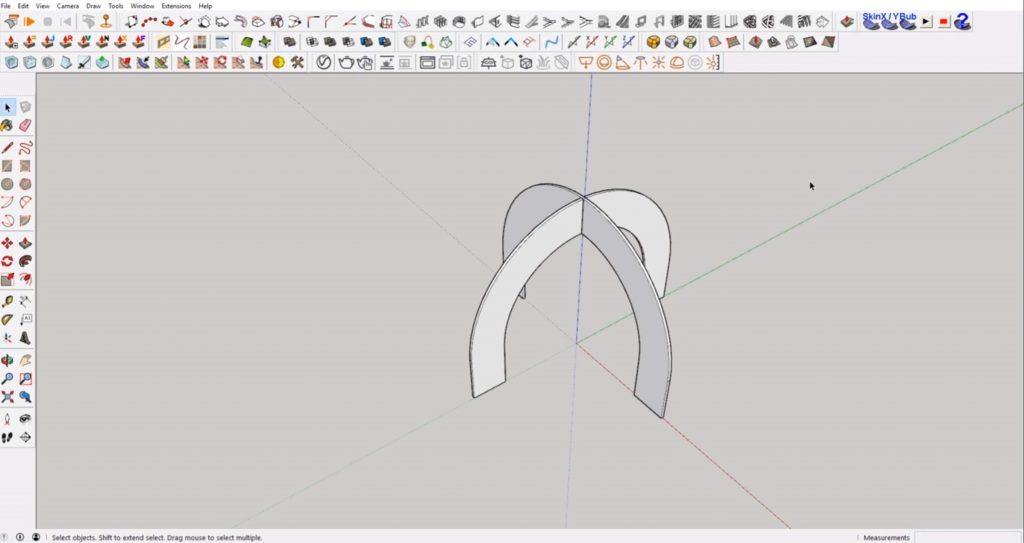
Rotate. Hit “Q” to open the rotate tool. Click on the inner corner of the notch on one of the arcs and rotate the arc 90 degrees.
Move. Select the arc that you rotated and move it so that both notches interlock with each other.
That’s it! Have you ever created interlocking shapes in Sketchup before? Tell us about it below! If you found this tutorial helpful, be sure to check out all of our tutorials for even more tips and tricks.
Happy Hacking!
No comments yet.