
How to Make Windows in Sketchup

Unfortunately, vanilla SketchUp doesn’t have a handy tool to plop doors or windows in Sketchup. Instead, you have to make them from scratch. With this tutorial, we’ll teach you how to easily model windows using Sketchup!
Model the Window
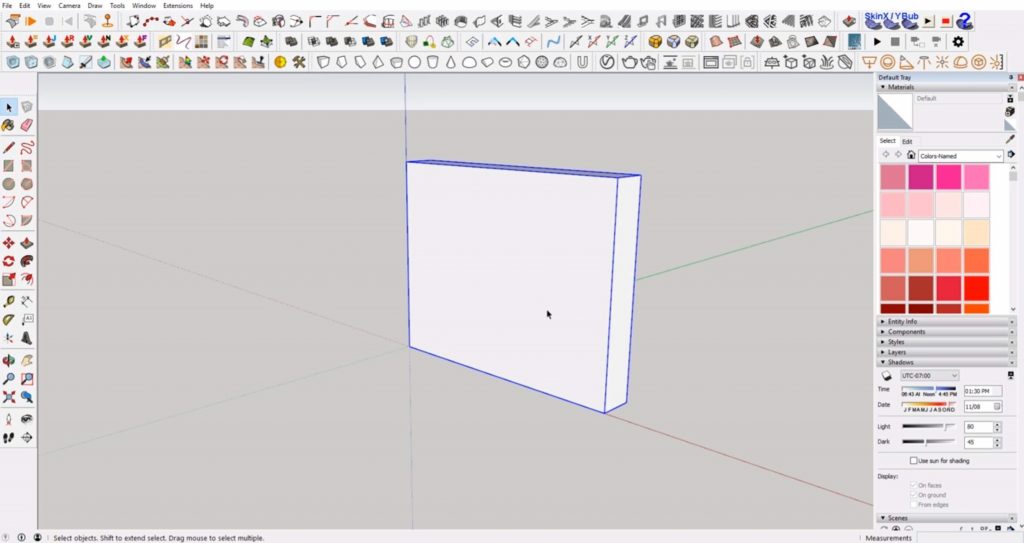
Make the Wall. In order to have a window, you’ll have to create a wall first. Use the rectangle tool to draw a rectangle on the ground plane. Use the push/pull tool to extrude it up. Double click the wall to select it. Right-click and select “make group.”
Draw Rectangle. Use the rectangle tool to draw a rectangle for your window, making sure you are on the face of the wall.
Copy. Select the wall. Right-click and select “make group.”
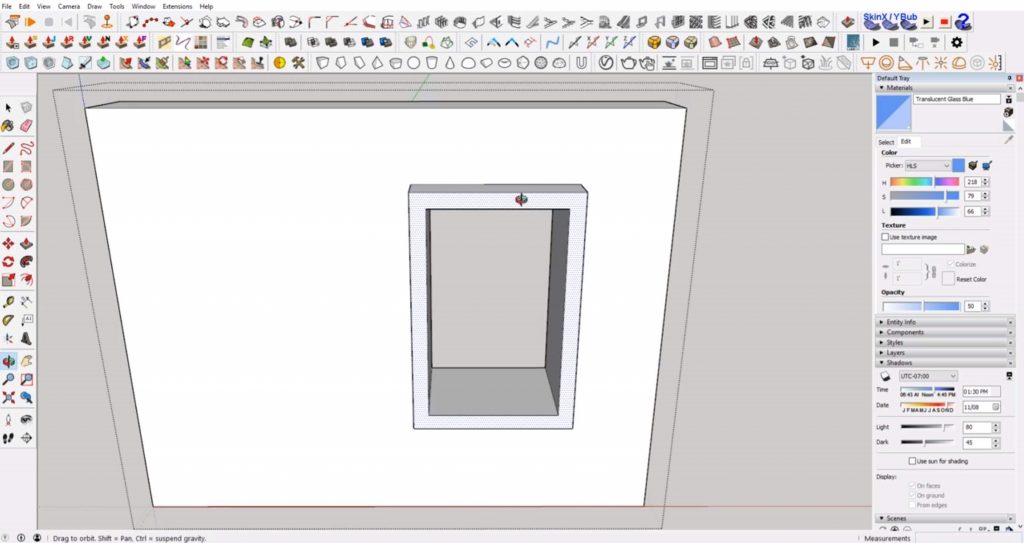
Group. While you are in the wall group, use the push/pull tool to extrude the window through the wall. Now you should have a hole on one side of the wall and a rectangle for your window on the other side.
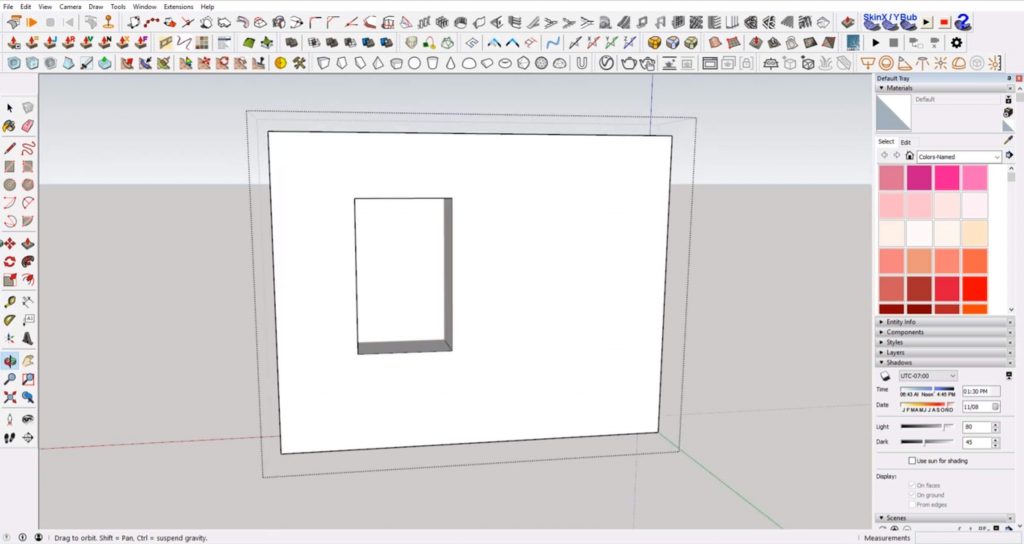
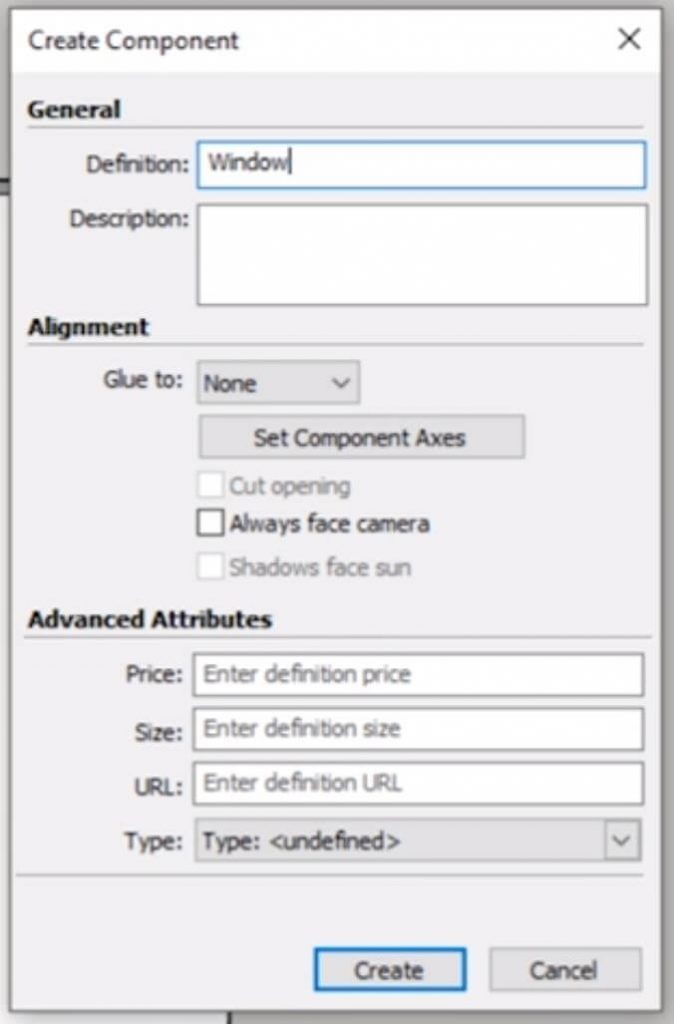
Make Component. While outside of your group, draw a rectangle over the wall opening you just created. Select the window. Right-click and select “make group” and then select that group, right-click and select “make component.” Name the component “window” and hit “enter.”
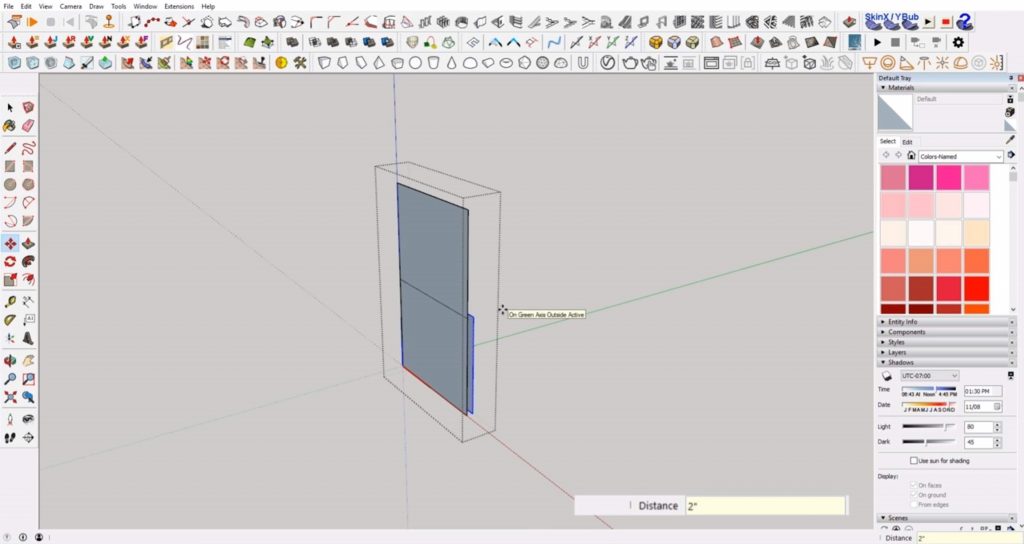
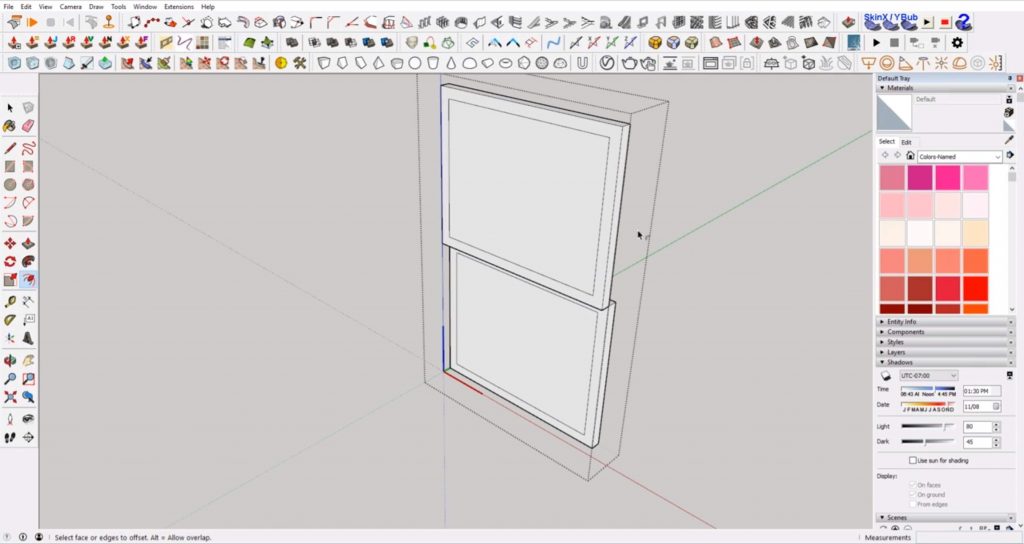
Draw Midpoint. Double click into the window component. Draw a horizontal line along the midpoint of the window.
Offset Base. Select the base pane. Hit “ctrl” while using the move tool to make a copy. Move the copy back along the green axis. Type 2” and hit “enter.”
Erase. Use the eraser tool to erase the bottom half of the front pane.
Push/Pull. Use the push/pull tool to extrude the top and bottom panes back 2”.
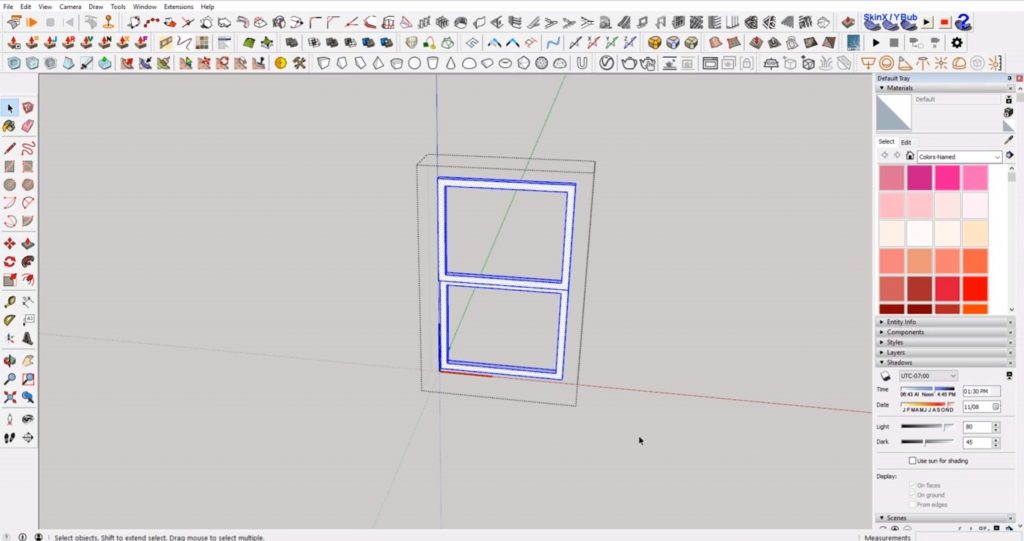
Offset. Use the “offset” tool to offset the top and bottom panes inward by 2”.
Push/Pull. Use the “push/pull” tool to extrude the inner squares through.
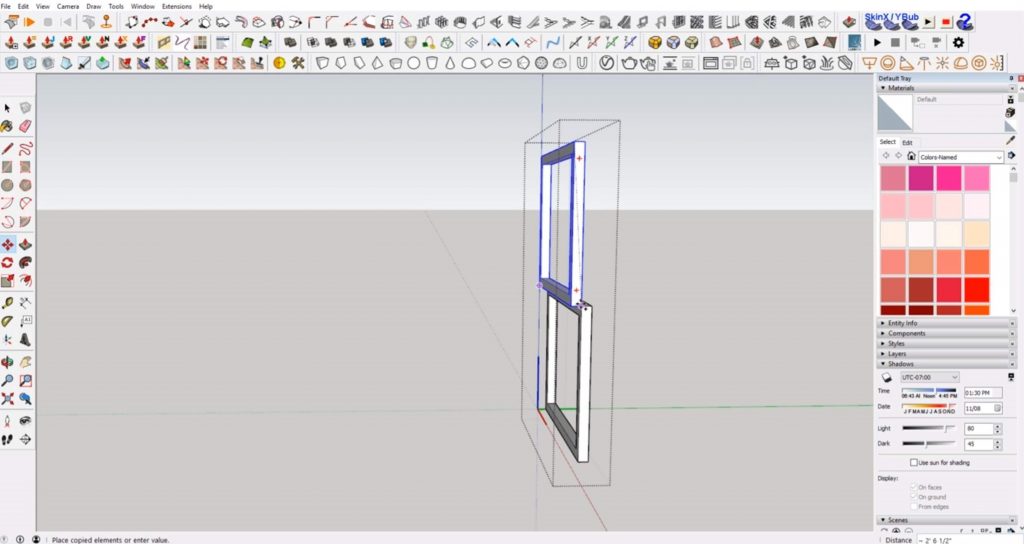
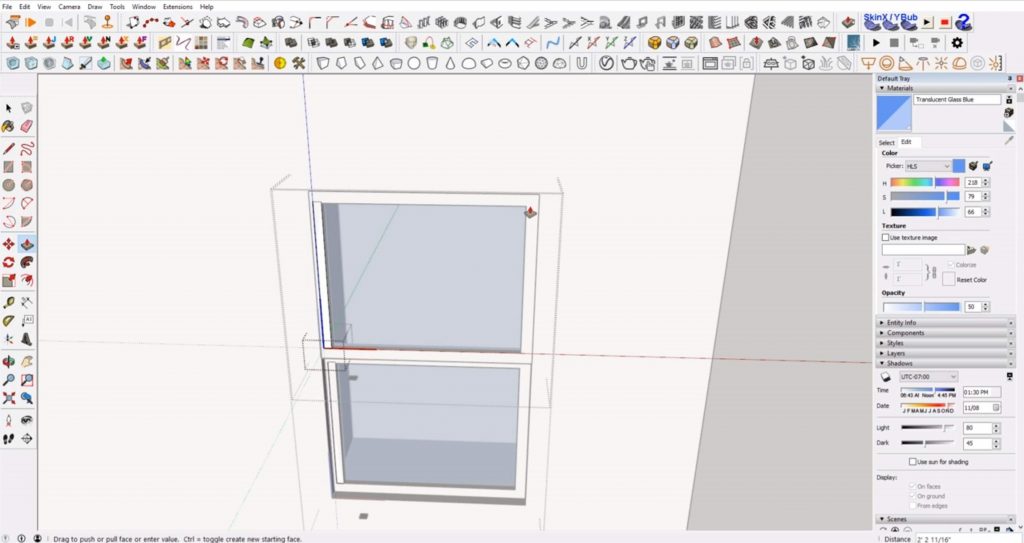
Make Component. Now that you have the panes of the windows in Sketchup, you’ll want to make them into groups or components. Use the eraser tool to delete the bottom pane. Double-click on the top pane. Right-click and select “make group.” Right-click again and select “make component.” Name the component “sash” and hit “enter.” Copy the “sash” component down to where the original bottom pane was.
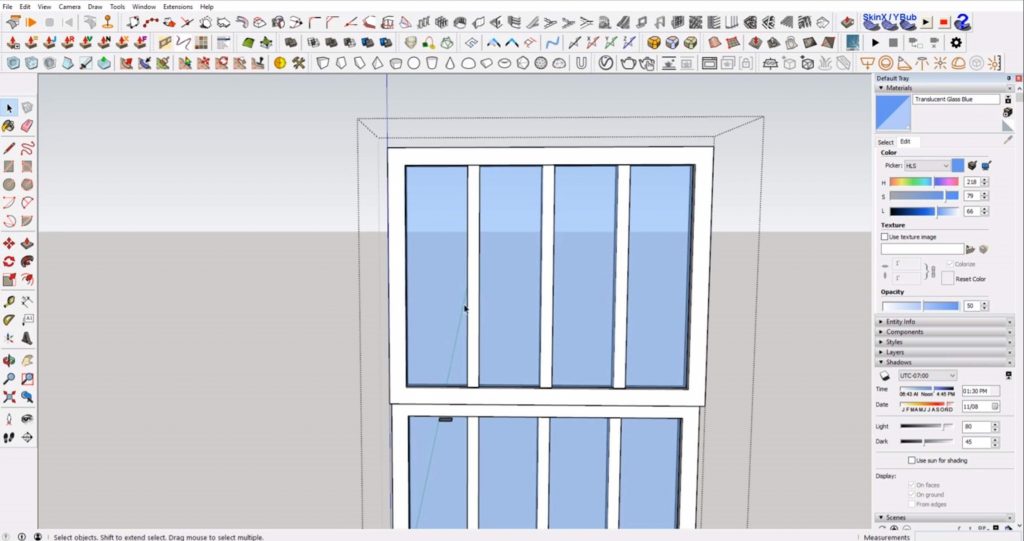
Draw Pane of Glass. Double-click into the top pane component. Use the rectangle tool to draw a plane from corner to corner. Make sure it is aligned with the midpoint.
Change Material. Under the “materials” tab of the “default tray” select “glass and mirrors.” Choose a glass material and use the paint bucket tool to paint your pane of glass. You can always go to the “edit” tab to change the color and opacity of the glass.
Modeling the Muntins
Add Muntins. Use the rectangle tool to draw a square about the size you want your muntin to be. Right-click and select “make group.” Make a copy of the square and move it so that it lines up with the inner edge of the windowpane.
Make Component. Double-click on the square. Right-click and select “make component.” Name the component “muntin” and hit “enter.”
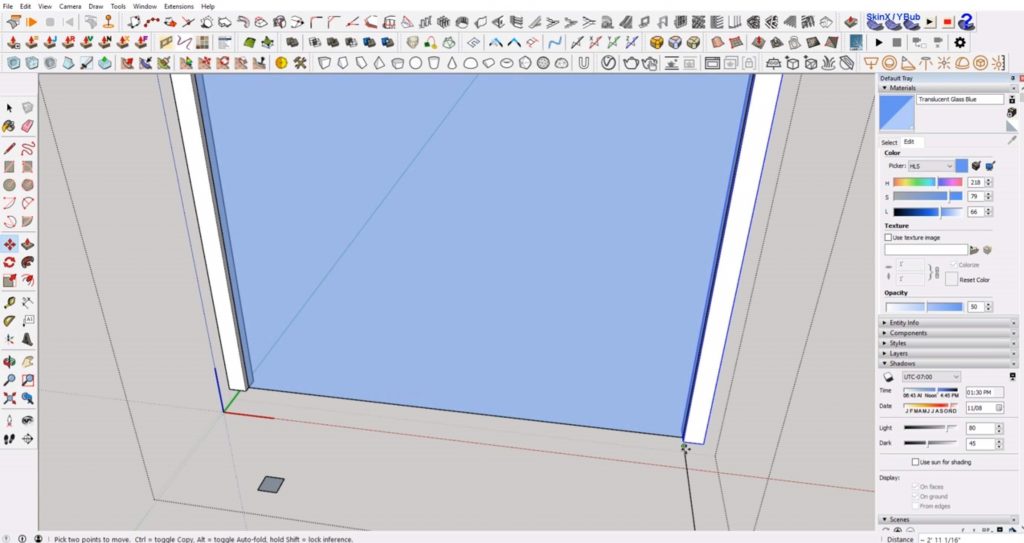
Extrude. Double click into the “muntin” component and use the push/pull tool to extrude the square to the top of the windowpane.
Copy Muntin. Draw a horizontal line on the opposite side of the windowpane on the inner edge. Hide the rest of the windowpane for now. Use the move tool and hold “ctrl” to make a copy of the munitn. Move the copy to the other side of the windowpane so that the inner edge lines up with the line you drew.
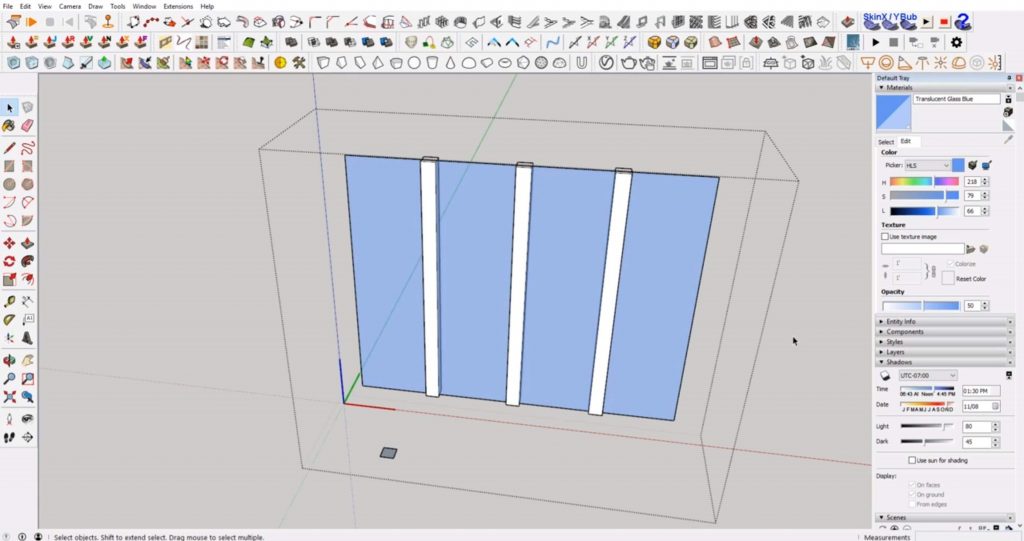
Divide. Type “/4” and hit “enter” to create 3 evenly spaced muntins. Delete the two muntins on either side of the window.
View > Hidden Geometry. Navigate to “view” and select “hidden geometry” from the dropdown. Right-click on the hidden geometry of the window and select “unhide.”
Add Horizontal Muntin. Select one of the muntins. Hit “M” to open the move tool. Hold “ctrl” to make a copy and move the copy down a bit.
Rotate. Hit “Q” to open the rotate tool and rotate the copy 90 degrees.
Move. Move the muntin so that it aligns with the midpoint of the window. Move the muntin in the green axis and hold “shift” to lock to the green axis. Move the muntin forward so that it aligns with the front face of the vertical muntins.
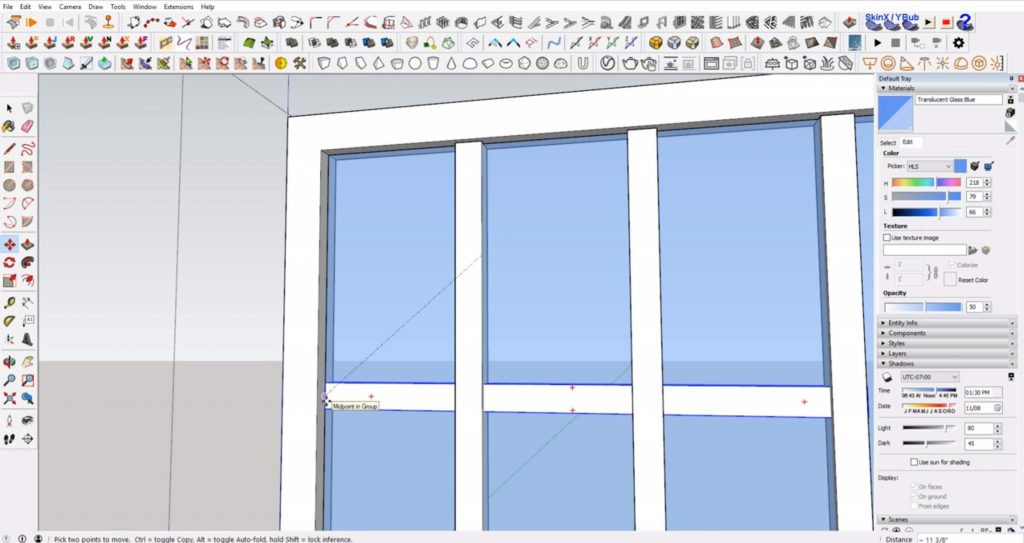
Scale. Use the scale tool to extend the muntin so that it lines up with both sides of the window.
Bump it Out. Select the horizontal muntin and use the move tool to move it forward along the green axis. Hold “shift” to lock to the axis. Type 1/8” and hit “enter.” You can also use the scale tool to bump it out on the opposite side as well.
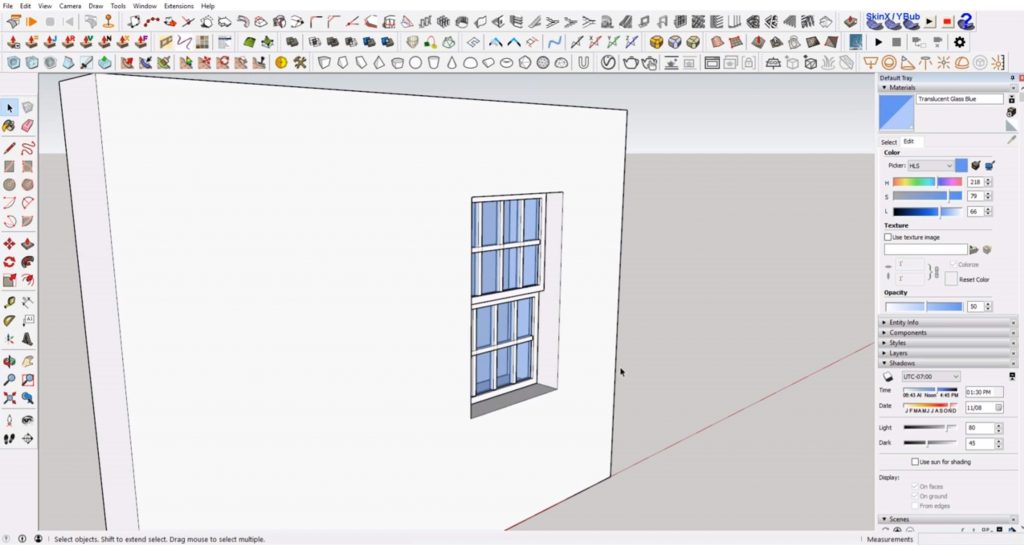
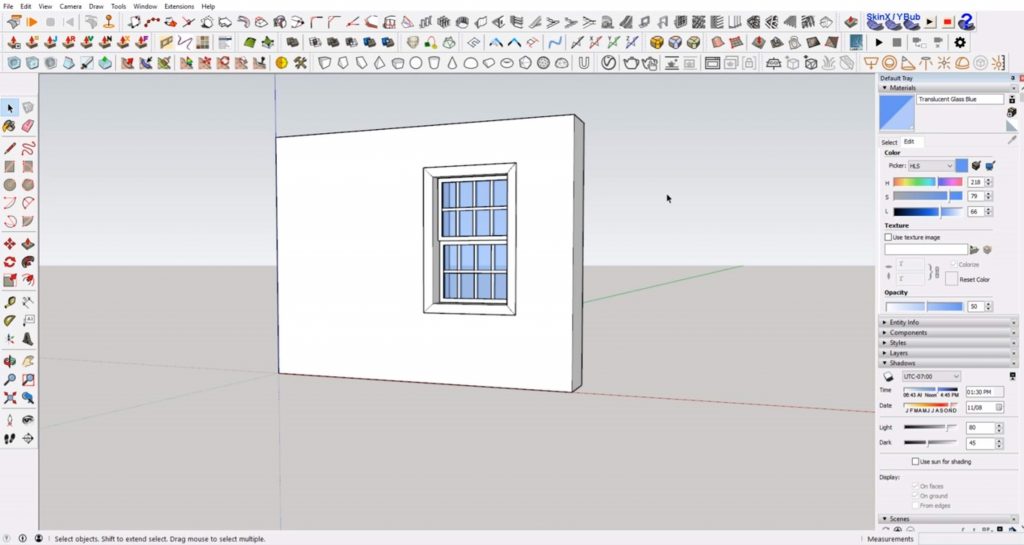
Make sure you delete any extra lines and shapes. Now you have a completed window! If you want, you can add even more details to make it look more realistic.
Adding Details to Windows in Sketchup
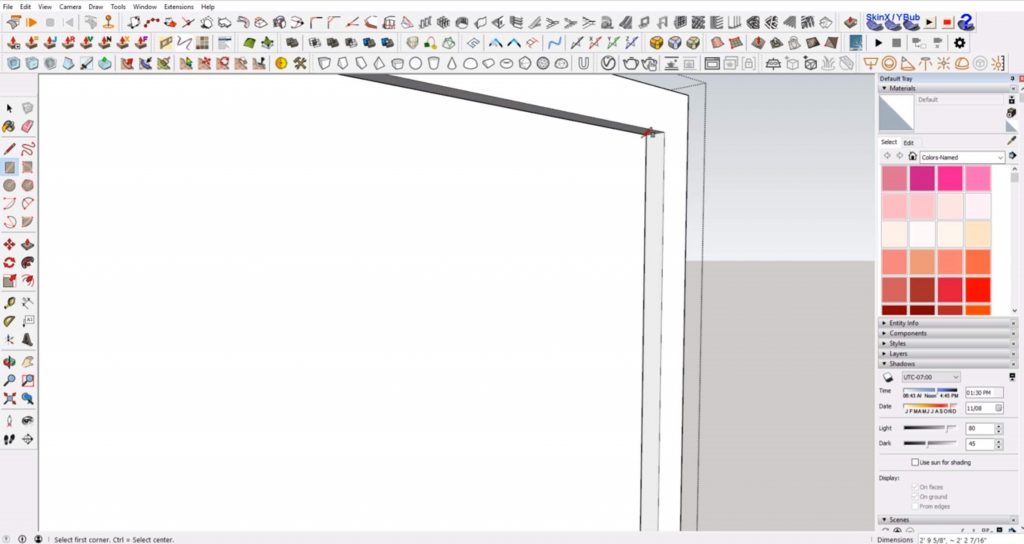
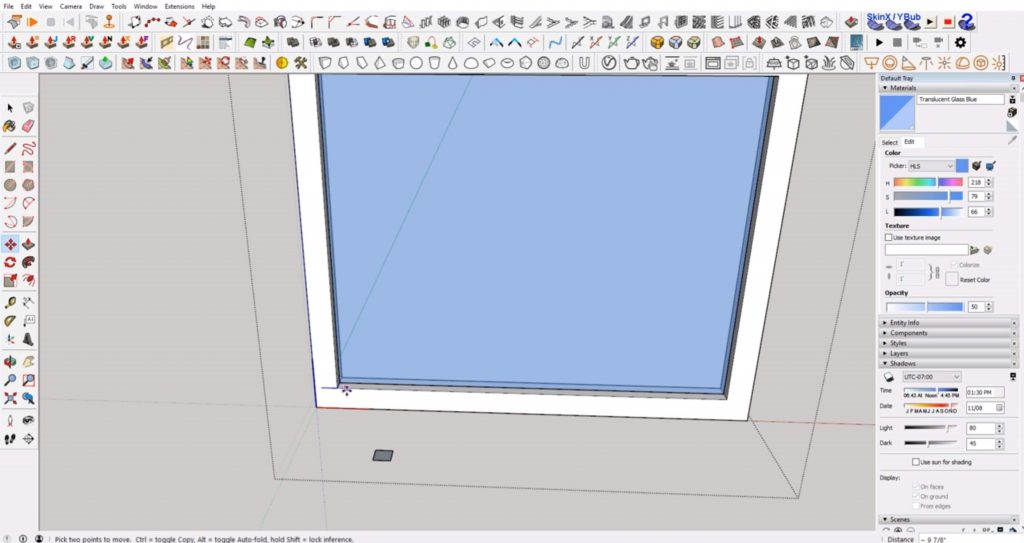
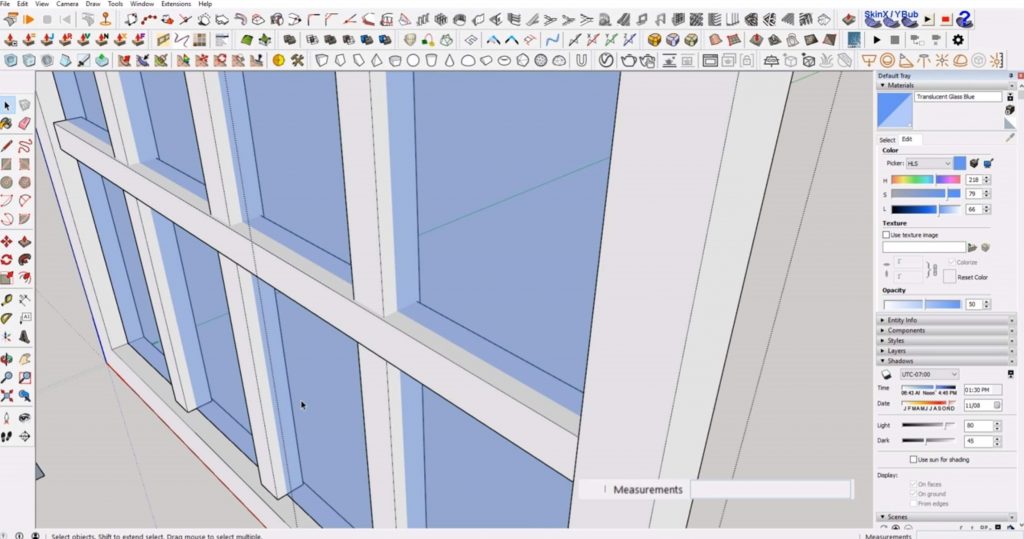
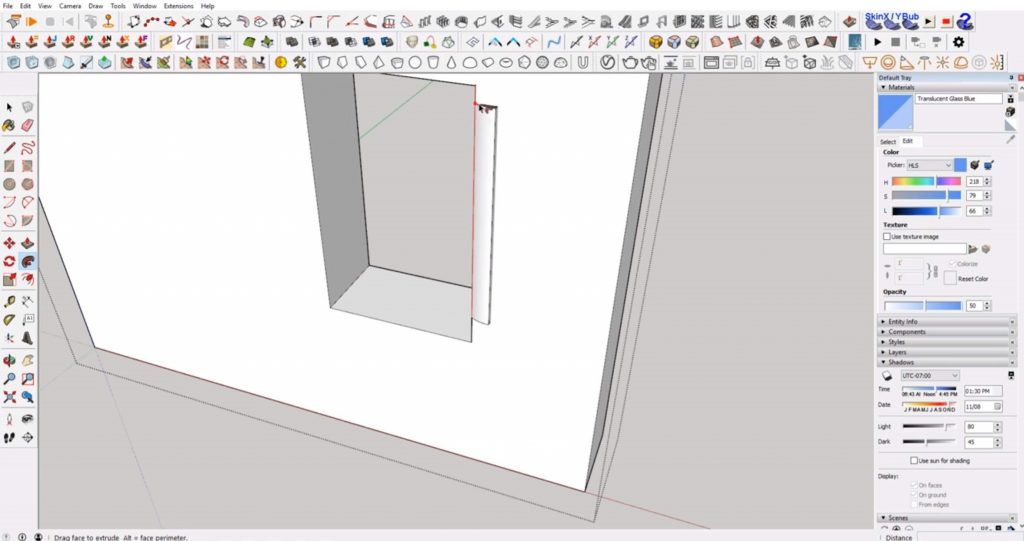
Set Back. Use the move tool to slightly set back the window in the cutout.
Add Trim. Draw a line to close off the opening. Use the offset tool to offset the trim slightly outward. Use the push/pull tool to extrude the trim out.

If you want to add trim with a unique profile, draw the profile shape so that it lines up with the edge of the window cutout. Select the follow me tool and click on your profile. Hold the left mouse button and drag the shape along the edge of the window cutout.
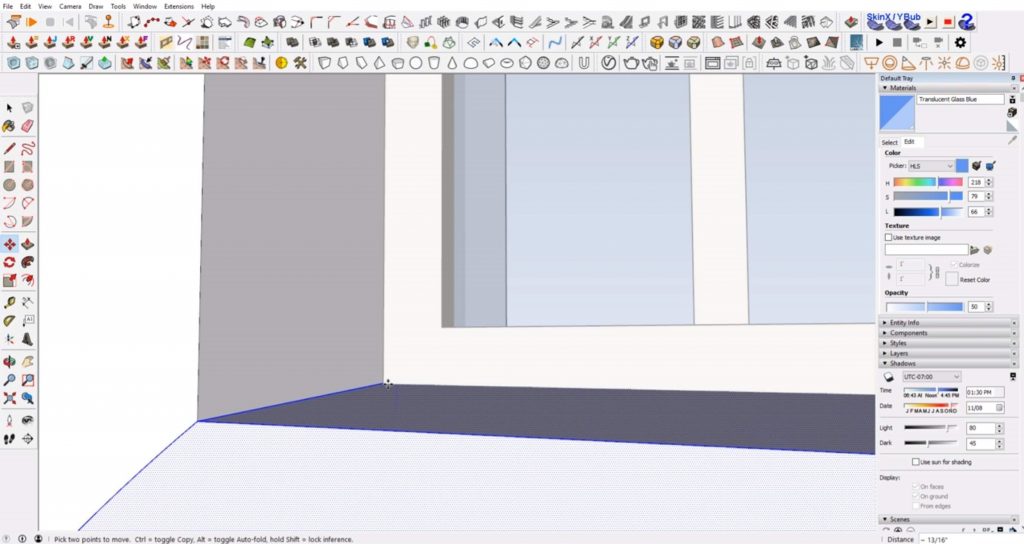
Add Slope. One important thing to consider is that the front edge of the window sill should be sloped slightly downward to allow rain to run off. Select the bottom trim work and use the move tool to slope the window sill down slightly. You may have to move the sill up so that it lines up with the window again.
You can always add more detailed trim work or create larger windows, but these steps should give you the basics to creating windows in Sketchup! What other objects do you need help modeling in Sketchup? Let us know in the comments! Be sure to check out our full list of tutorials too!
Happy Hacking!
No comments yet.