
Crooked Tavern Sketchup Speed Model | Sketchup 2018 Lumion

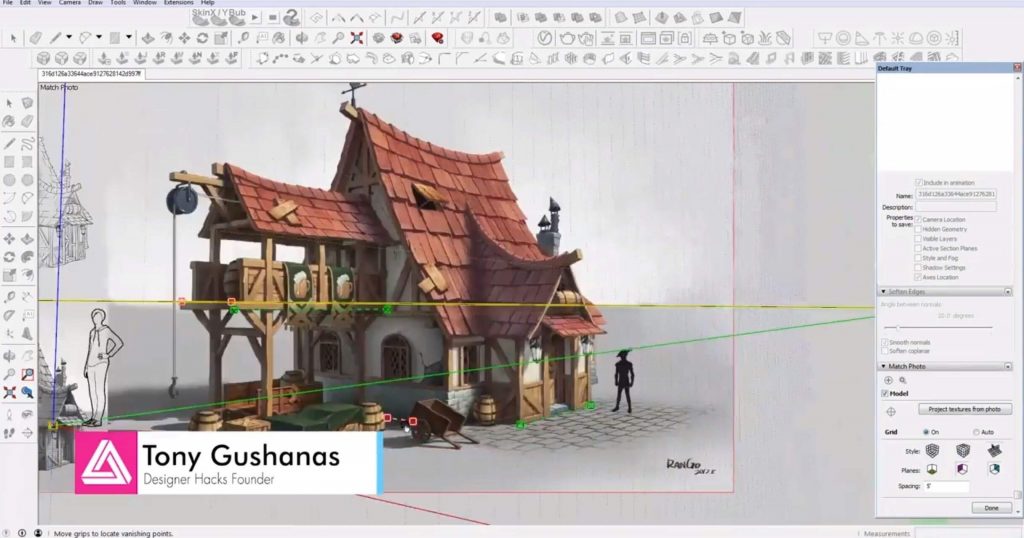
Today on the blog we’ve got another Sketchup speed model to share with you! This one was based on an illustration done by Rango Huang. This particular model has plenty of texture and character, so we’ll be spending a lot of time working on the details. If you want an even more in-depth tutorial on how we do our speed models check out this tutorial! Otherwise, let’s get started!
How to Create the Sketchup Speed Model
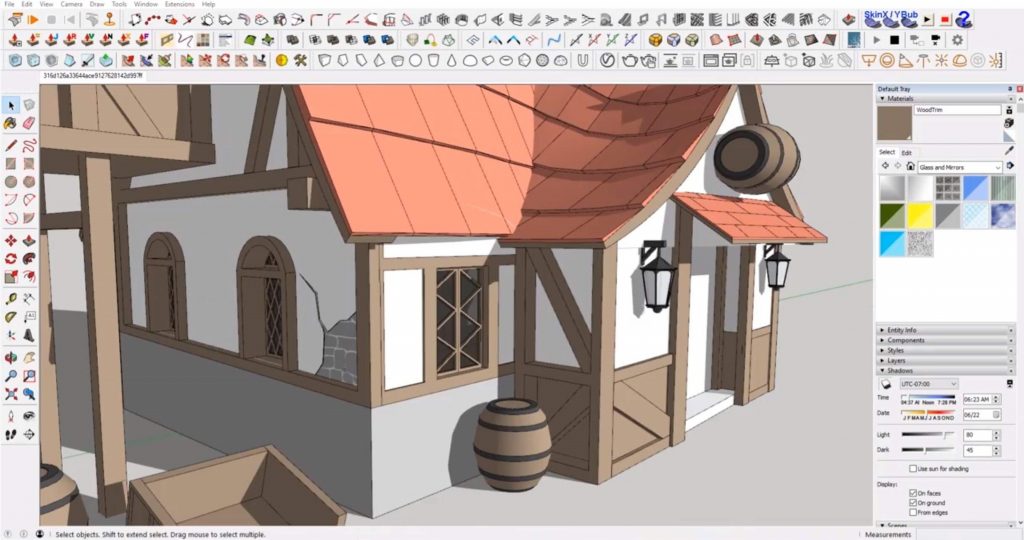
Import Image. Go to “file” > “import.” Select the image you want to use. Make sure “new matched photo” is selected and click “import.” Once you have the image loaded in, move the perspective lines in Sketchup to line up with those in the photo.
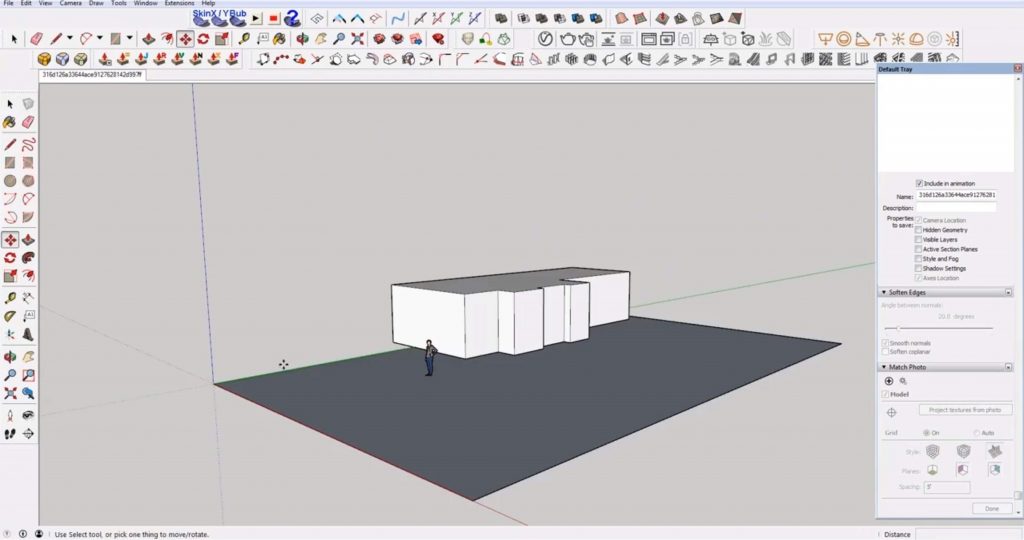
Block it Out. Once you have your image imported you can begin modeling. We started by blocking out the base of the building. Use the rectangle tool to draw the ground plane. Then draw another rectangle to form the base of the building. Use the “push/pull” tool to extrude the shape up. Use the line tool to cut out faces and push walls in to create the shape of the building. Adjust the faces as you go along until they line up with the walls in the image.
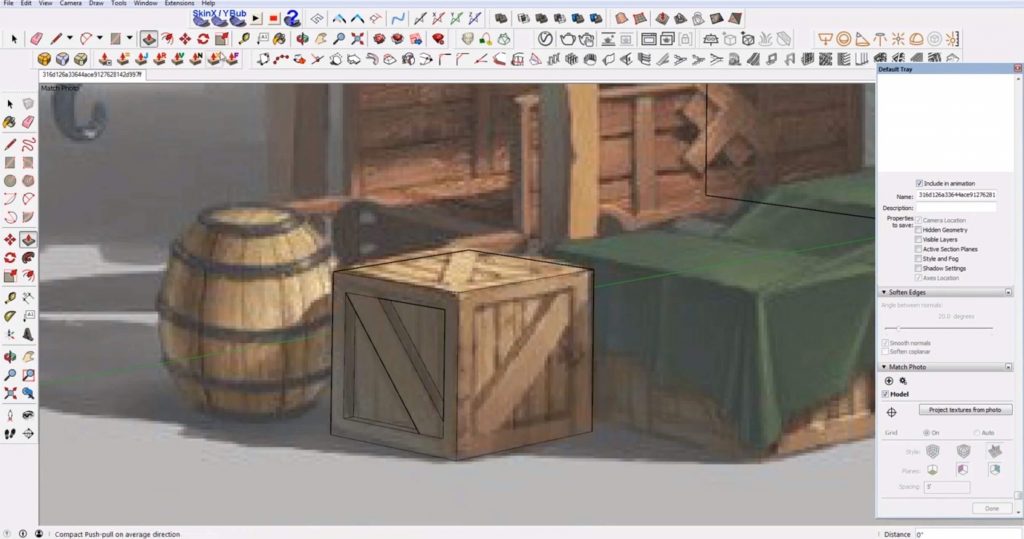
Add Details. Use the “line” and “push/pull” tools to trace the crates on the ground floor. Use the same tracing and extruding method to create the door frame and wood details on the exterior.
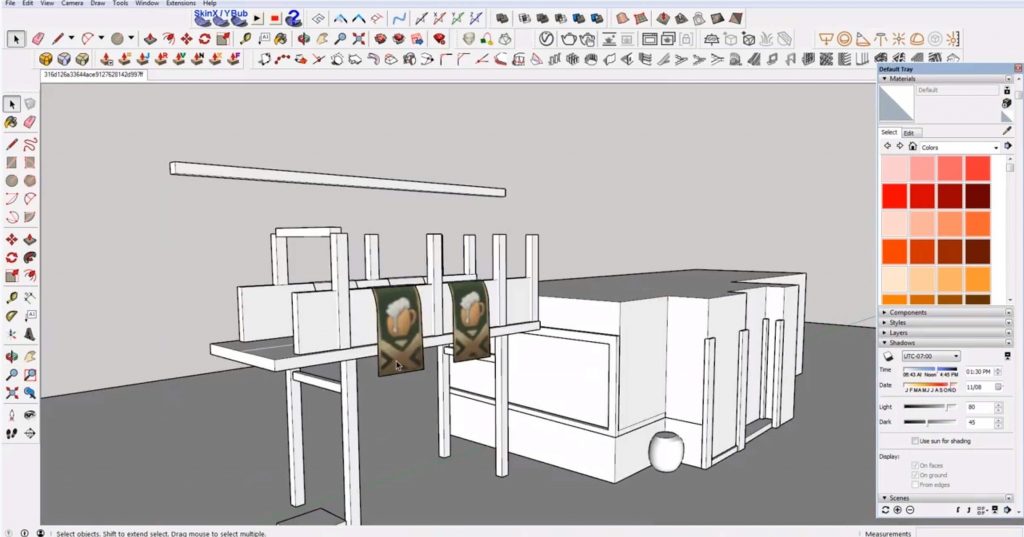
Add the Balcony. Draw a square for the base of the supports and extrude them up. Draw a rectangle for the base of the balcony and extrude it up to add thickness.
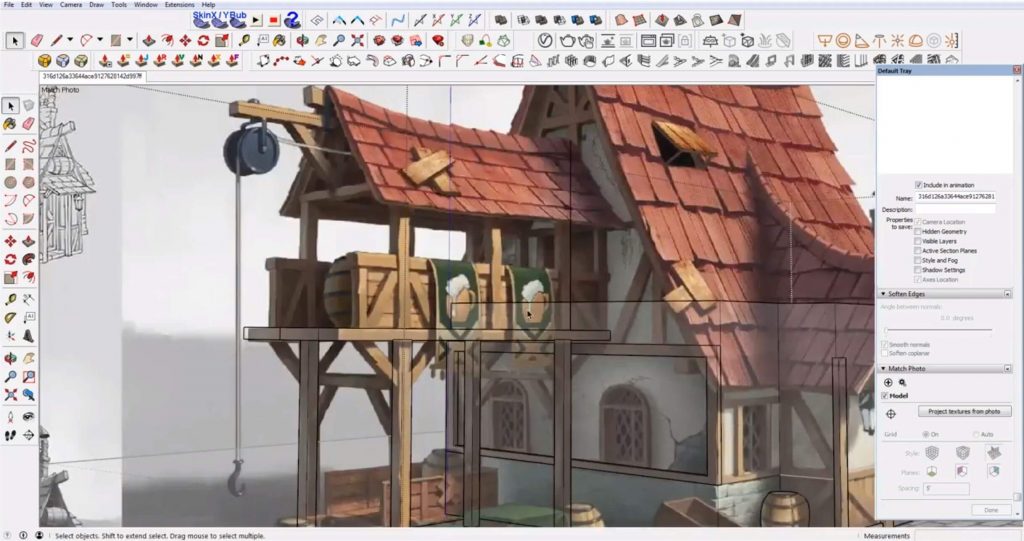
Add the railings and use the line tool to draw the curved tapestries.
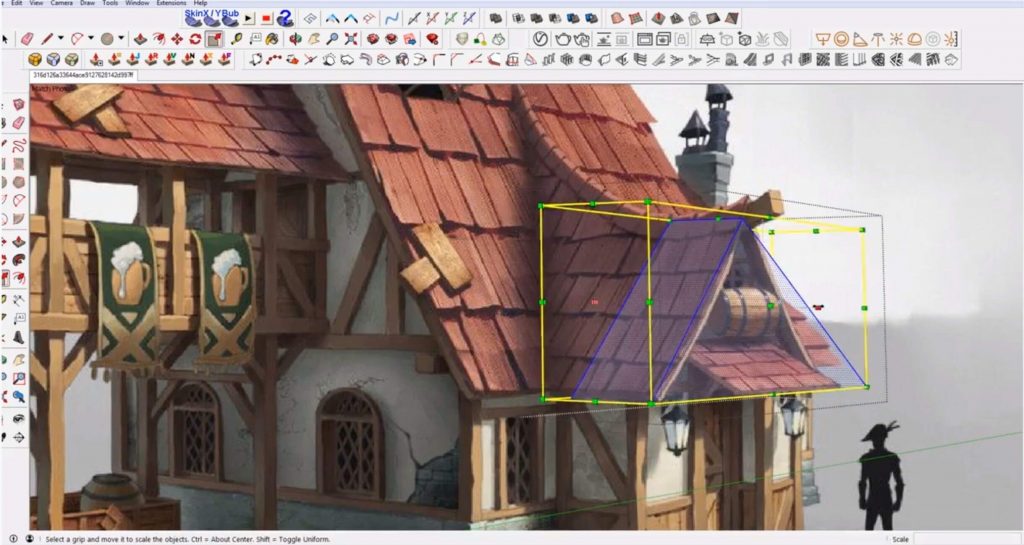
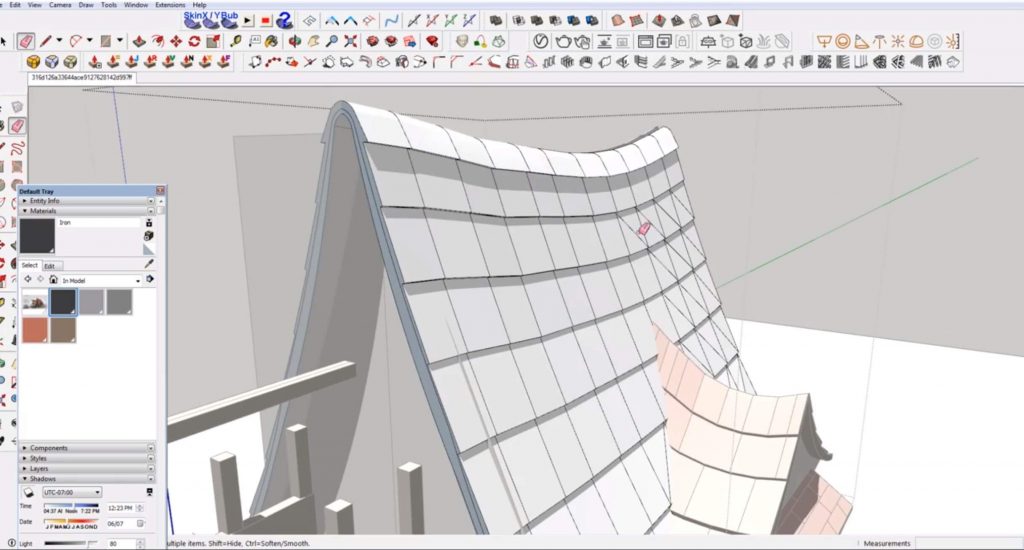
Model Roof. Begin by tracing the ridge and use the scale tool to adjust the shape. Create the first row of shingles and then copy and paste them back. Use the scale tool to adjust the angle and shape of each row. Erase any extra lines and continue to copy and paste them back until the entire roof is covered. Repeat the same process for the larger roof section.

Add Windows. Use the line tool to trace the window frames. You will have to use the arc tool to create the arch of the curved windows. Trace the triangular cutouts with the line tool and delete the faces. Once you create one arched window, you can just copy and paste it over to the second one.

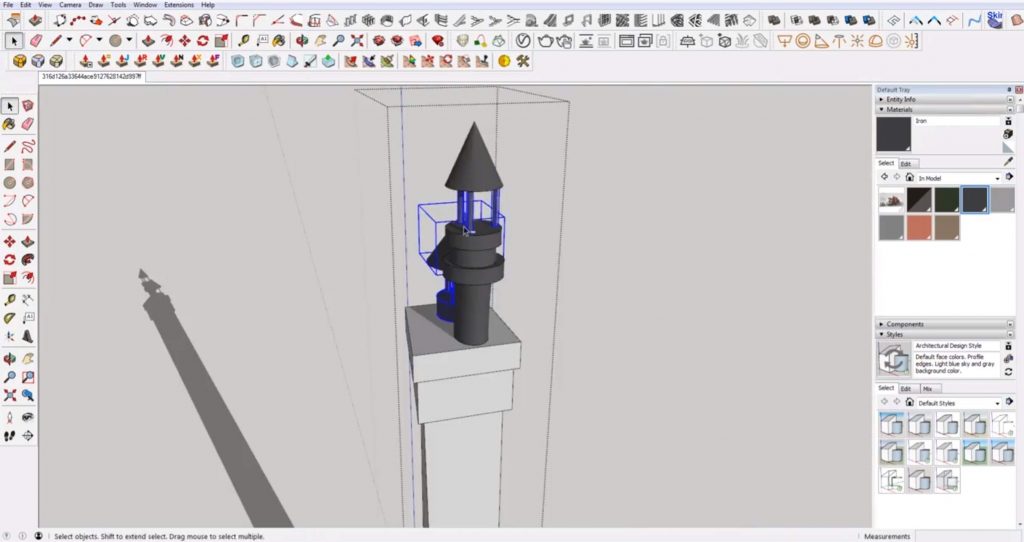
Add the Chimney. Model the chimney by creating each shape individually. Use the rectangle tool for the base. Extrude circles to create cylinders and add a cone on the top.
Finish out the model by adding the last few details like the wood trim, sconces, barrels, and awnings.
Render Sketchup Speed Model
If you plan on rendering your final model, you’ll want to add materials in Sketchup. You can do it as you go along or wait until the end. Use the “materials” tab in the “default tray.” You can either create a custom material or use an existing one. Just make sure you have a separate material for each material in the image. Use the paint bucket tool to paint each surface.
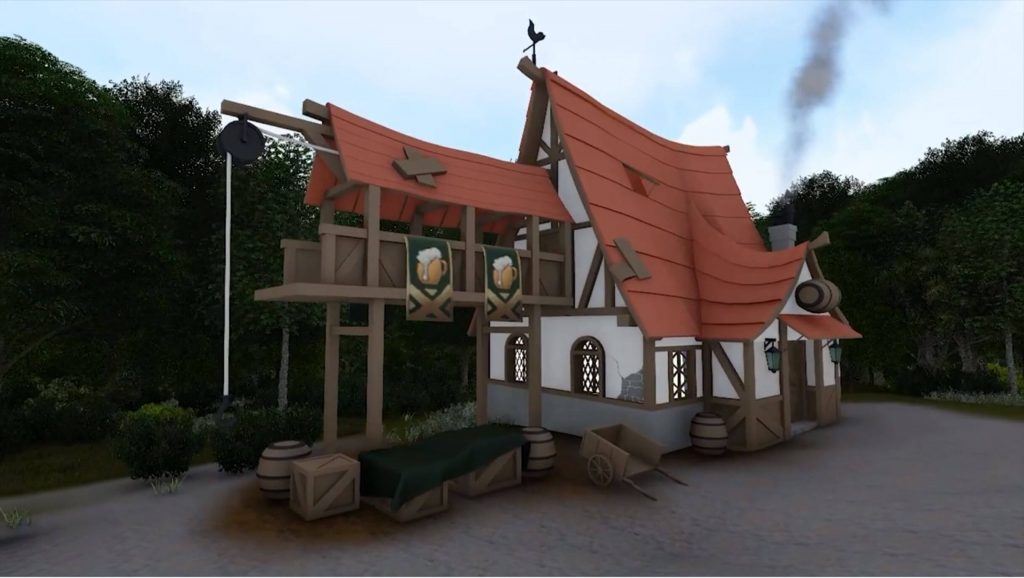
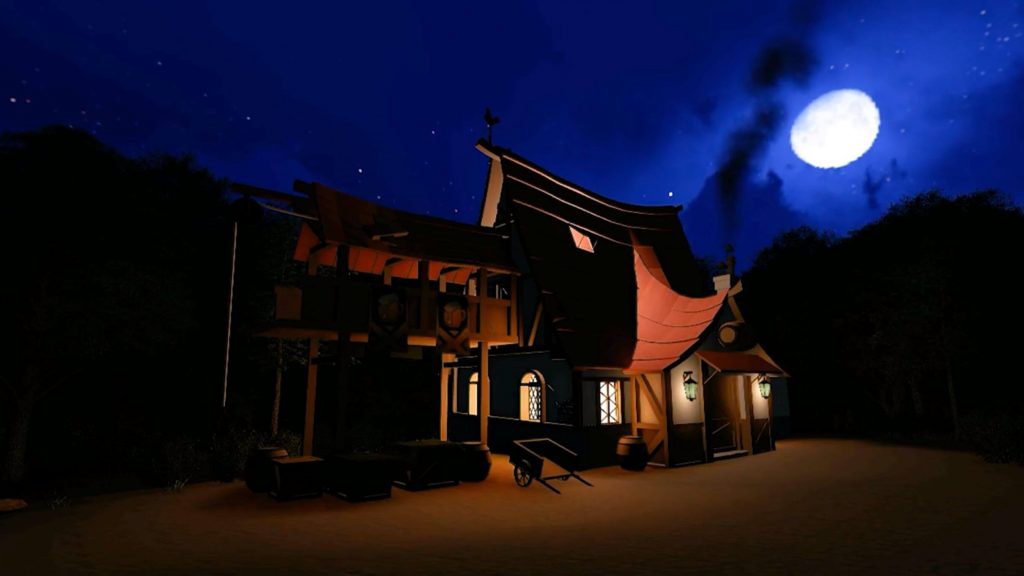
When we finished, we imported our model into Lumion to create a night and daytime rendering!
If you liked this Sketchup speed model, be sure to check out some of the rest of our videos here! What other kinds of models would you like to see? Let us know in the comments!
Happy Hacking!
No comments yet.