
Sketchup Scenes Tutorial

In this tutorial we’re going to show you how to set up and use scenes in sketchup. You can use Sketchup scenes to create an animation, walkthrough, or even simply to speed up your workflow! To get started, open up a model you want to create scenes for. Ready? Let’s get started!
How to Create Sketchup Scenes
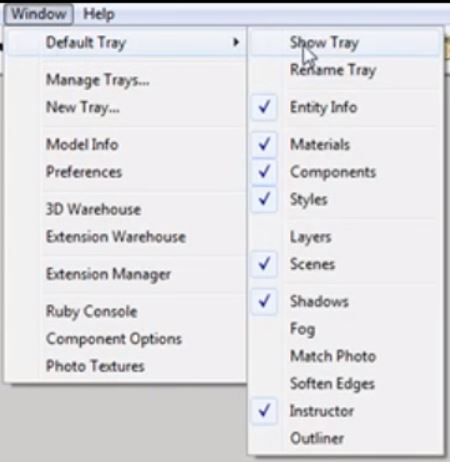
Opening the Default Tray. To open the default tray, navigate to “window” > “default tray” and select “show tray.” The tray will open on the right side of your screen. Use the triangular toggle button to close “styles” and open the “scenes” tab.
Add Scene. Click on the “+” below the scenes tab to add a scene. A window will pop up asking what you want to do with your style changes. Select “save as new style” and then click “create scene.”
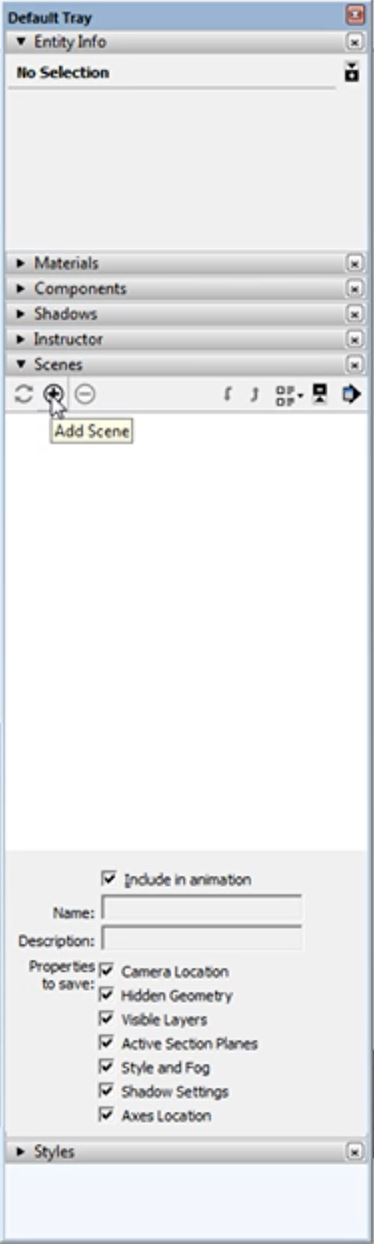
When you create a scene, they will appear in the scene window and as tabs just above your modelling window. To change the name of a scene, simply type whatever name you want in the “name” box in the “scenes” tab. Underneath the “name” box you can select what properties to save. For now, keep all of the boxes checked.
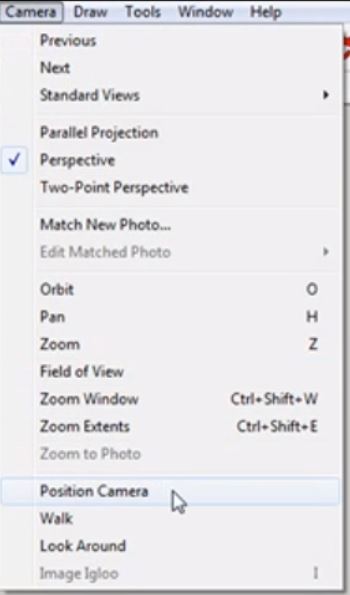
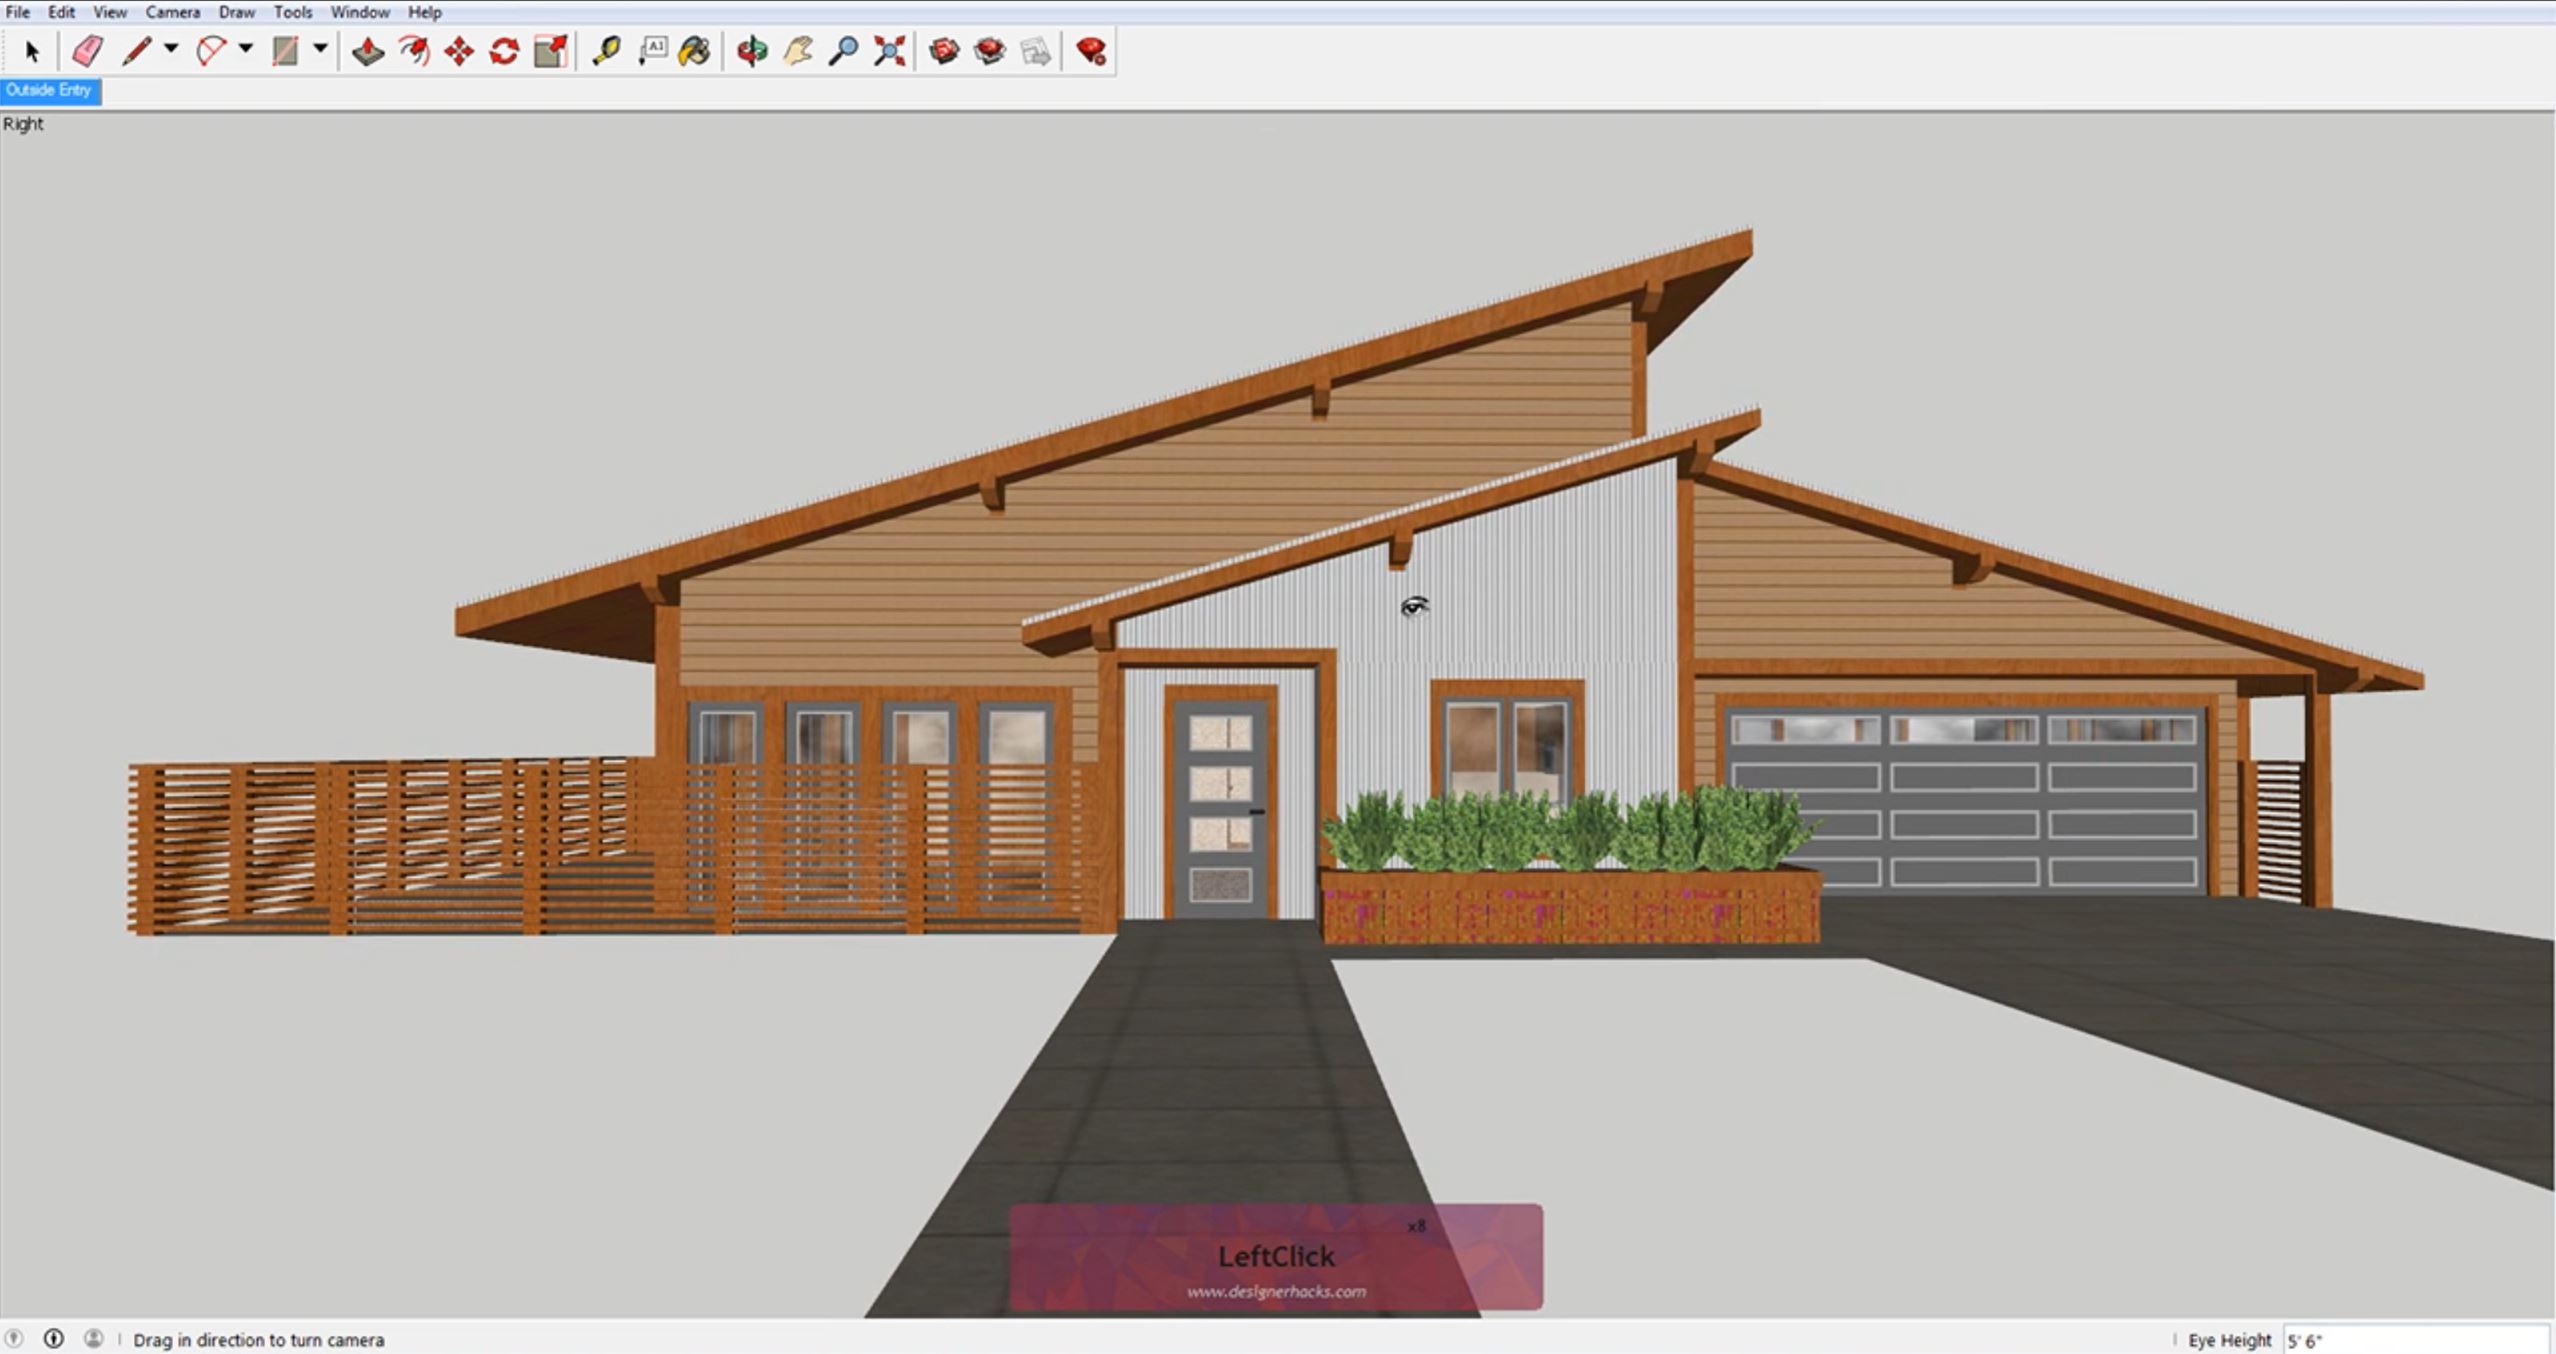
Camera > Position camera. Next, you want to place a camera. Hover over “camera” and select “position camera.” Click in your model to place the camera. It will be positioned at eye level. An eye icon will appear and you can click and drag the icon to adjust the view.
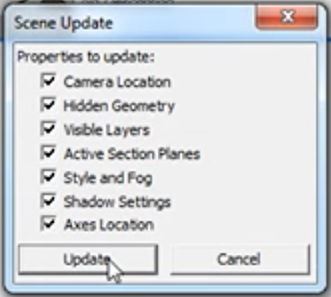
Update Scene. Right click on your first scene in the default tray to update the scene. Leave all of the properties checked and click “update.”
Add Scene. Click on the “+” below the scenes tab to add another scene from your current view. This time select “walk” from the camera drop down menu. Use the walk tool to move inside your model until you find a view you want to use. You can change the eye height in the bottom right corner to lift or lower the camera.
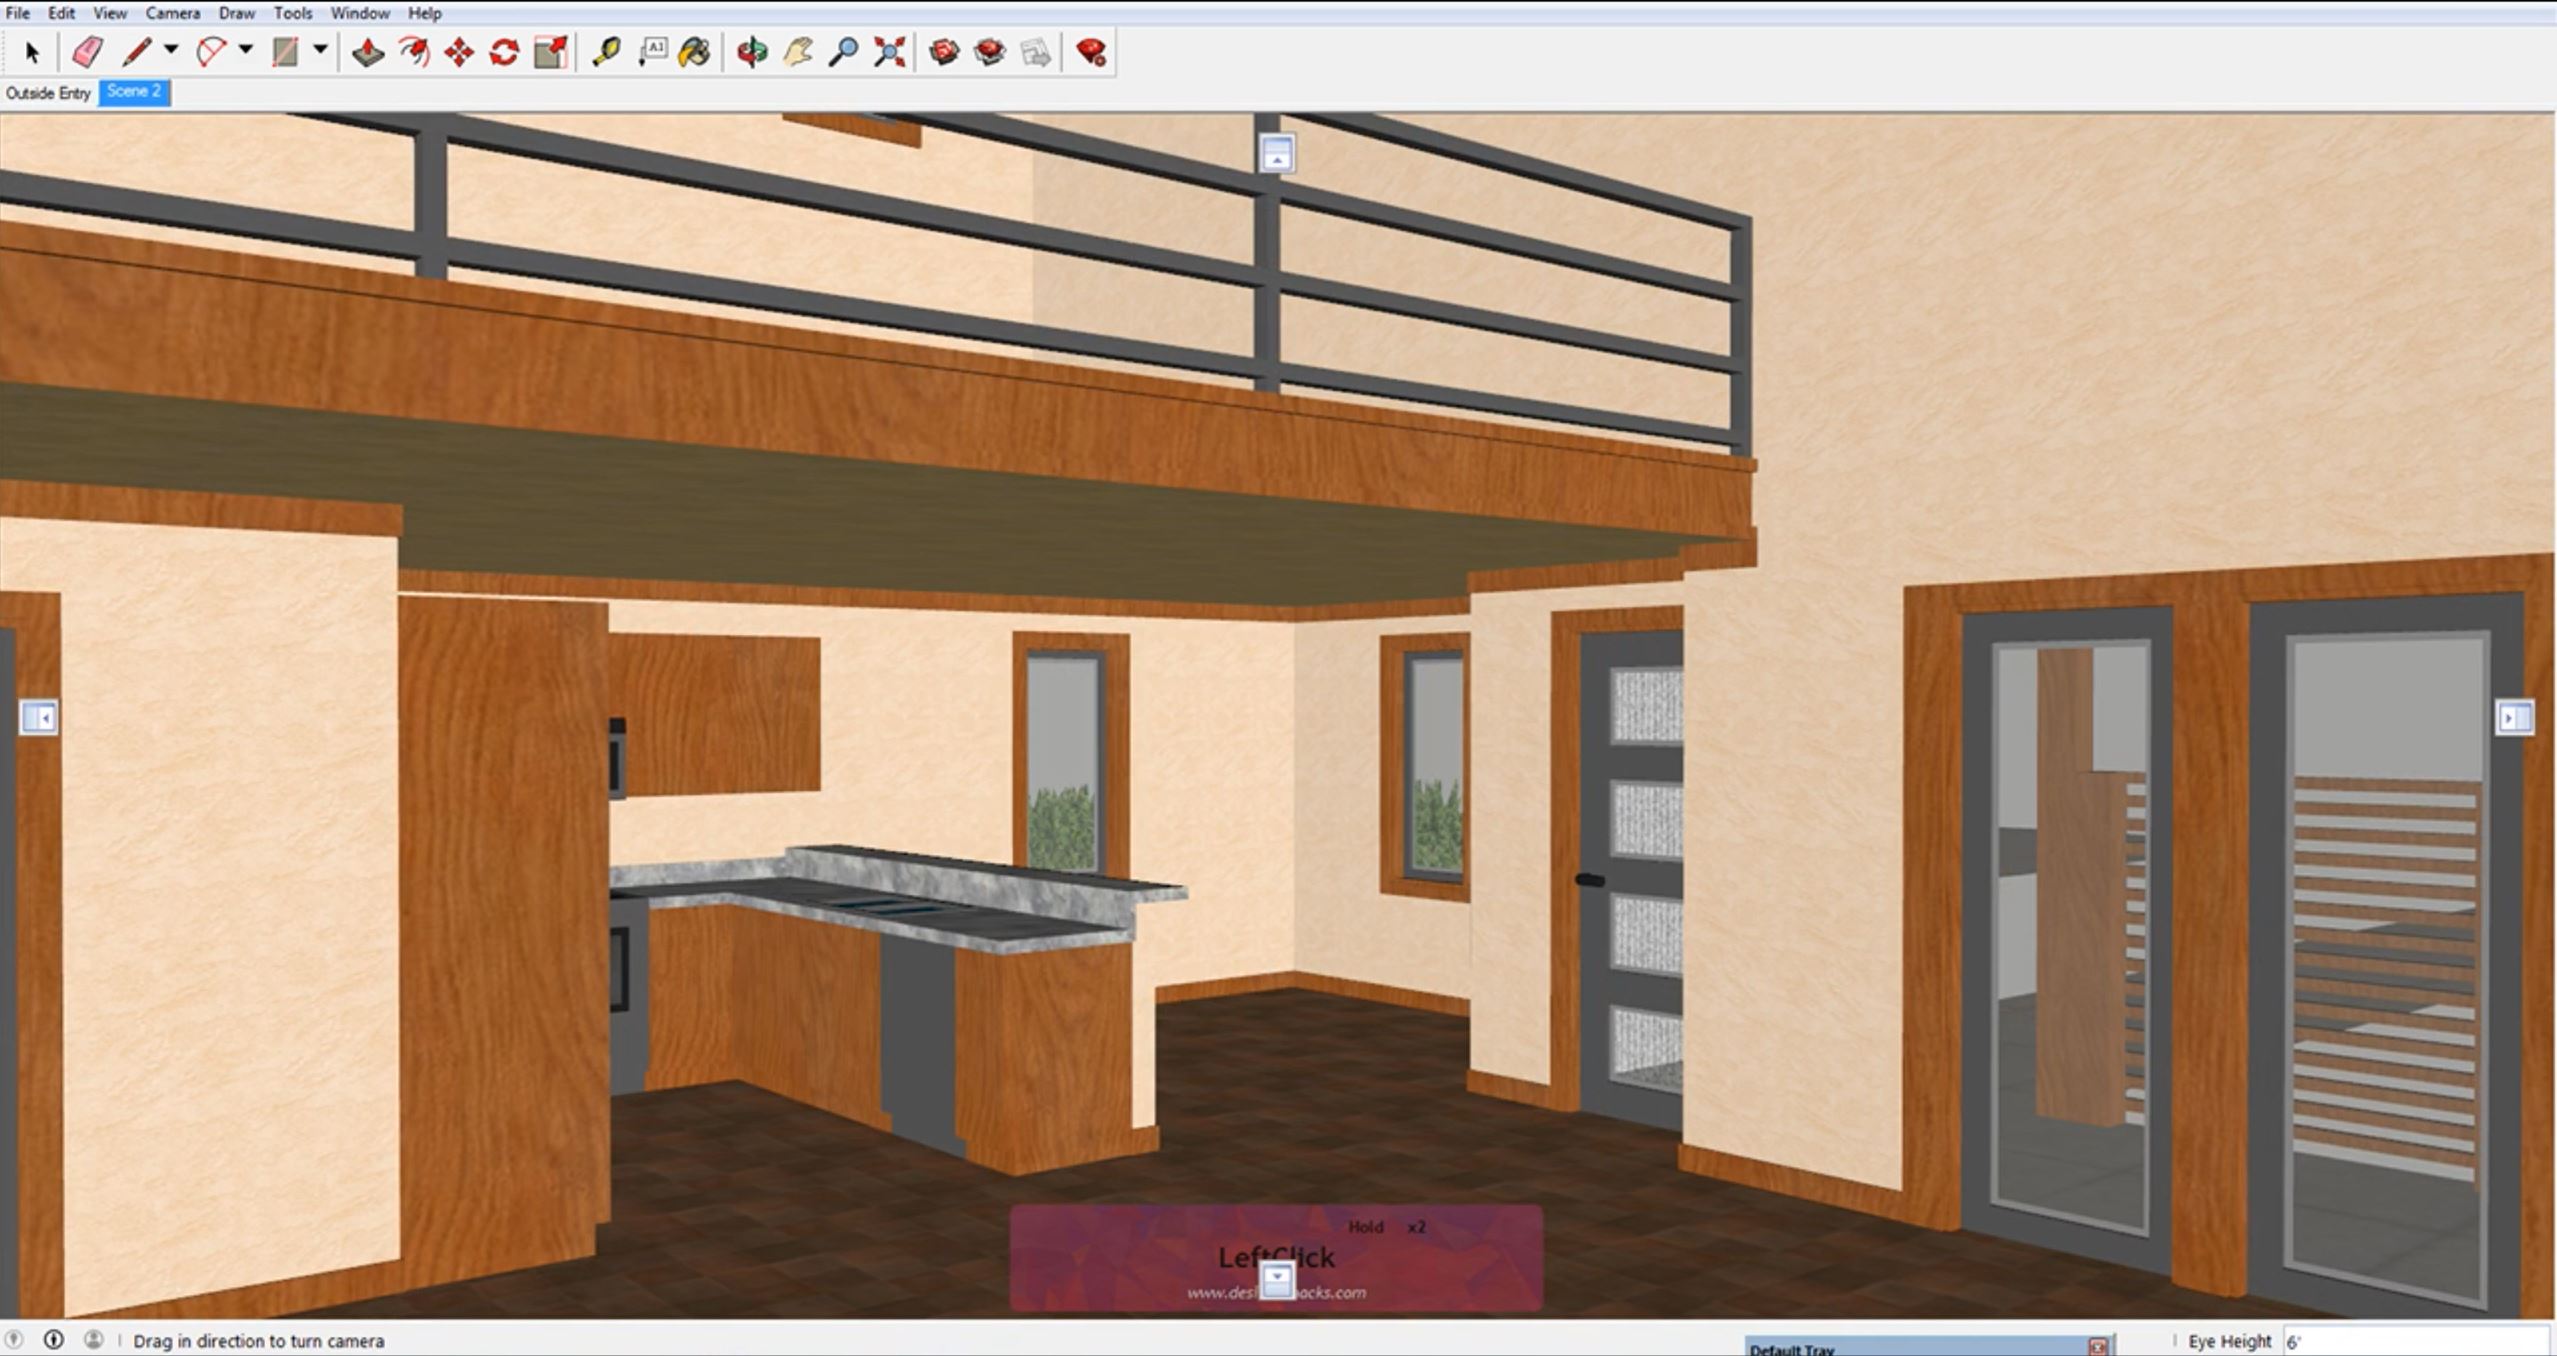
Update Scene. When you find a view you are happy with, right click on the second scene in the default tray and select “update scene.” Double click on the first scene to return to it.
How to Create Working Sketchup Scenes
Working Scene. A working scene will give you a more generic scene that will allow you to continue working without all of the added detail that can slow down your work flow.
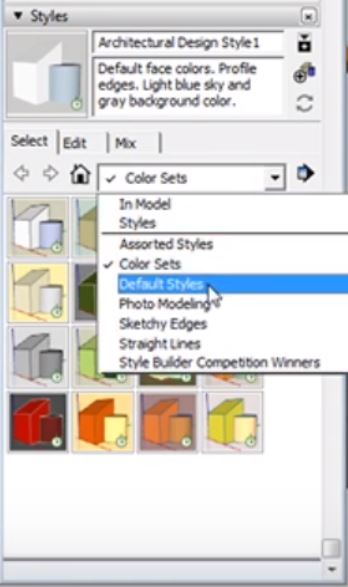
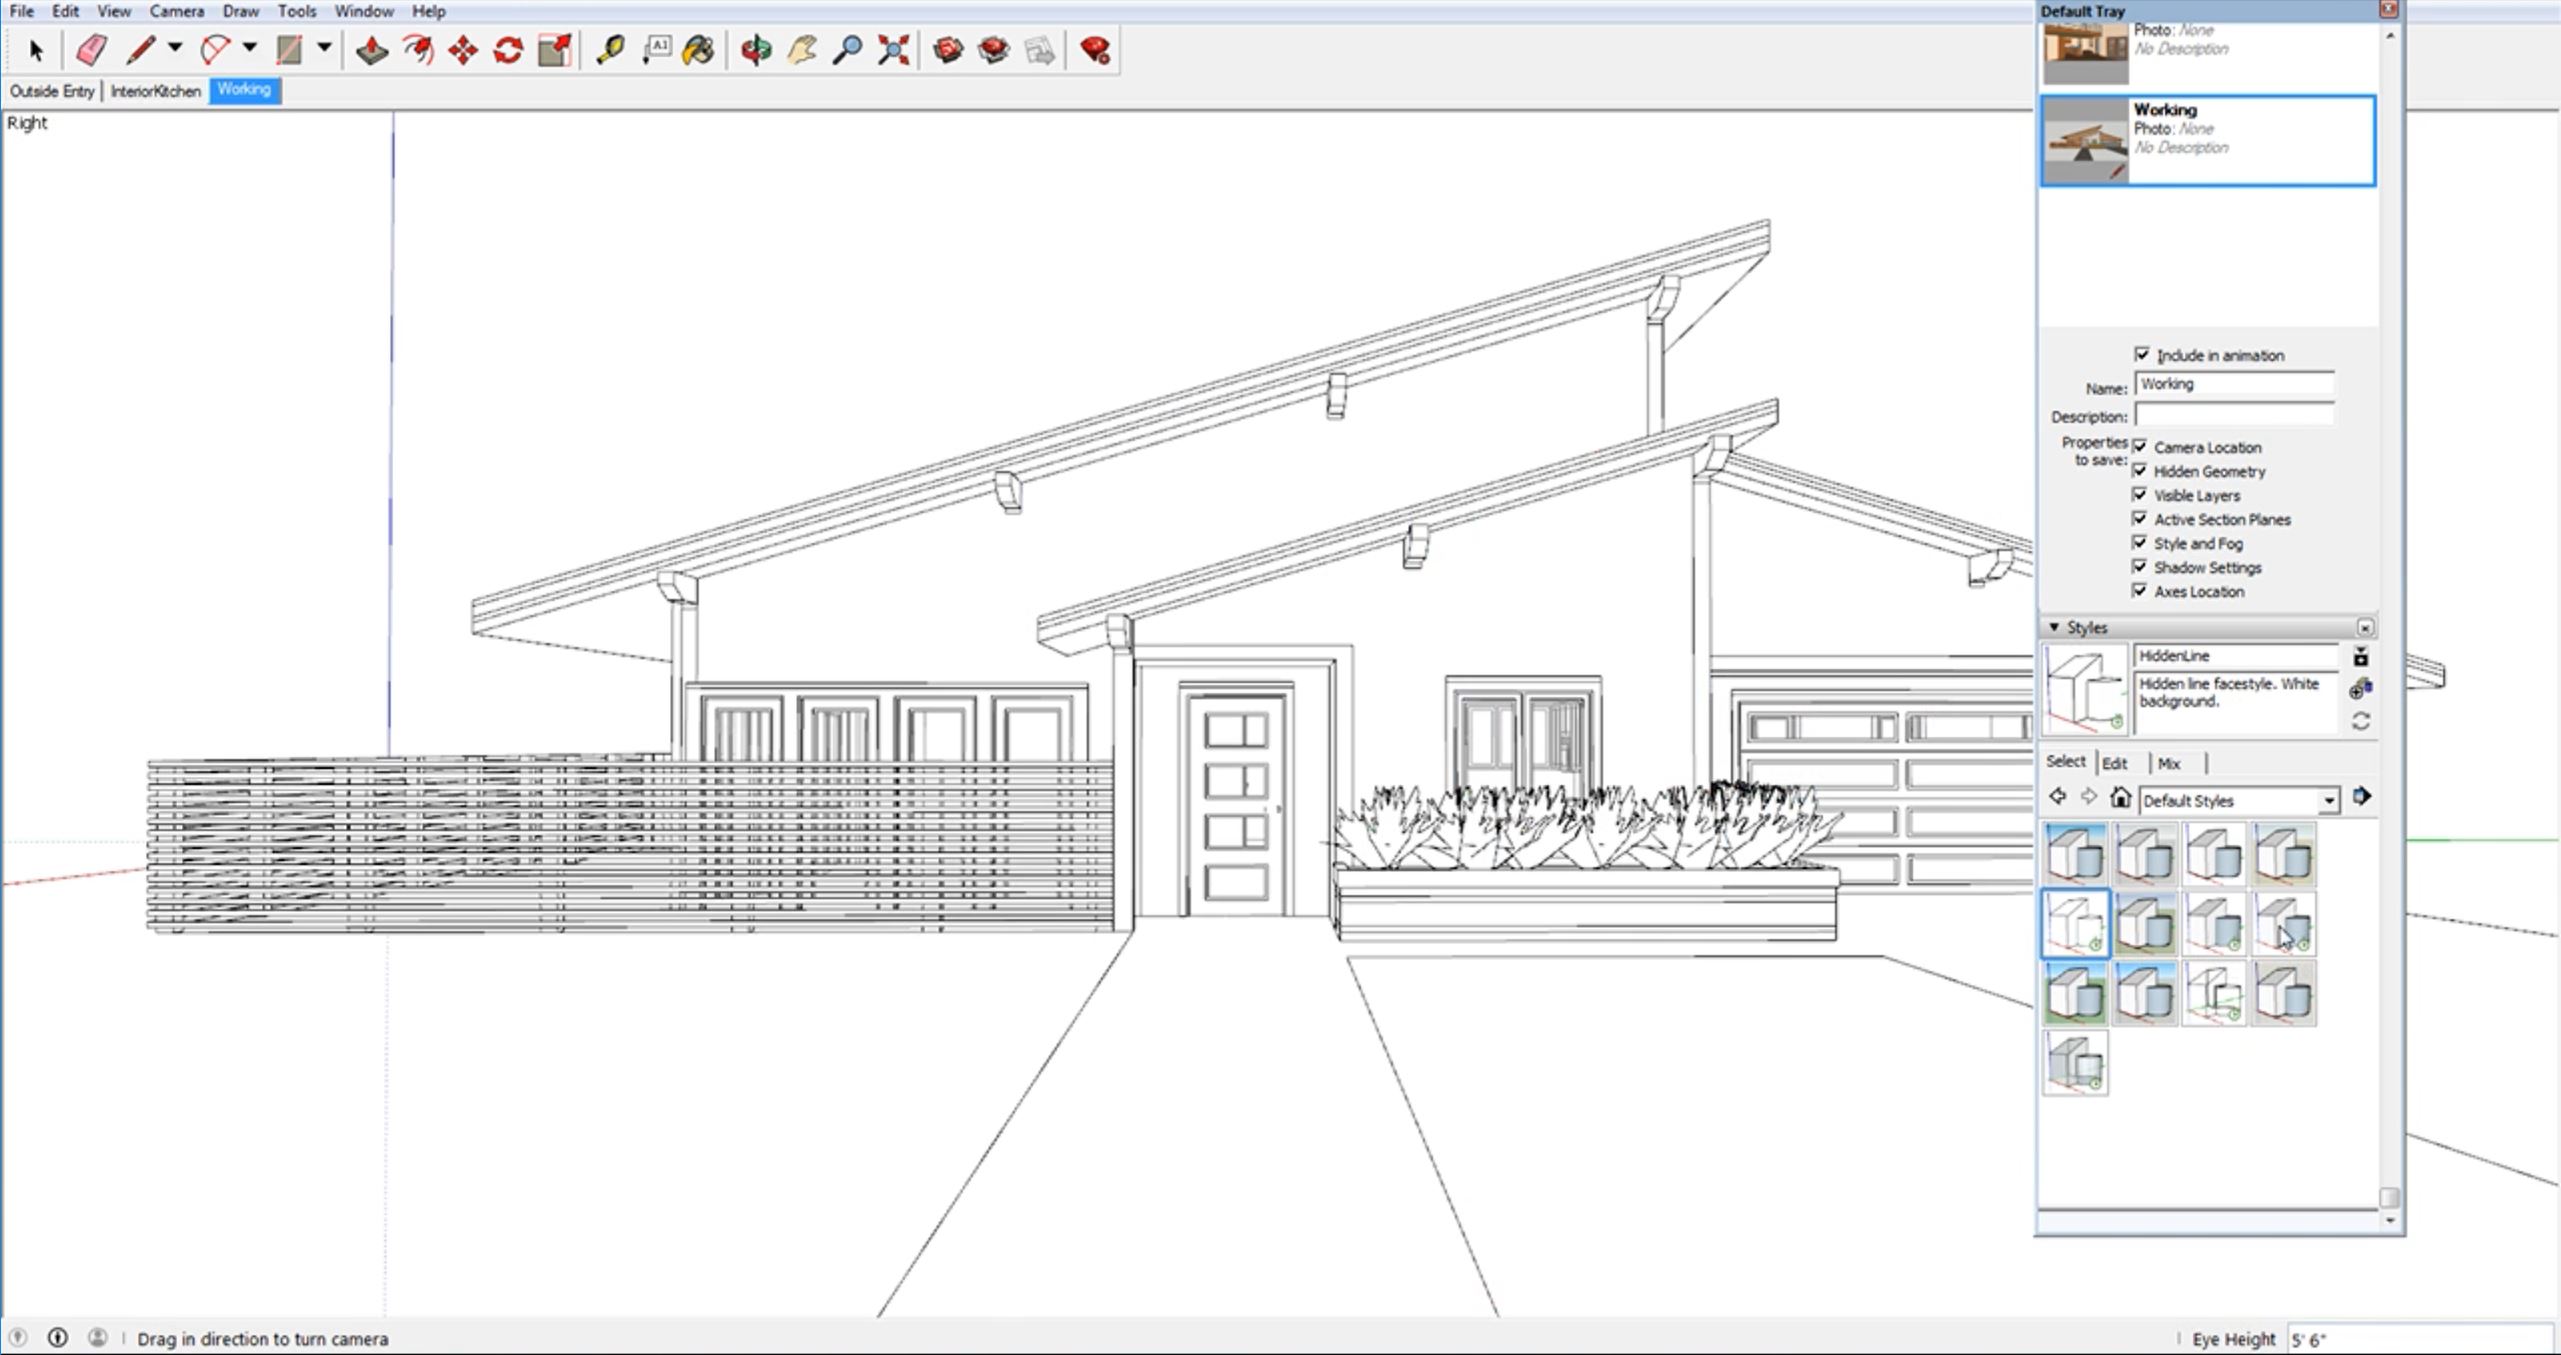
Default Style. Open the “styles” tab in the default tray. Select a default style by clicking on the “select” tab and choosing “default styles” from the dropdown menu. Default styles with a green stopwatch indicate that they are best for working because they load faster. Select the one that says “hidden line.”
Update Scene. Once you select a default style, update your scene. In the “scenes tab,” uncheck all of the properties except for “style and fog” and “shadow settings.” Update the scene again.
You can access the working scene from any view. For example, double click on one of your Sketchup scenes and then select “working view.” This will change the current view you are in to have the same settings as the working view without taking you back to the original working view scene. You can now use this trick to speed up Sketchup and work at a faster pace from any view!
What scenes will you be creating next? Let us know below!
No comments yet.