5 Unconventional Sketchup Tips You May Not Be Aware Of

Sketchup tips are the last thing you’re thinking about when you’re first learning the software. When you can’t create a cube, you’re certainly not worried about how quickly you can design a house. So if you’re just getting started with sketchup, head on over to our tutorial page where we’ll help you learn sketchup. If you happen to have a little more experience under your belt, the below sketchup tips are certainly for you.
I admittedly didn’t know about some of these tips until I’d been modeling for years.
5 sketchup tips
1. Create arrays using math functions
There are times you’ll need to copy an element a bunch of times. You can manually copy and paste or… you can use math functions in sketchup!
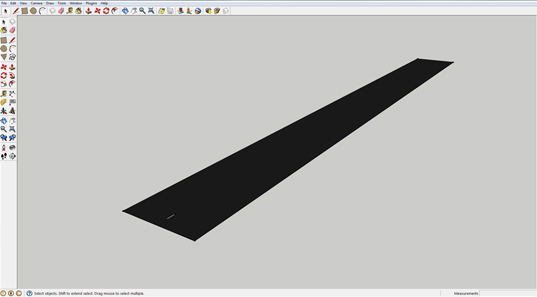
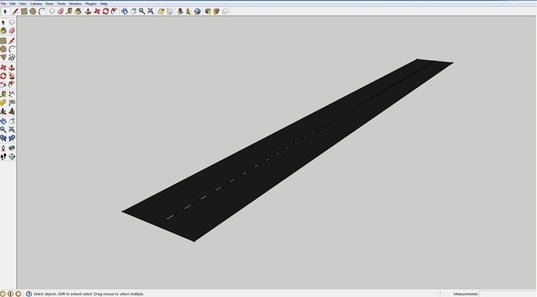
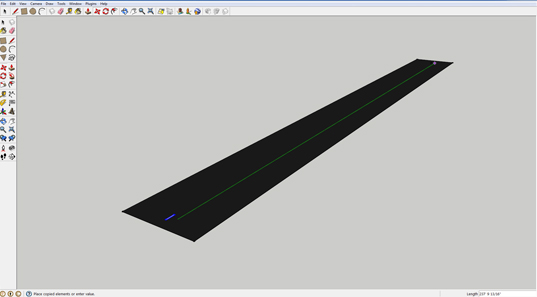
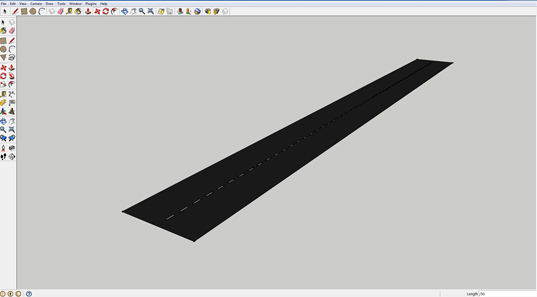
Lets say I wanted to create a bunch of dashed lines at the same distance to separate the two lanes on a road.
Multiply
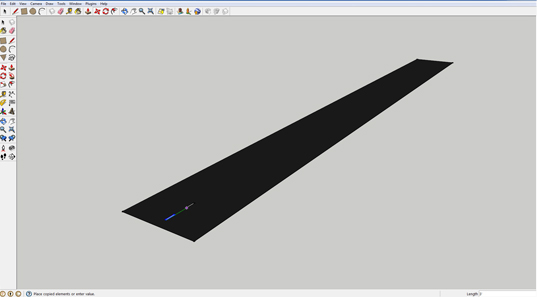
- Copy your first element at the desired distance. For this we’re copying our dashed line 6′ along the green axes
- Now, type the asterisk symbol ( * ) and the amount if times you’d like to copy your object the previous distance (in our case it was 6′) . We ended up deciding we wanted to copy the dashes 50 times so what we entered was ‘ *49 ‘ because the original dash isn’t included in that count. You can see what you’re typing in the bottom right of the screen next to the length display. You can’t actually click on this area, but what you type will show up there. You can see below that our dashed line was copied 50 times with a 6′ offset. If you’d like to change the quantity you’d like to copy something, just reenter your multiple ( for instance *20). You can try different values without having to go back and reset your original copy distance.
Divide
- It’s very possible that you’ll run into a situation where you won’t know the distance you need to copy something to get it spaced evenly over an object. In that case you can copy your object to it’s last desired location.
- Use the divide symbol ( / ) and type in the amount of times you’d like your object to show up. For this we wanted 45 total so we typed in ‘ /44 ‘ because the original isn’t included in that count.
2. Dynamic components are a thing
Have you ever used dynamic blocks in CAD or families in Revit? Sketchup has something similar with dynamic components. You can only create them with sketchup pro (and they take a little bit of programming knowledge to put together). However you can use any of the ones you find! You can identify dynamic components by the ![]() symbol. With dynamic components you can really increase your efficiency if you build or find the right ones. I’ve made a handful of them myself and they’ve greatly reduced the amount of time I spend modeling. I can get highly detailed, accurate models in a half hour. Before discovering dynamic components I could spend 6 hours on the exact same model where the chance for mistakes and errors was significantly greater. I plan on delving into how to create dynamic components in a later post, but for now, have fun using the ones in the 3d warehouse. To use them, make sure your… View>Toolbars>Dynamic Components is open.
symbol. With dynamic components you can really increase your efficiency if you build or find the right ones. I’ve made a handful of them myself and they’ve greatly reduced the amount of time I spend modeling. I can get highly detailed, accurate models in a half hour. Before discovering dynamic components I could spend 6 hours on the exact same model where the chance for mistakes and errors was significantly greater. I plan on delving into how to create dynamic components in a later post, but for now, have fun using the ones in the 3d warehouse. To use them, make sure your… View>Toolbars>Dynamic Components is open.
In the free version of sketchup you’ll see that the ‘component attributes’ has been greyed out. That’s where you can program your components if you have sketchup pro. To mess around, use the pointer to click on your dynamic components or use the component options icon to pull up a window that will let you edit attributes. Note that depending on the component, only one of these options may be available.
3. Use arrow keys to lock to axes
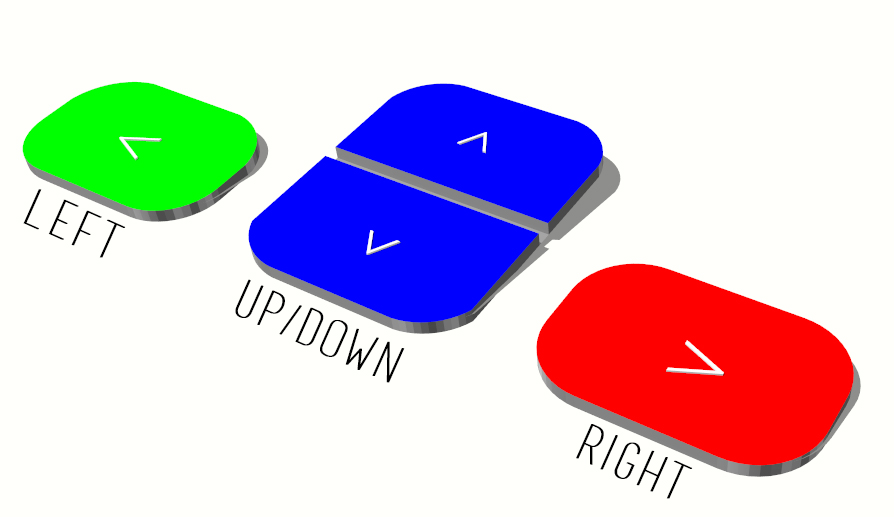
This one is pretty straight forward. If you’re having a hard time getting the line you’re drawing to snap or lock to a particular axes, use the arrow keys. Left will snap to green, up or down will snap to blue, and right will snap to red!
4. The Outliner
5. Custom shortcuts
Don’t go to crazy with this, but if there are actions you seem to be using a lot, make your own hot key for that. I have my ‘H‘ key set to ‘View/Component Edit/Hide Rest of Model‘… And my ‘J‘ key set to ‘View/Component Edit/Hide Similar Components‘… It’s great when you’re working with more complex models and want to edit your components. It helps me orbit around quickly and see what I want.
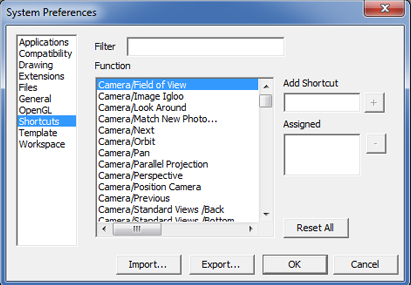
To make your custom shortcuts go to…
Window>Preferences>Shortcuts. In there you’ll see a ton of different functions you can set shortcuts for. Simply select your function, hit the ‘+‘ symbol to the right of ‘Add Shortcut’ and select your key! Don’t forget this will override any existing shortcuts you have for that key. Make sure to hit ‘OK‘ and you should then be good to go!


That’s a great idea! It might have to be broken up into a few different segments, but I’ll add this to my content schedule.
You’re welcome :)
No problem!
Great! Please explain with example more.I want to know how to draw a car.I have seen it in Youtube channel but too first.
if possible explain how to draw a car step by step
Thanks