
Speed Model: Modern Villa Lumion Tutorial

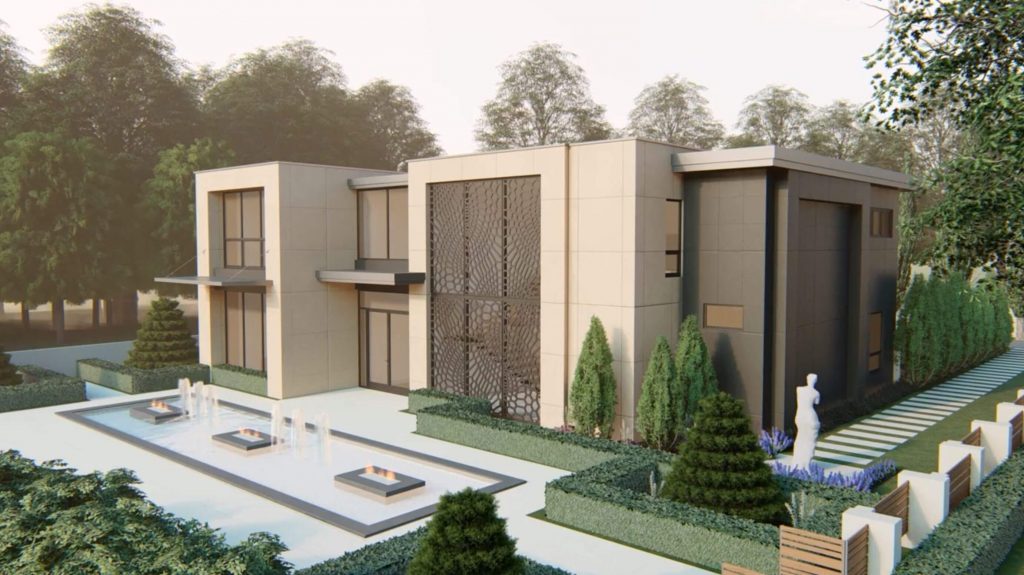
In this Lumion tutorial, we’re going to show you how we modeled and rendered a house design by No Triangle Studio. The light and hazy rendering style perfectly complements the sand-colored stone and crystal-clear water feature. If you like how it looks, you can get the rendering preset here! If you want to give the rendering a shot yourself, keep reading to see how we achieved a hazy exterior for this modern villa!
Lumion Tutorial Steps
Import Image
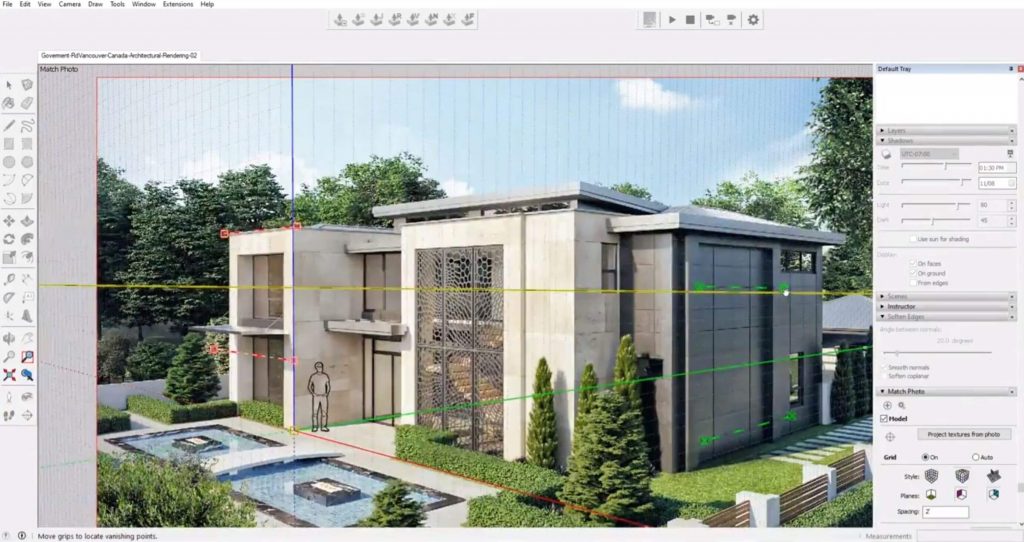
First, we began by importing our image into Sketchup, making sure the “matched photo” box was selected. Then we aligned the perspective lines in Sketchup with those in the image.
Block it Out
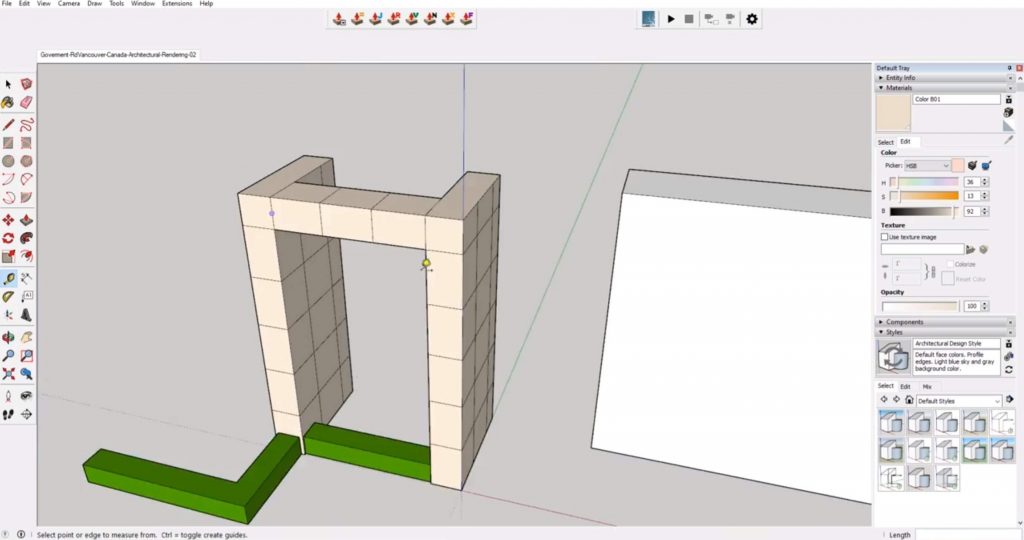
The easiest way to model from an image is to start by blocking out the basic shapes. You don’t want to get too caught up in the details just yet. We started by using the rectangle tool to draw the base of the first area we wanted to block. Then, we used the push/pull tool to extrude the rectangle up. The exterior of this particular house is constructed of individual blocks. To make it easier, we modeled the base first and simply copy and pasted each row up.
Add the Details
Once the first wall was up, we copied it over to the other side. You can then use the same process to model the rest of the house.
We used the same method to block out the hedges on the left side of the house. Then we used the paint bucket tool to match the color of the surfaces as closely to the actual material. It doesn’t need to be exact, the actual material will be applied in Lumion.
After blocking out the right side of the house, we used the rectangle tool to create the glass panes for the front door and windows.
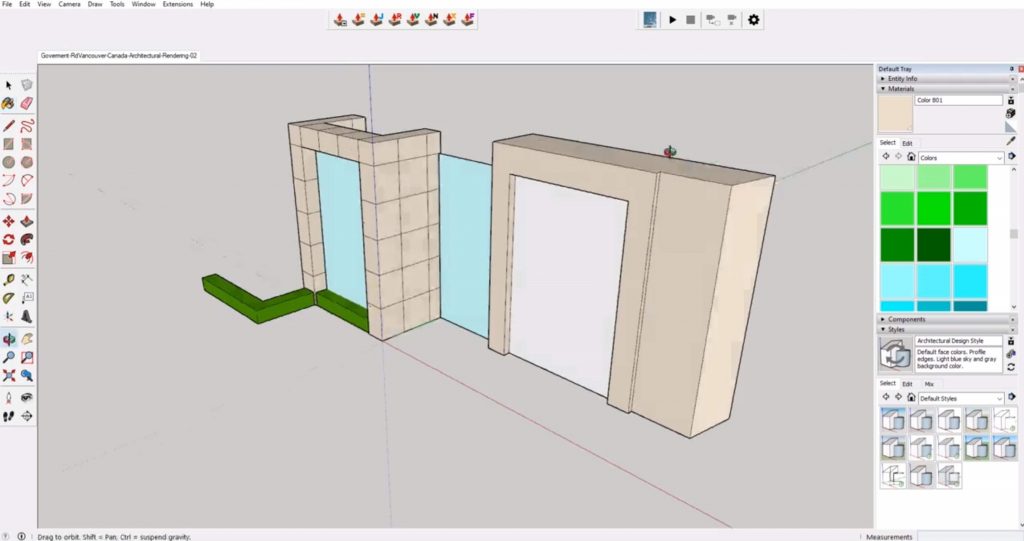
We then used the push/pull tool to create the fence on the left side of the house and drew a plane on the ground to create the grass.
Render
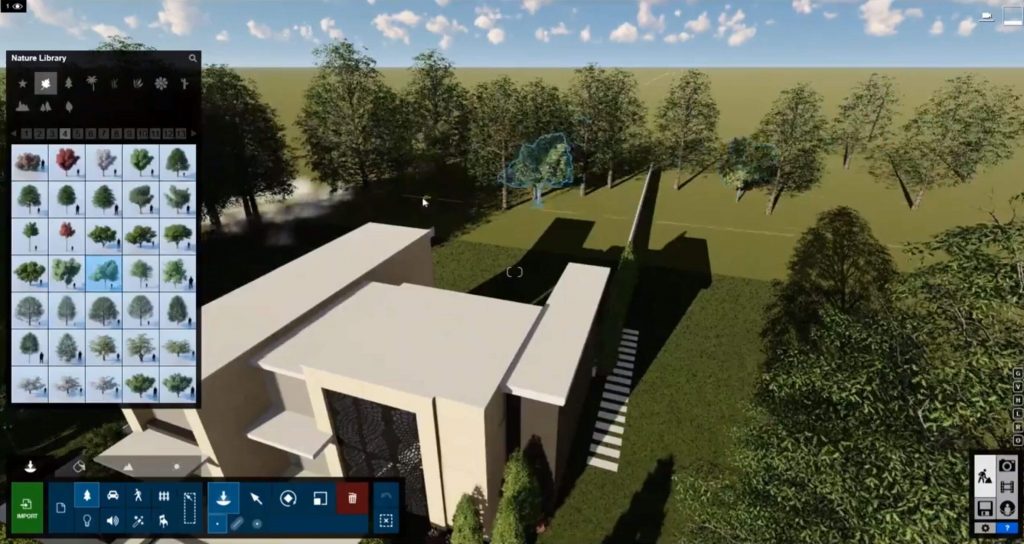
Once the majority of the house was blocked out, we exported the file into Lumion to begin rendering. The most important thing here is to make sure you get your finished camera angle set. This will help you minimize the amount that you have to model. To give the scene some context we use the nature library, to place a few clusters of trees to add some landscaping.
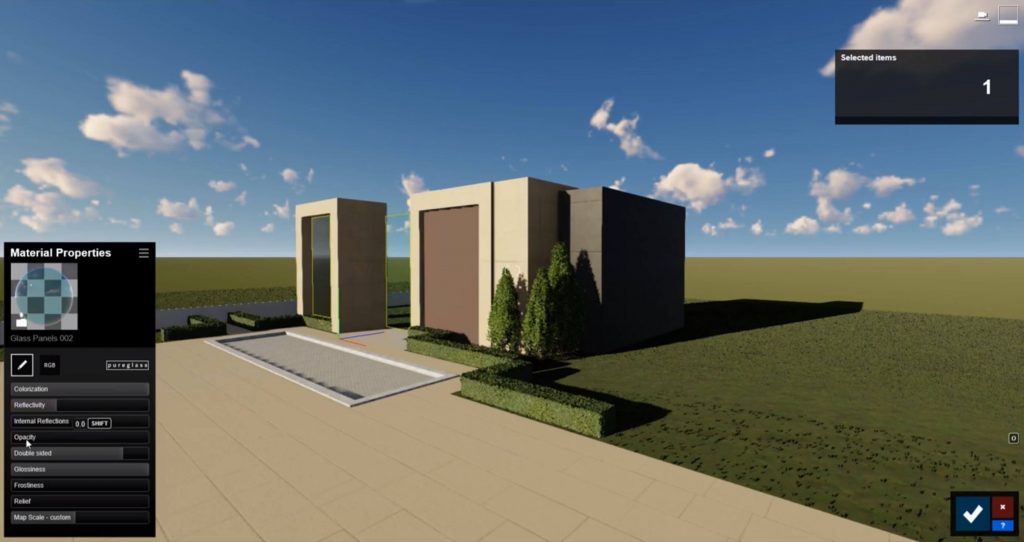
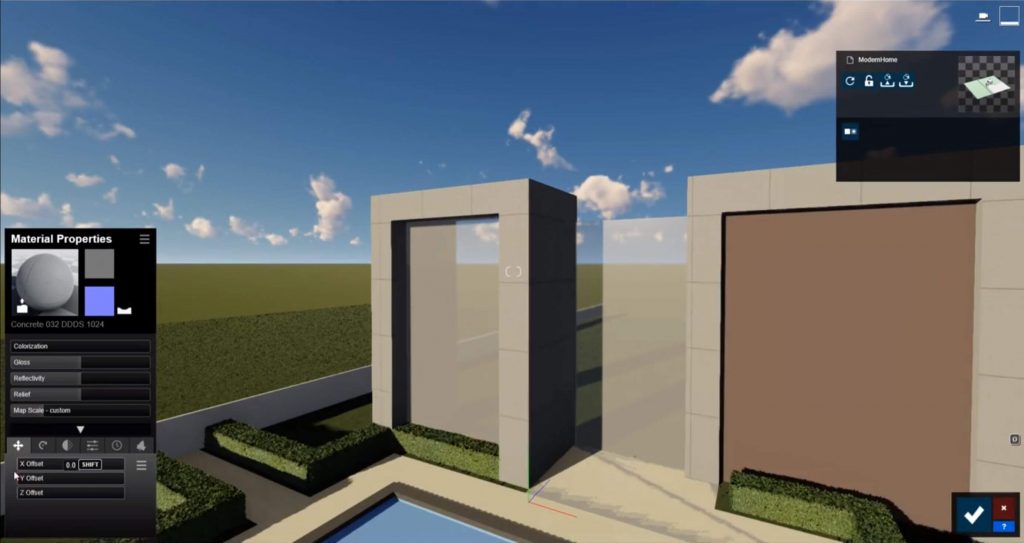
Heading back over to Sketchup, we start to add some detail. Then, we adjusted the materials of the exterior walls, tile, and glass in Lumion.
Finishing Touches
Now comes the fun part! The final part of this Lumion tutorial is adding the finishing touches. Once you have the basics done, you can go back and start adding details to really make the rendering come alive.
From here we switched back and forth between Sketchup and Lumion to make sure we were adding all of the necessary details.
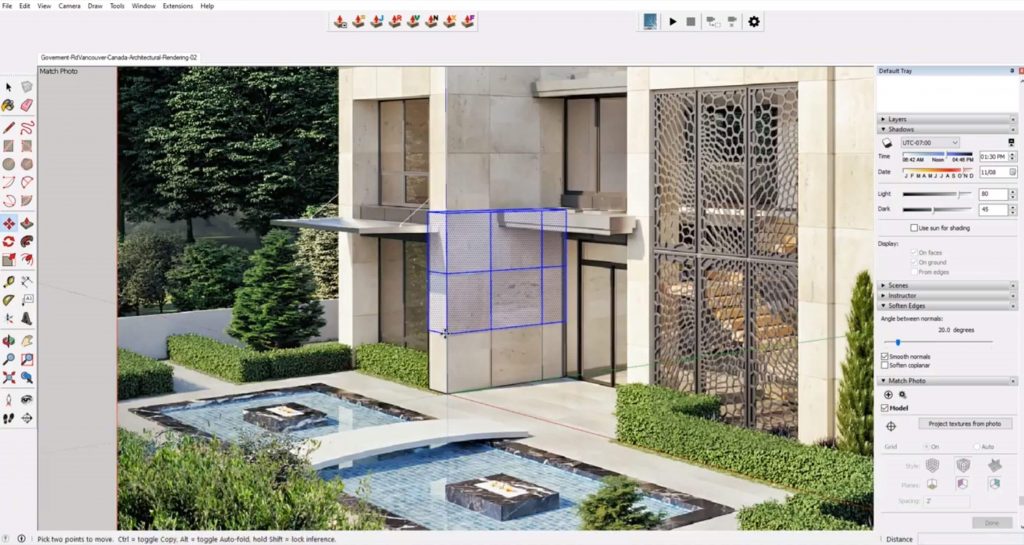
In Sketchup, we modeled the feature wall by creating an individual panel and tracing the intricate design. Then, we simply copy and paste the panel, and flip it around to add some variety. We added a few more finishing touches like the stepping stones on the side of the house, the back fence, and the canopy over the front door and window.

Going back into Lumion, we added even more foliage to create a sense of privacy. We began adding more details like water fountains and fire in the water feature. We used Sketchup to model the fence and add a sculpture in the front yard.
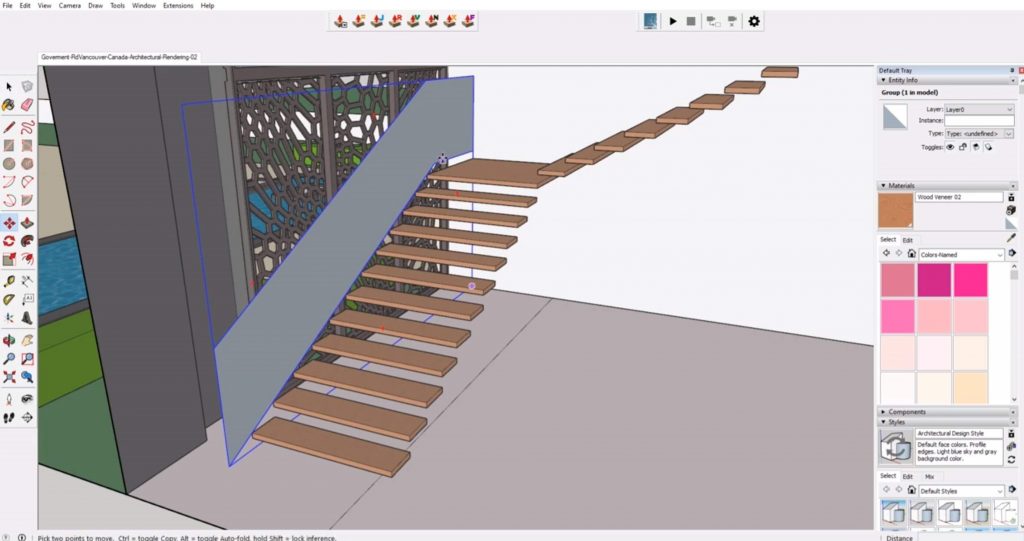
Although this is an exterior rendering, we wanted to add a few interior details that could be seen from the outside. We modeled the front staircase using Sketchup and added a few pieces of furniture and artwork in Lumion.
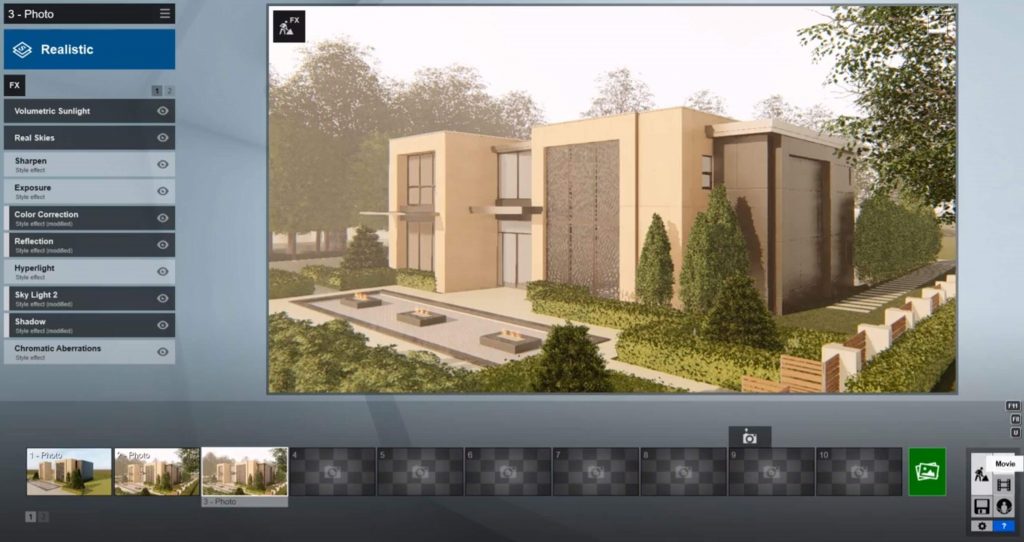
Once we had all of the finishing touches completed, we could render the final photo in Lumion!
Was this Lumion tutorial helpful? Would you like to see other videos like this? Special thanks to No Triangle Studio for providing an awesome picture to work with. Don’t forget, if you’re interested in downloading this render preset you can check it out here! If you want a more detailed tutorial on how we do our speed models, check out this article. And don’t forget to check out our full list of tutorials just like this one!
Happy Hacking!
No comments yet.